Kategorie: Amiga

  • One Power Supply to rule them all

    For testing old Computers you will need a lot of different power supplys with AC and DC Voltage.

    I put them together and we got one to rule them all 😉
    Meanwell RT-65B and a 9V AC Power Supply

    9V /2100mA
    5V / 5,0A
    12V / 2,8A
    -12V /0,5A

    So it works @:

    • Atari 8 Bit Computer like 600XL, 800XL, 1200XL, 800XE, 64XE, 130XE
    • Atari 8 Bit Computer like Atari 400, 800, Atari 810, Atari 1050
    • Commodore C64, C16, C64C
    • Commodore Amiga 500,500Plus, 600,1200
    • Commodore CD32, Commodore 1541 II
    • Neo Geo 5V Unit

    power_one_to_rule_them_all (8)

    power_one_to_rule_them_all (7)

    power_one_to_rule_them_all (5)

    power_one_to_rule_them_all (1)

    power_one_to_rule_them_all (2)

    power_one_to_rule_them_all (4)

  • UWRC Competition Pro

    I used a Competition Pro USB (bad USB lag) and changed it into a UWRC Controller.

    It uses Button, A,B,Select,Start (on the triangle Buttons). With the small black switch you can select the triangle Buttons between Select,Start and Button X,Y.

    IMG_7989 IMG_7991 IMG_7996 IMG_8035 IMG_8032


  • UWRC Competition Pro Mini

    I bought some Competition Pro Mini and most of them have brocken microswitches 🙁

    I found some replacements here:

    http://www.voelkner.de/products/43525/Microschalter-Ultraminiatur-5A-250V-Sim.-R.-Hebel.html

    It was very tricky to add the Universal TX PCB in this tiny stick but after all it looks great 🙂
    After removing original parts I add a Led and two more micro switches for Select and Start.

    The chrome switch to swap between Layout Select/Start and Button X, Button Y

    I must move the electronic of the LiPo to put it between the two fire Buttons

    IMG_8039 IMG_8038

    uwrc_tx_1 mini_1 IMG_8537 IMG_8541 (Large) IMG_8550 IMG_8547 IMG_8559 (Large) IMG_8566

    IMG_8534 IMG_8544

  • Amiga optical wirleless mouse

    I want to make a wirless optical mouse with the authentical look and feel 🙂

    For this I Used a small PC optical Wireless Mouse.

    Opened it removed the uneeded stuff and take a amiga mouse with the help of some dremel it fits into it

    Here you can see some pics from the progress

    Have fun

    amiga_wireless_optical (1)

    amiga_wireless_optical (2)

    amiga_wireless_optical (3)

    amiga_wireless_optical (4)

    amiga_wireless_optical (5)

    amiga_wireless_optical (6)

    amiga_wireless_optical (7)

    amiga_wireless_optical (8)

    amiga_wireless_optical (9)

    amiga_wireless_optical (10)

    amiga_wireless_optical (11)

    amiga_wireless_optical (12)

    amiga_wireless_optical (13)

    15245_1

    you can use this mouse at PC via USB, Amiga via Jerry Adapter, Atari ST via Jerry Adapter

    3 in 1 Mouse

  • Amiga 600 cleanup, restauration, brightening

    I want a Amiga 600 in a like new state but the common prob is yellowing over the years

    With cleaning and some retrobright fluid I done the following:

    First a lot of work, to dissasemble the amiga and keyboard *puh*

    Have a look to the yellowed ASDF Row…

    After this cleaning in Dish Washer, Brightener for 9 Days + a lot of SUN.

    amiga_brightening (2) amiga_brightening (3) amiga_brightening (5)


    amiga_brightening (6) amiga_brightening (7) amiga_brightening (4)

    Reassambling, and it looks like new:

    amiga_brightening (11) amiga_brightening (10) amiga_brightening (9) amiga_brightening (8) amiga_brightening (1)

    Have fun


  • Amiga Mouse optical mouse to USB WIP Part#1

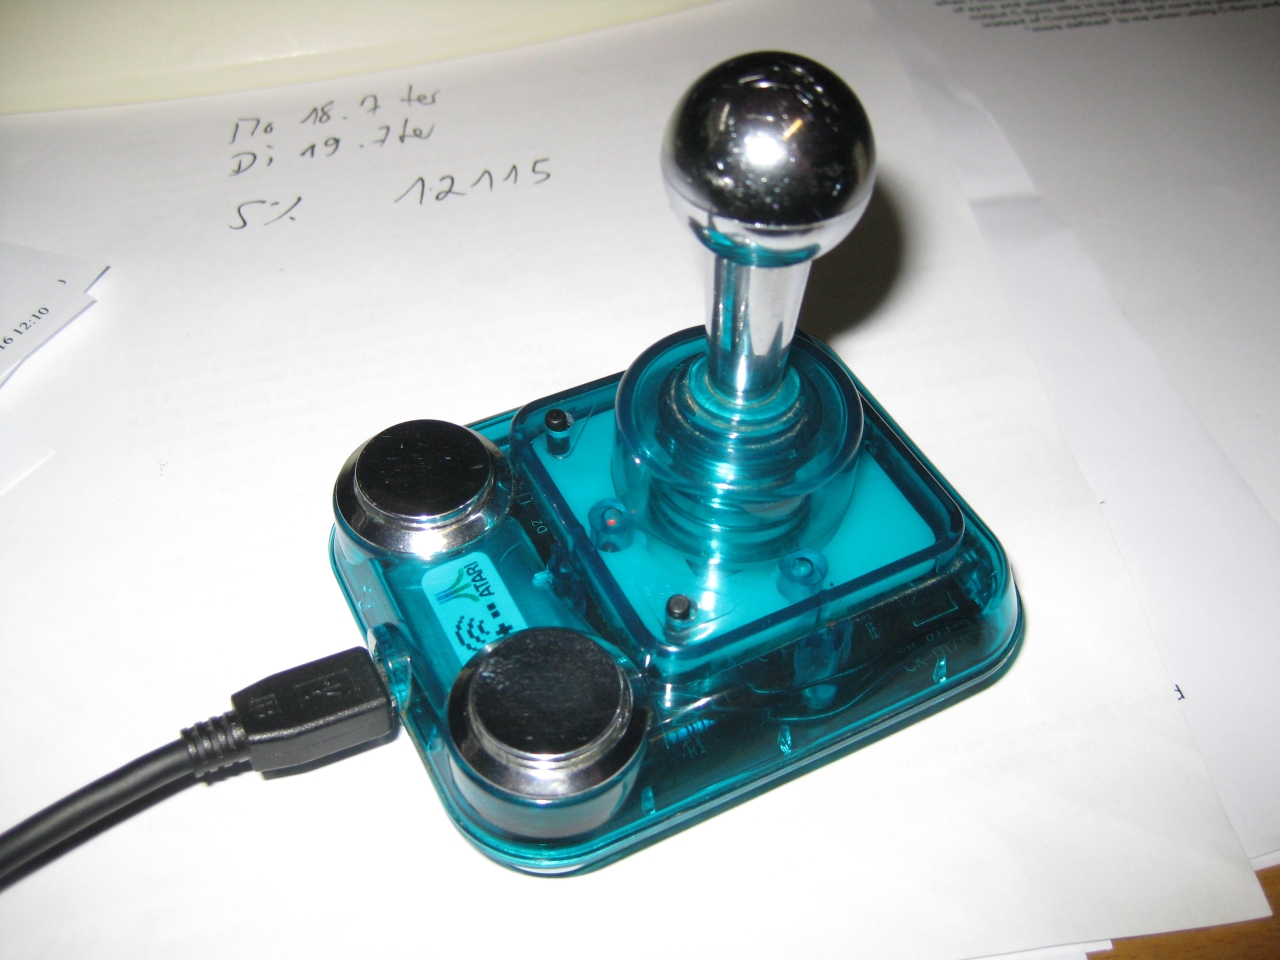
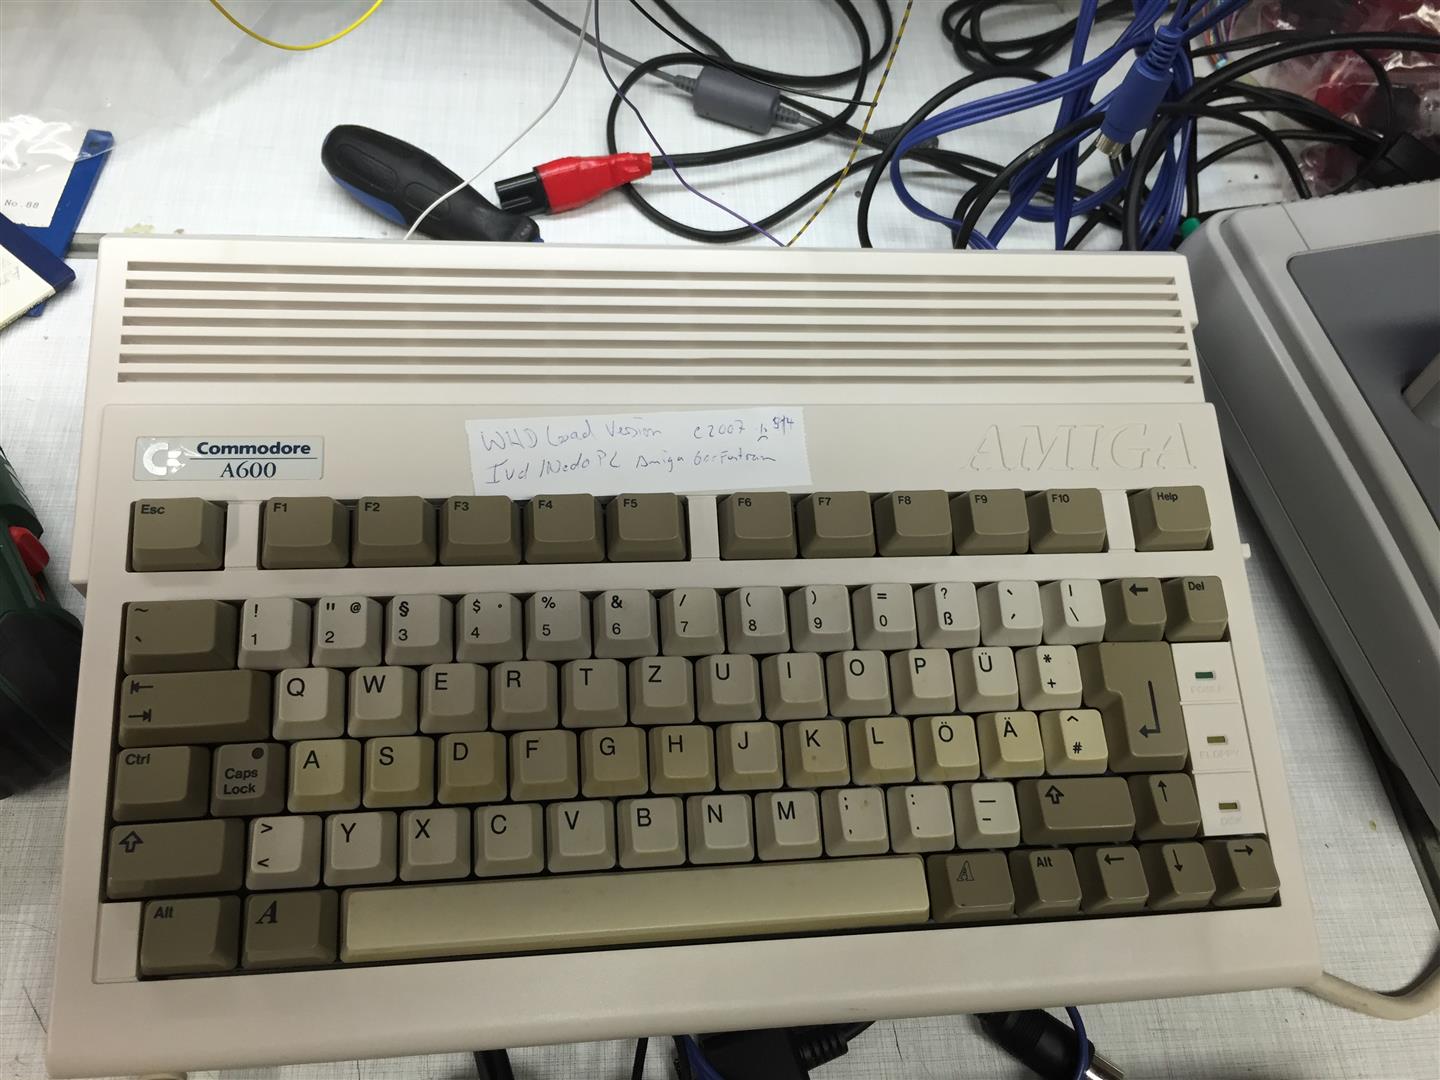
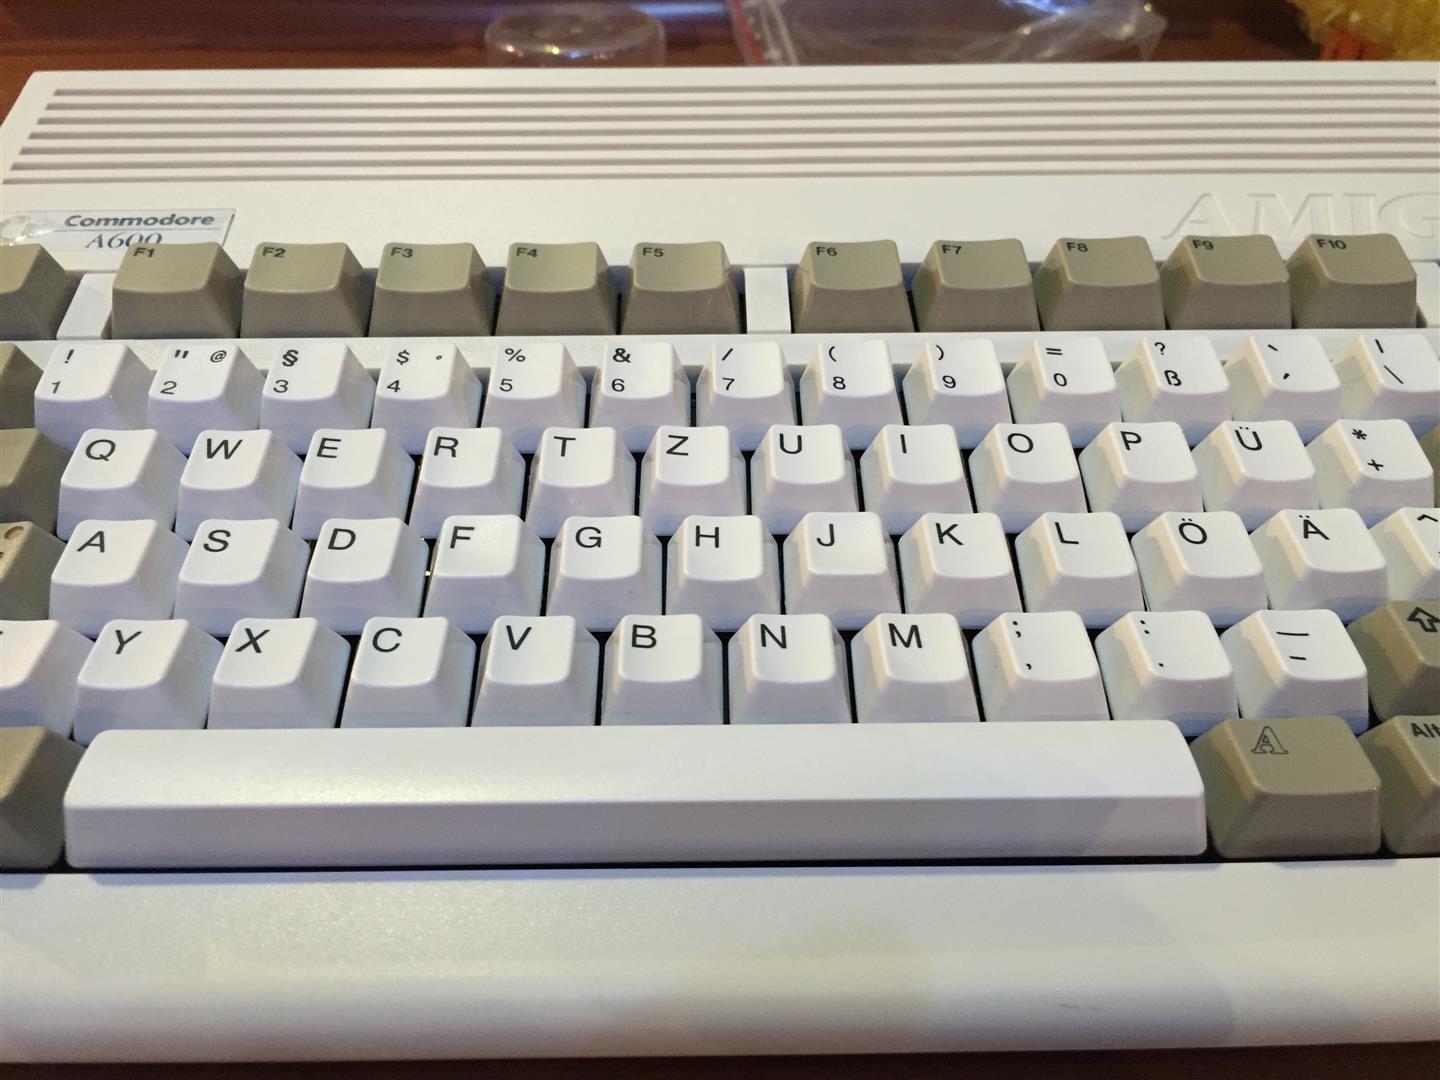
    My goal is to have a good Amiga Mouse working on every surface and without needing of a mousepad.

    The only solution is to make it optical.

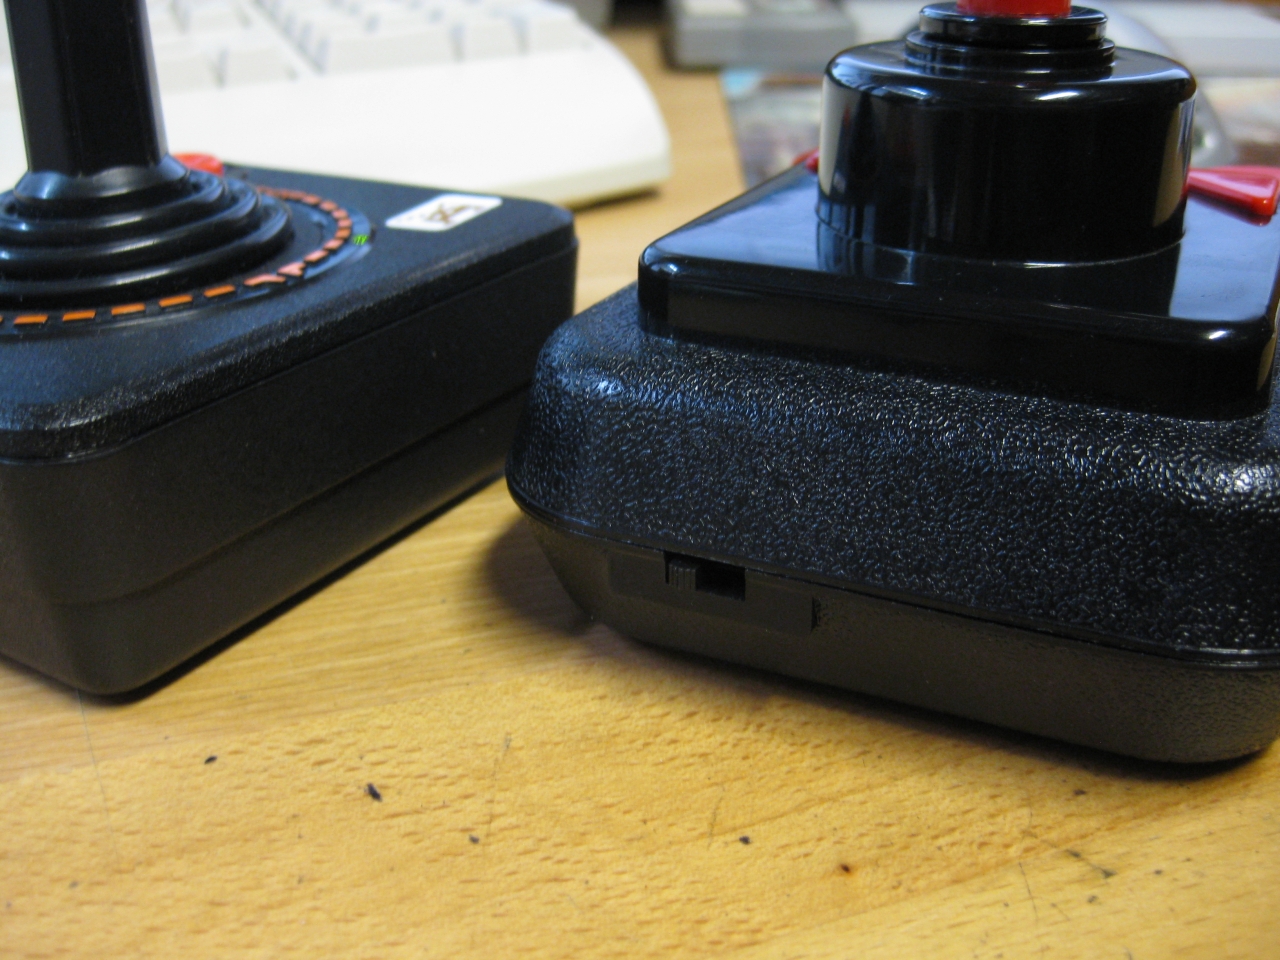
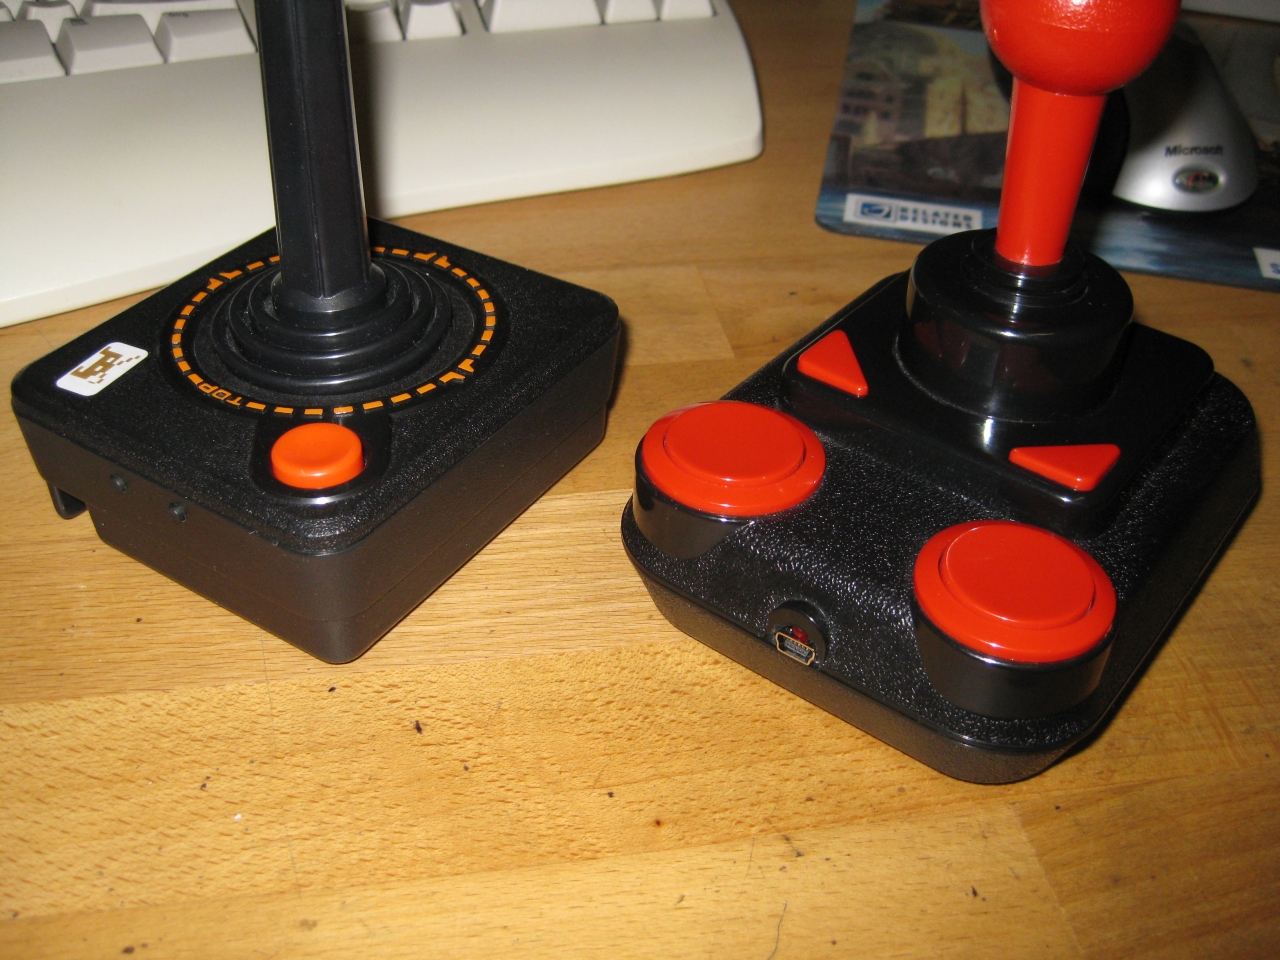
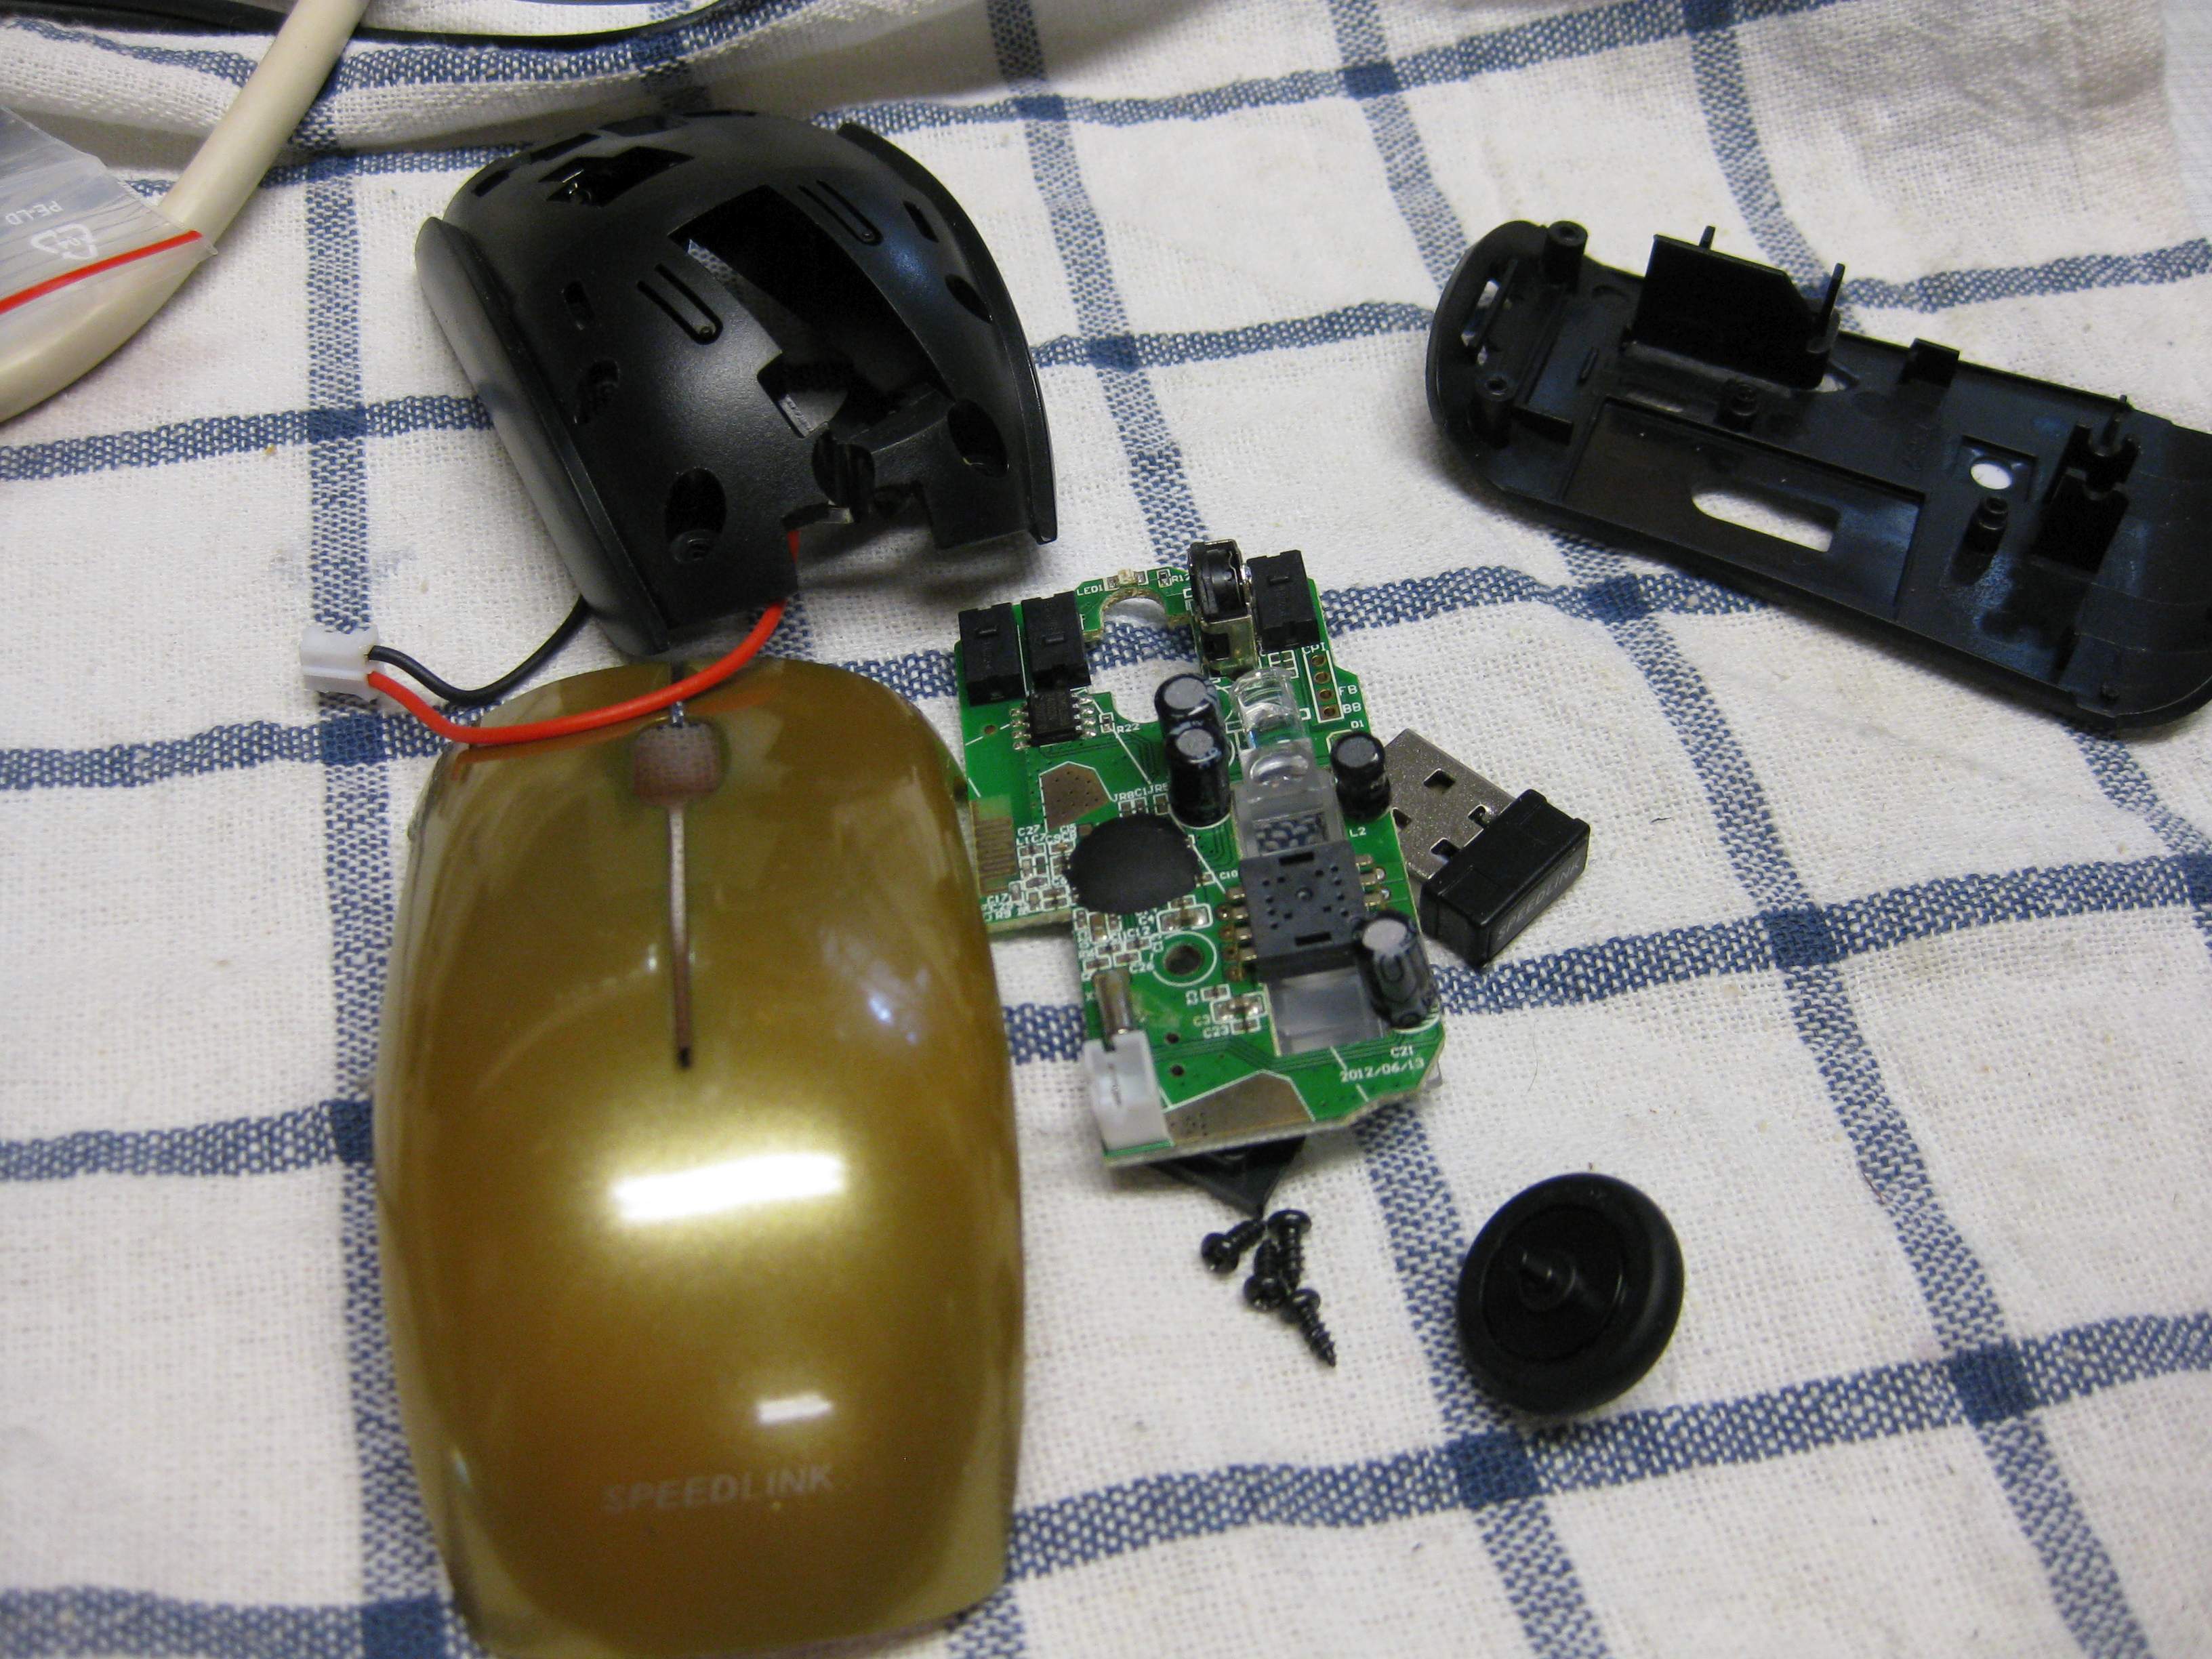
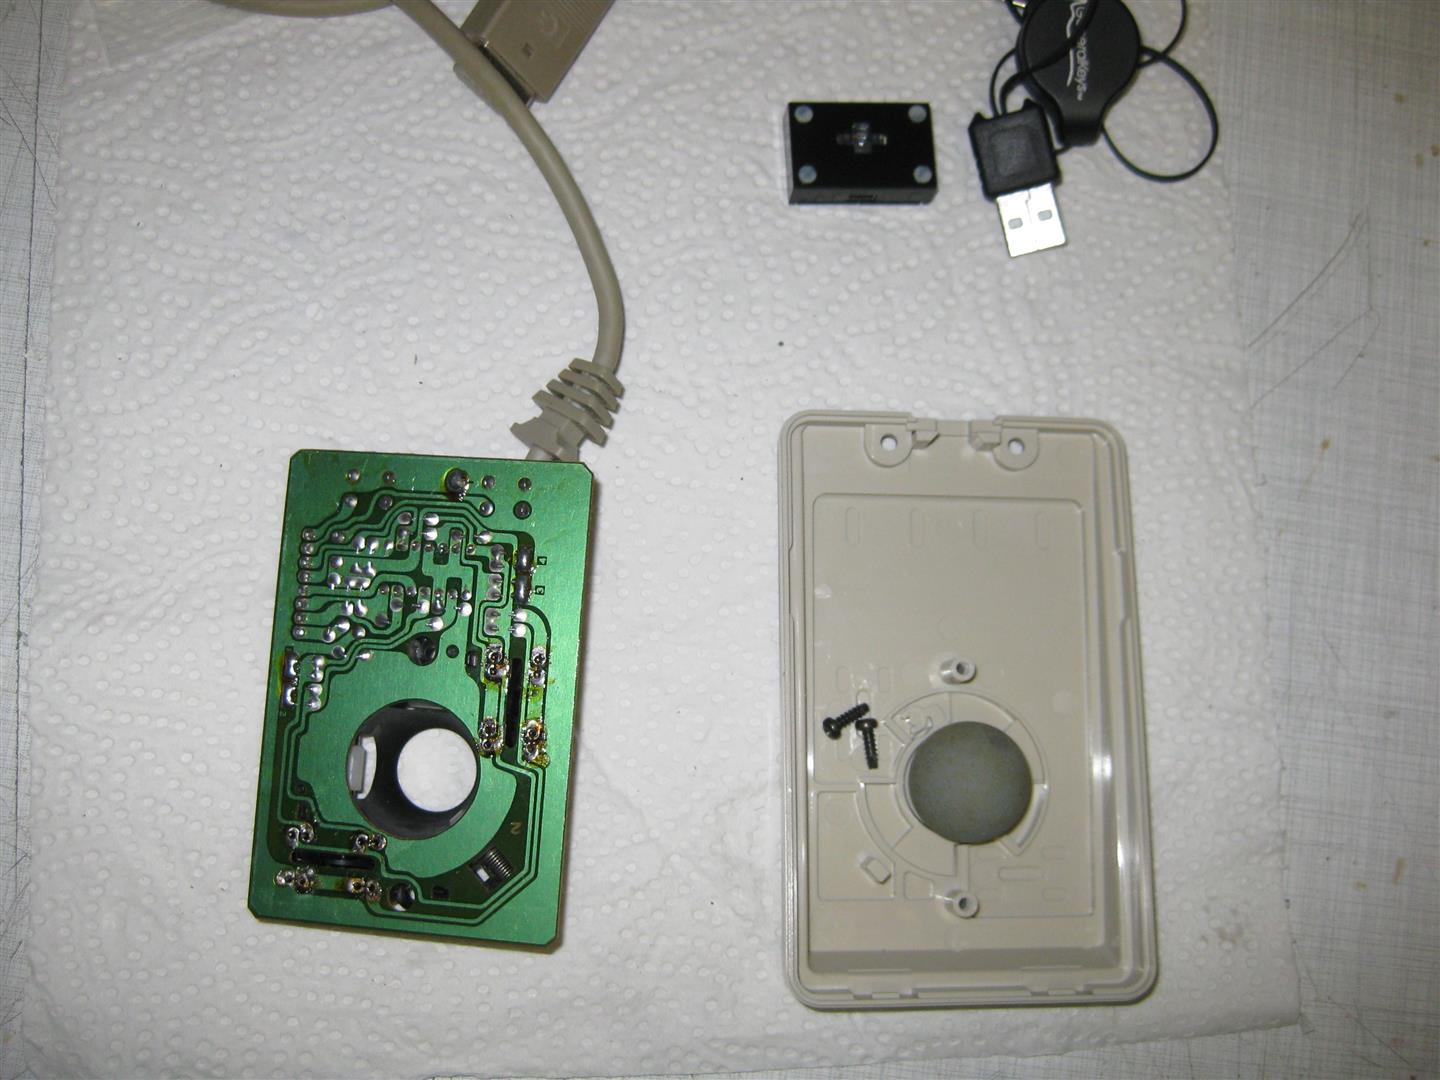
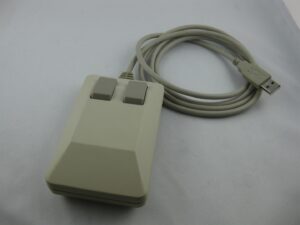
    After some research I found a mini optical Notebook USB Mouse and tried to rip of the original amiga mouse:

    (The black box is a complete PC USB Mouse)

    amiga_mouse_optical_usb (2) (Large)

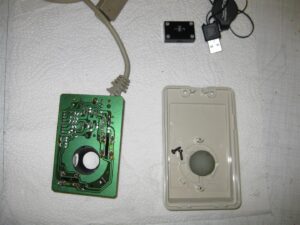
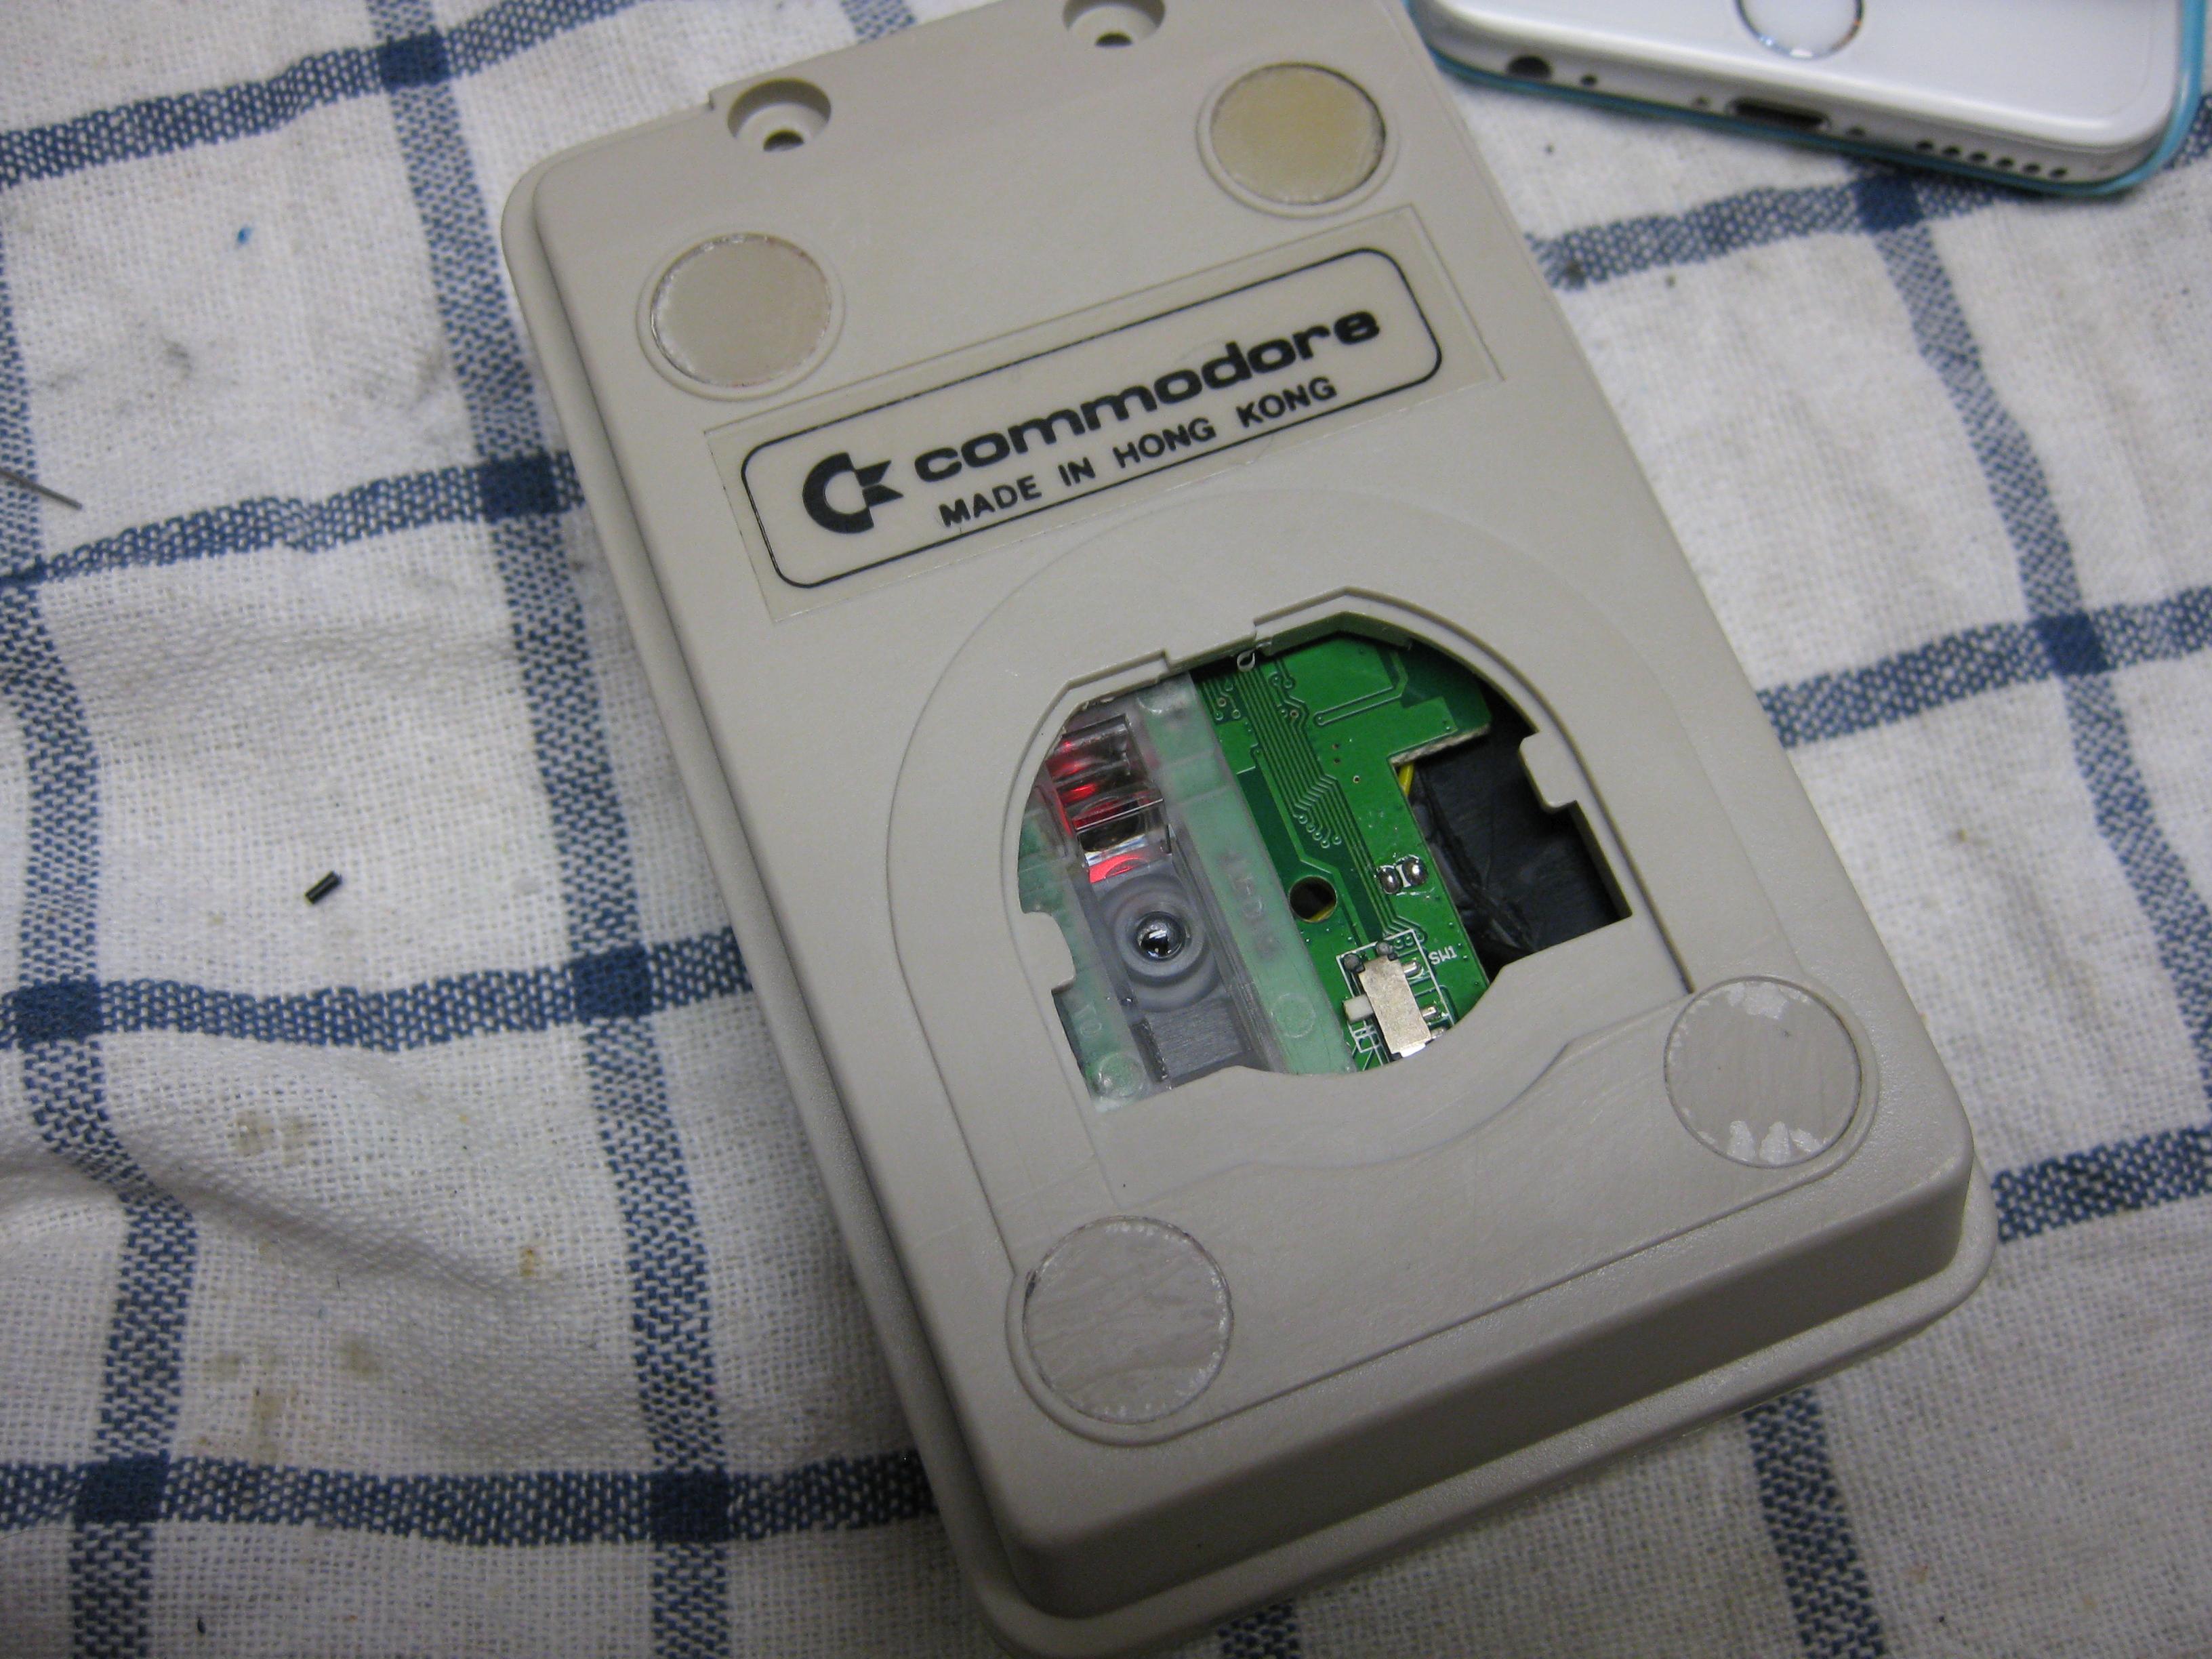
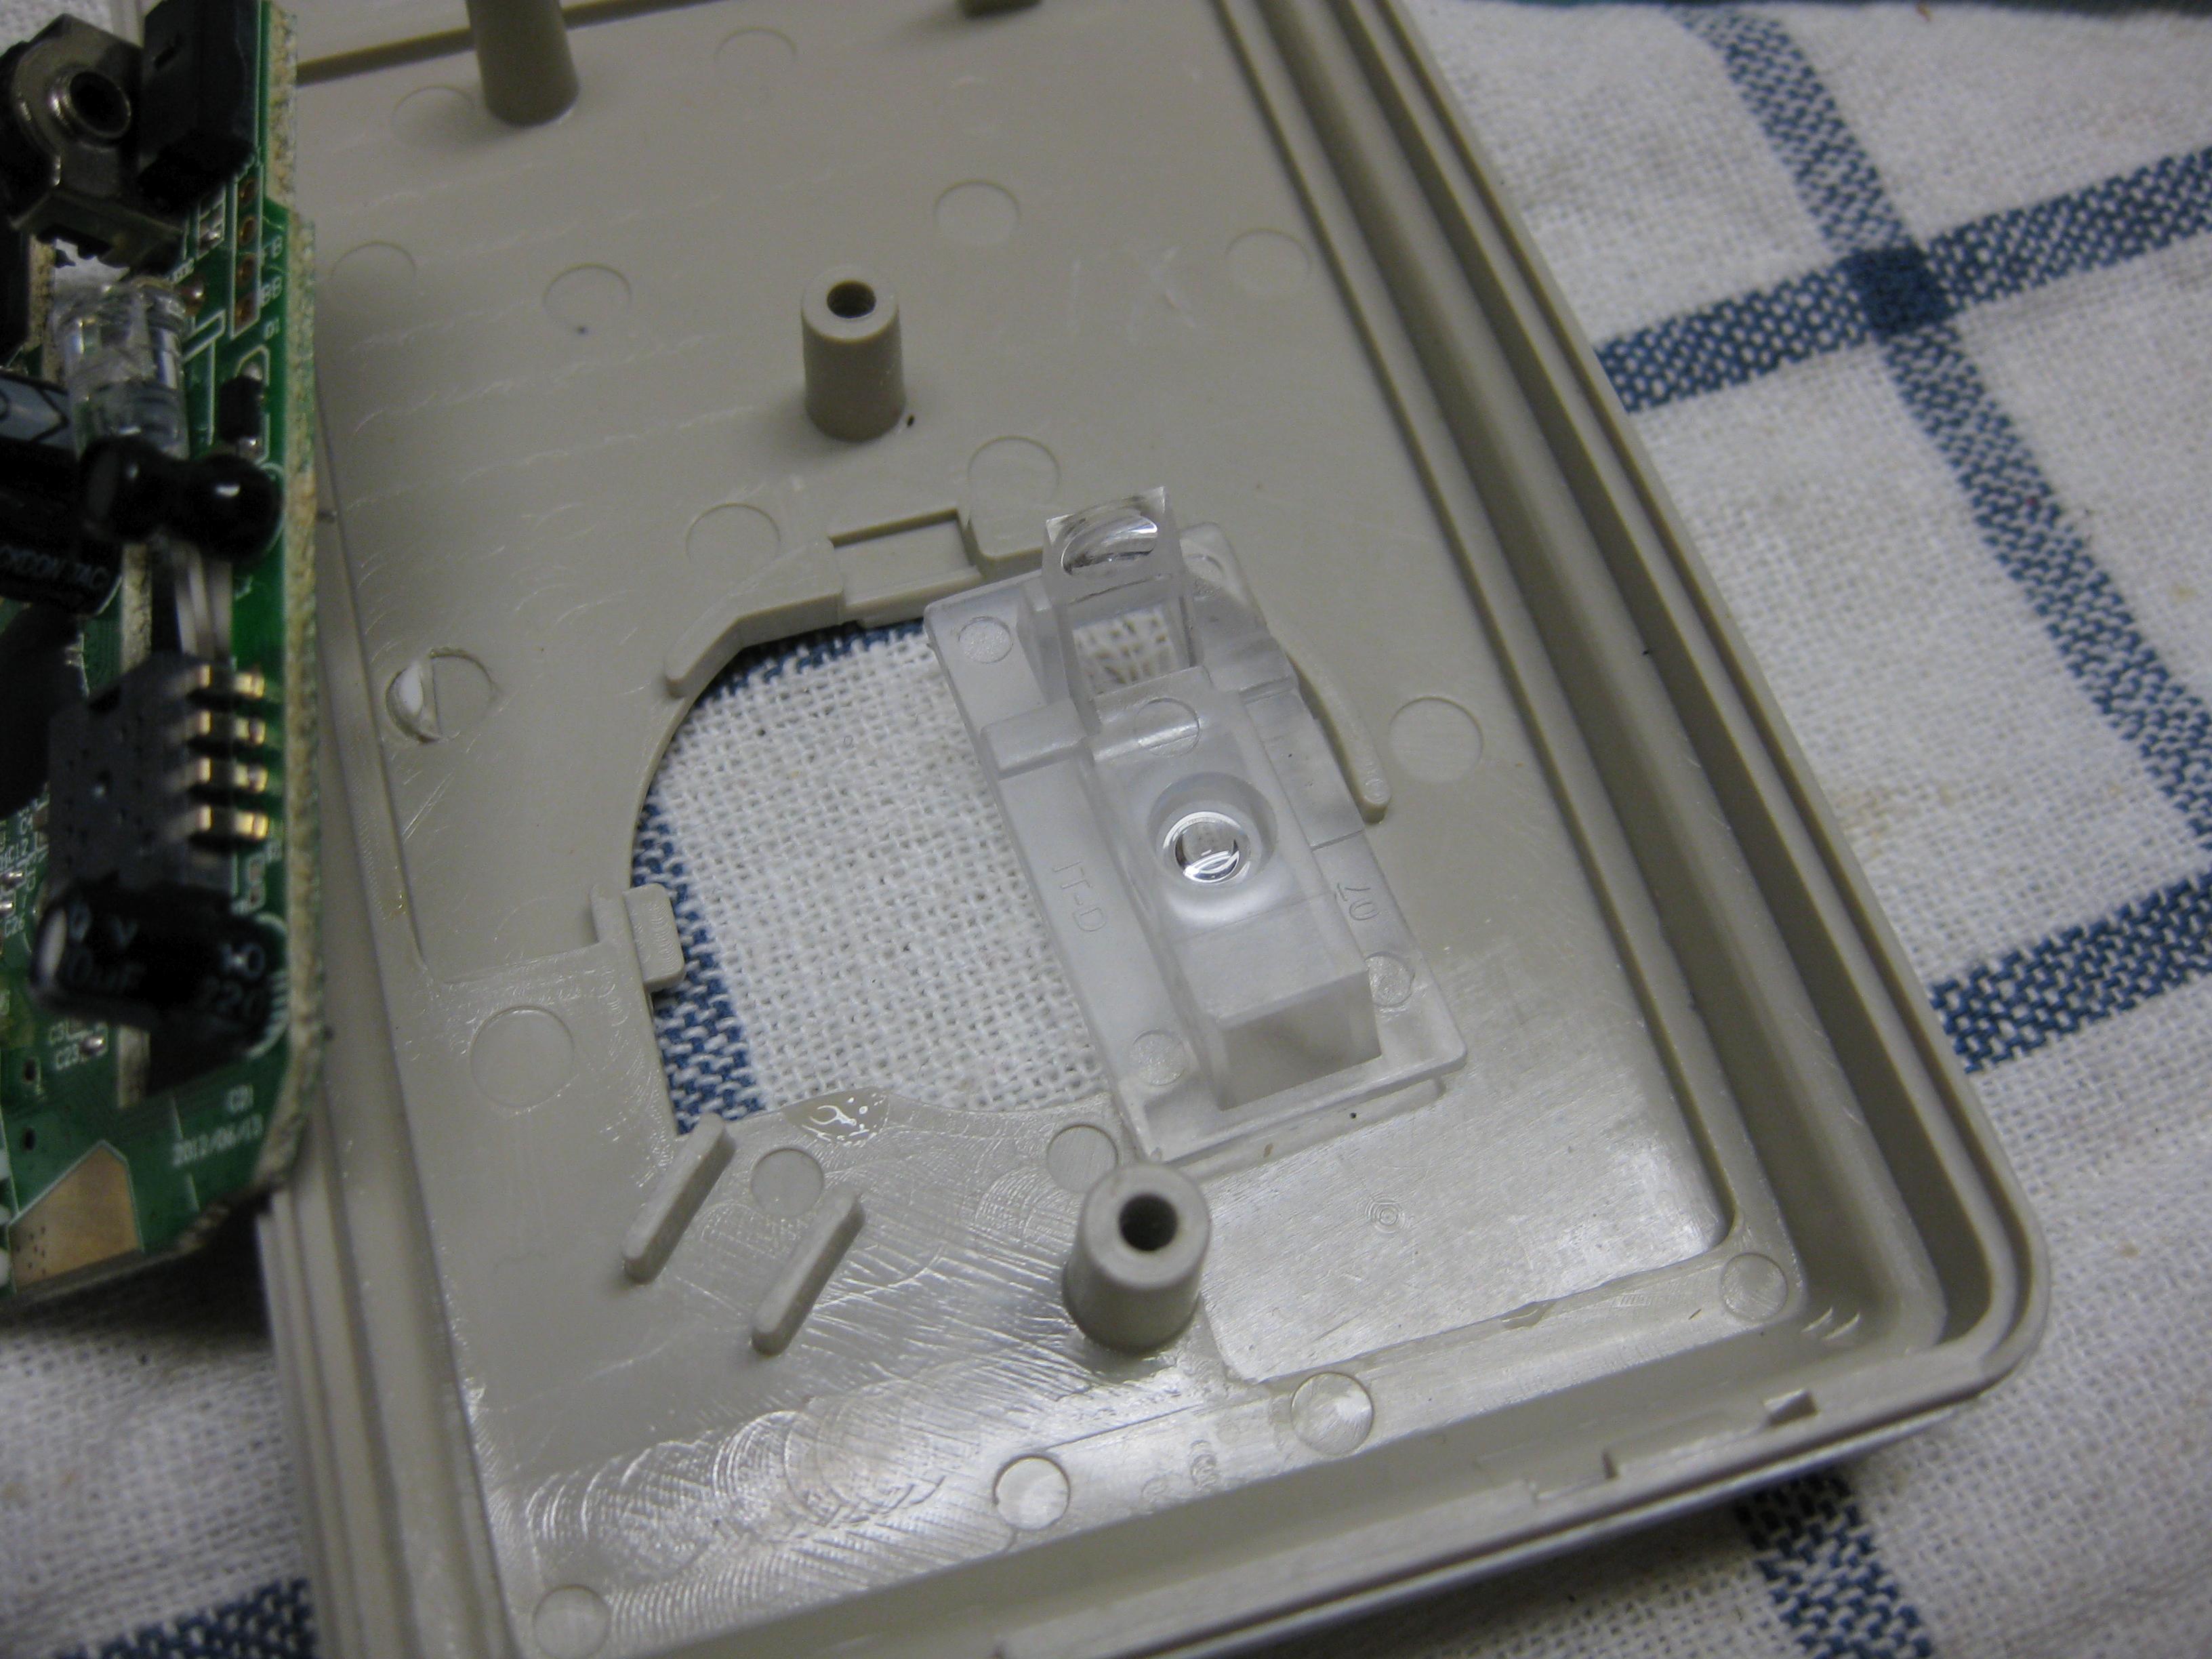
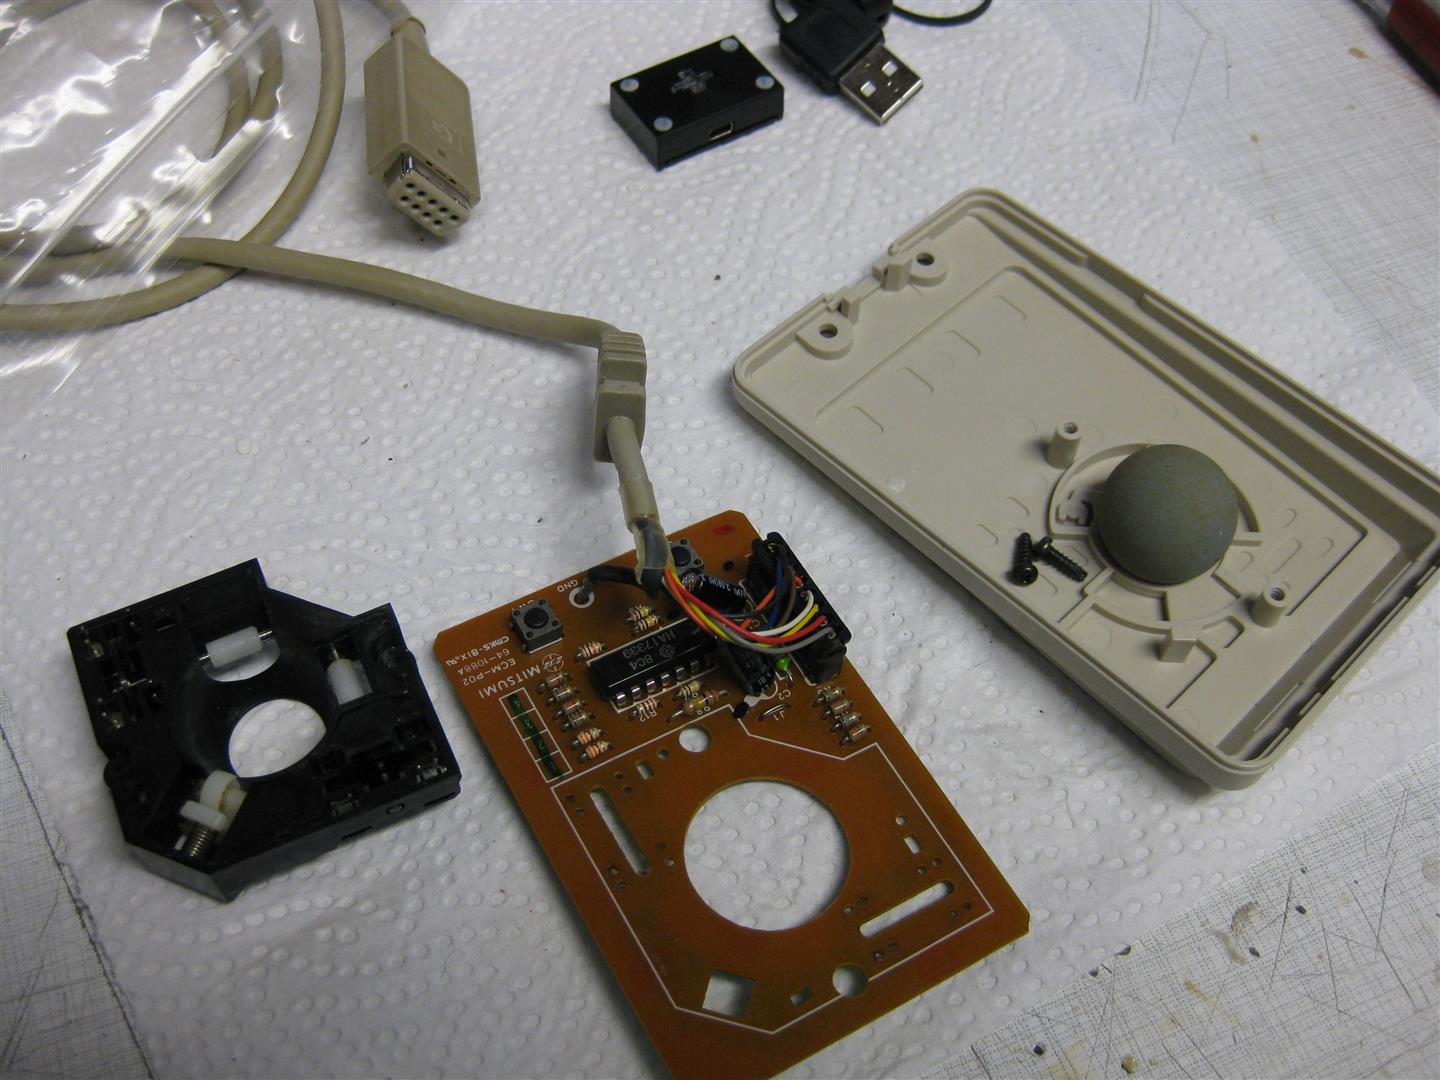
    I removed the optical stuff to make room for the optical mouse:

    amiga_mouse_optical_usb (4) (Large)

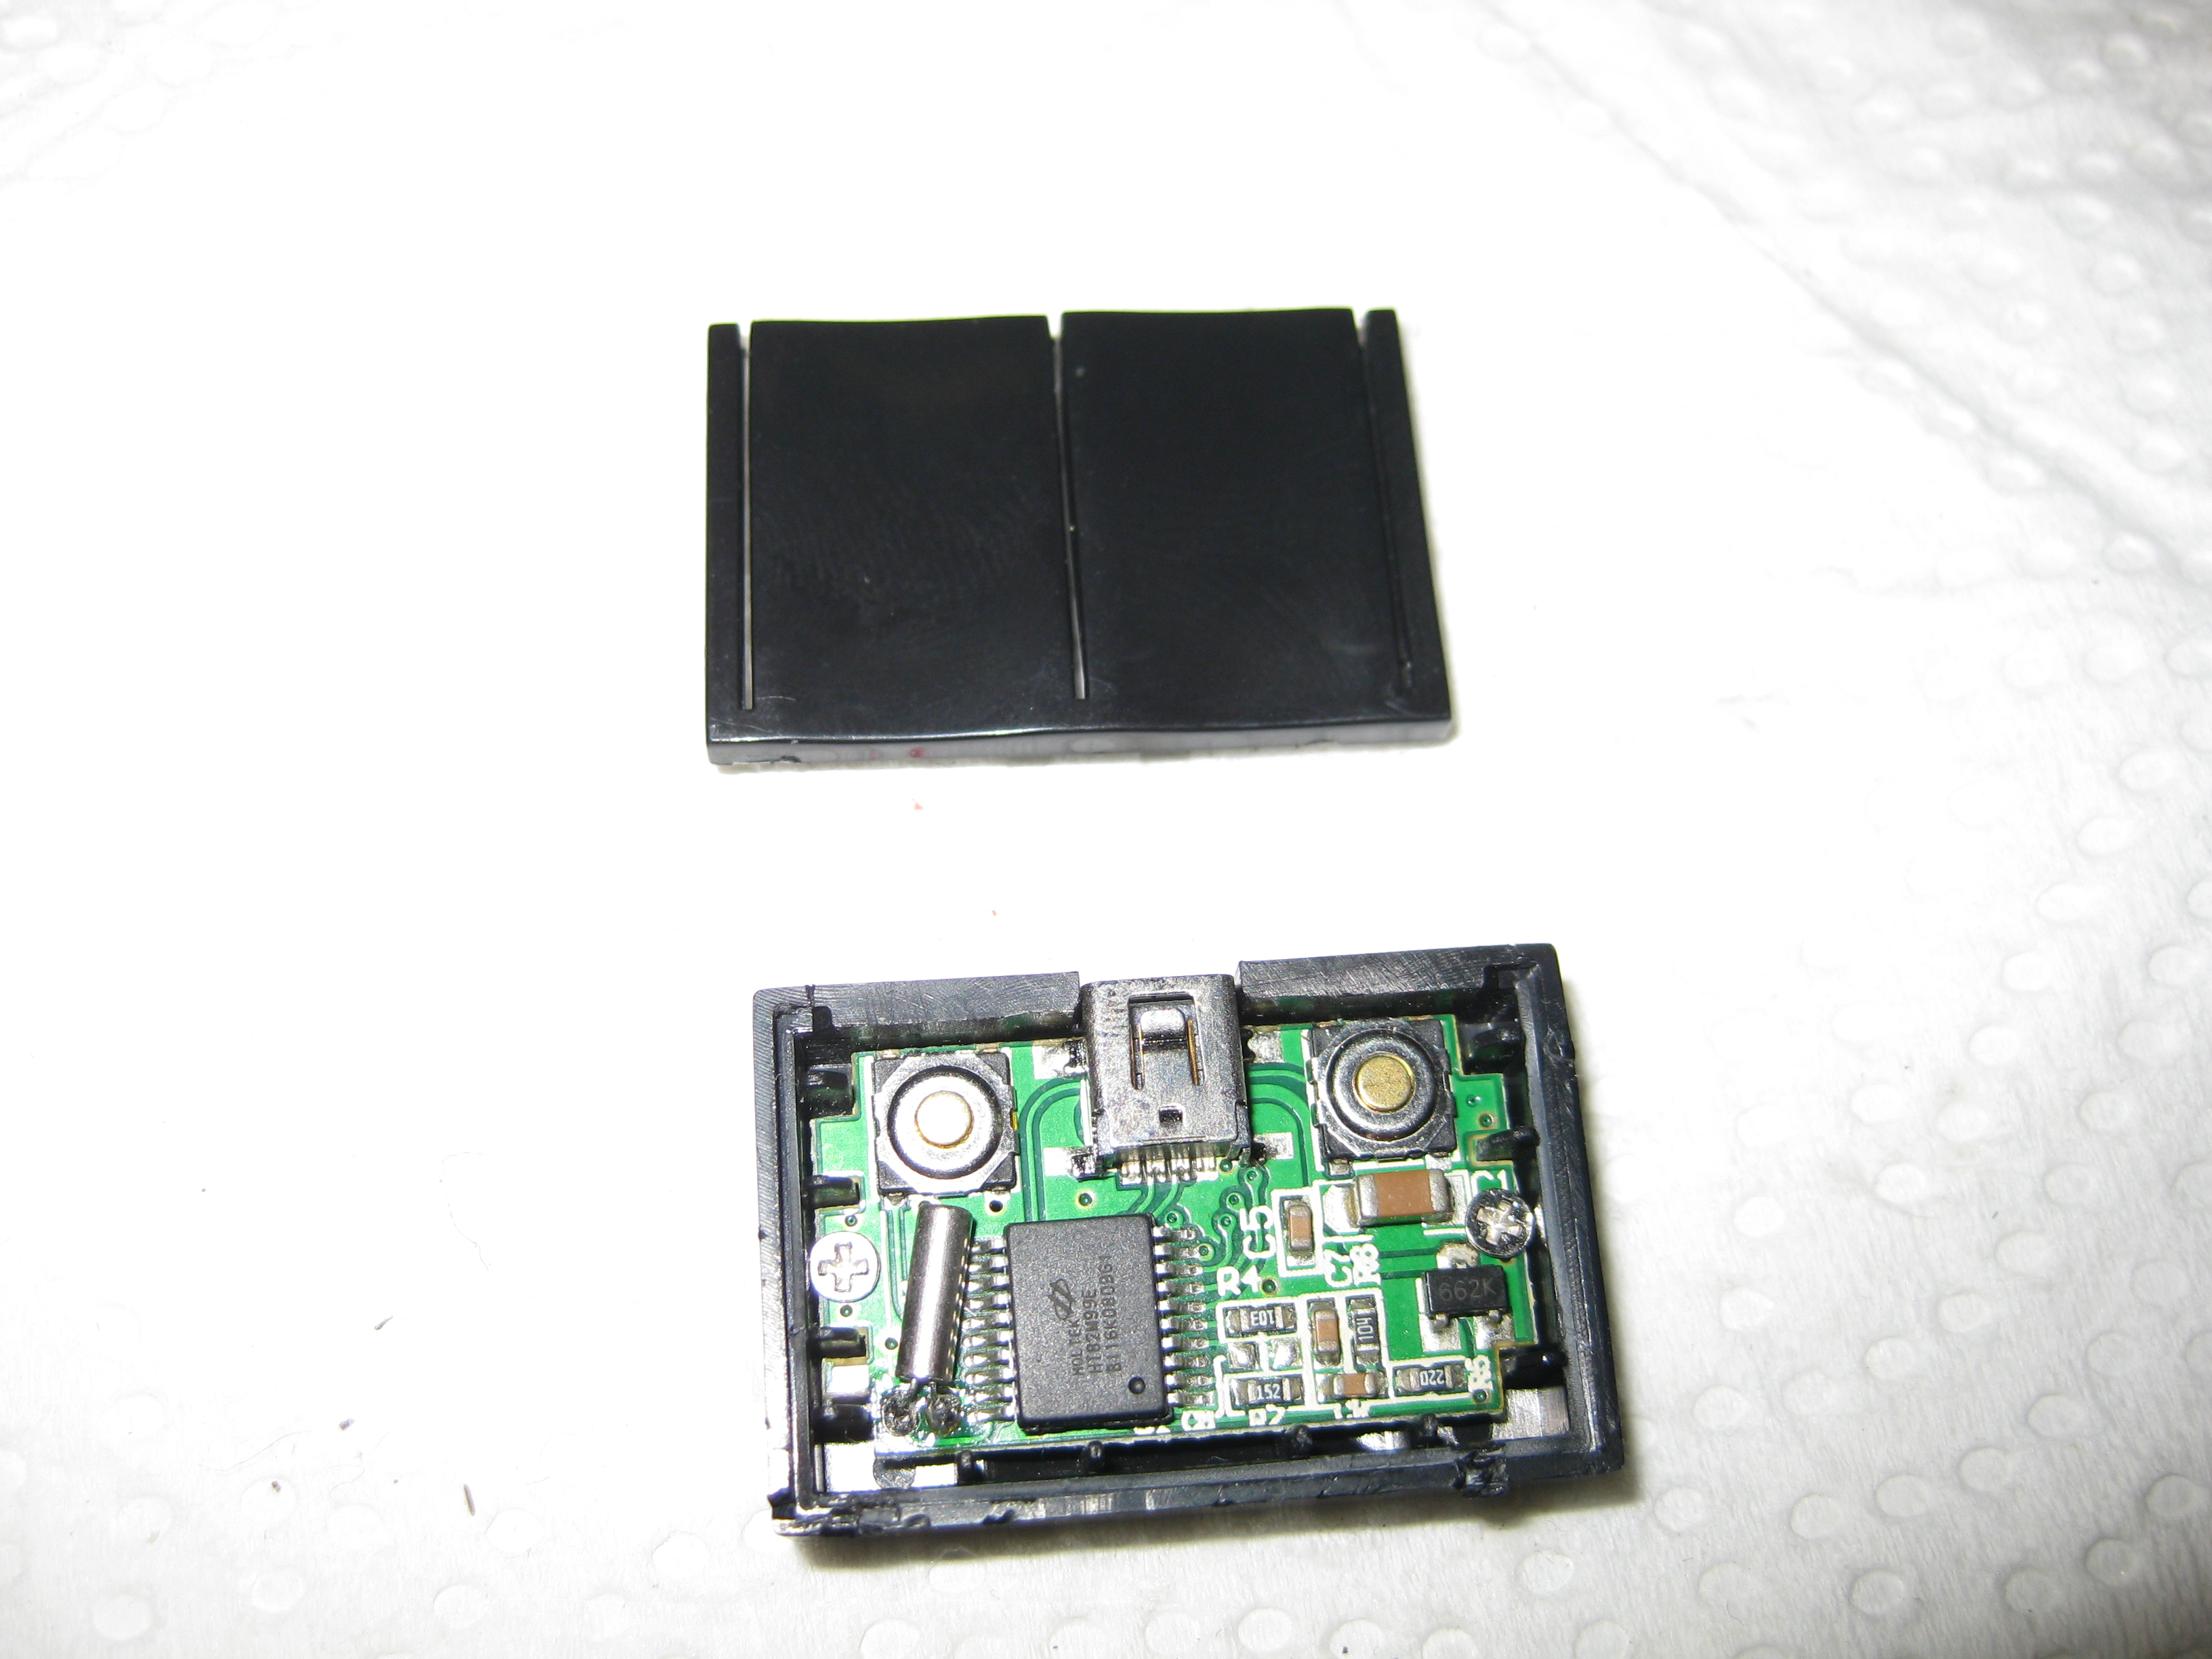
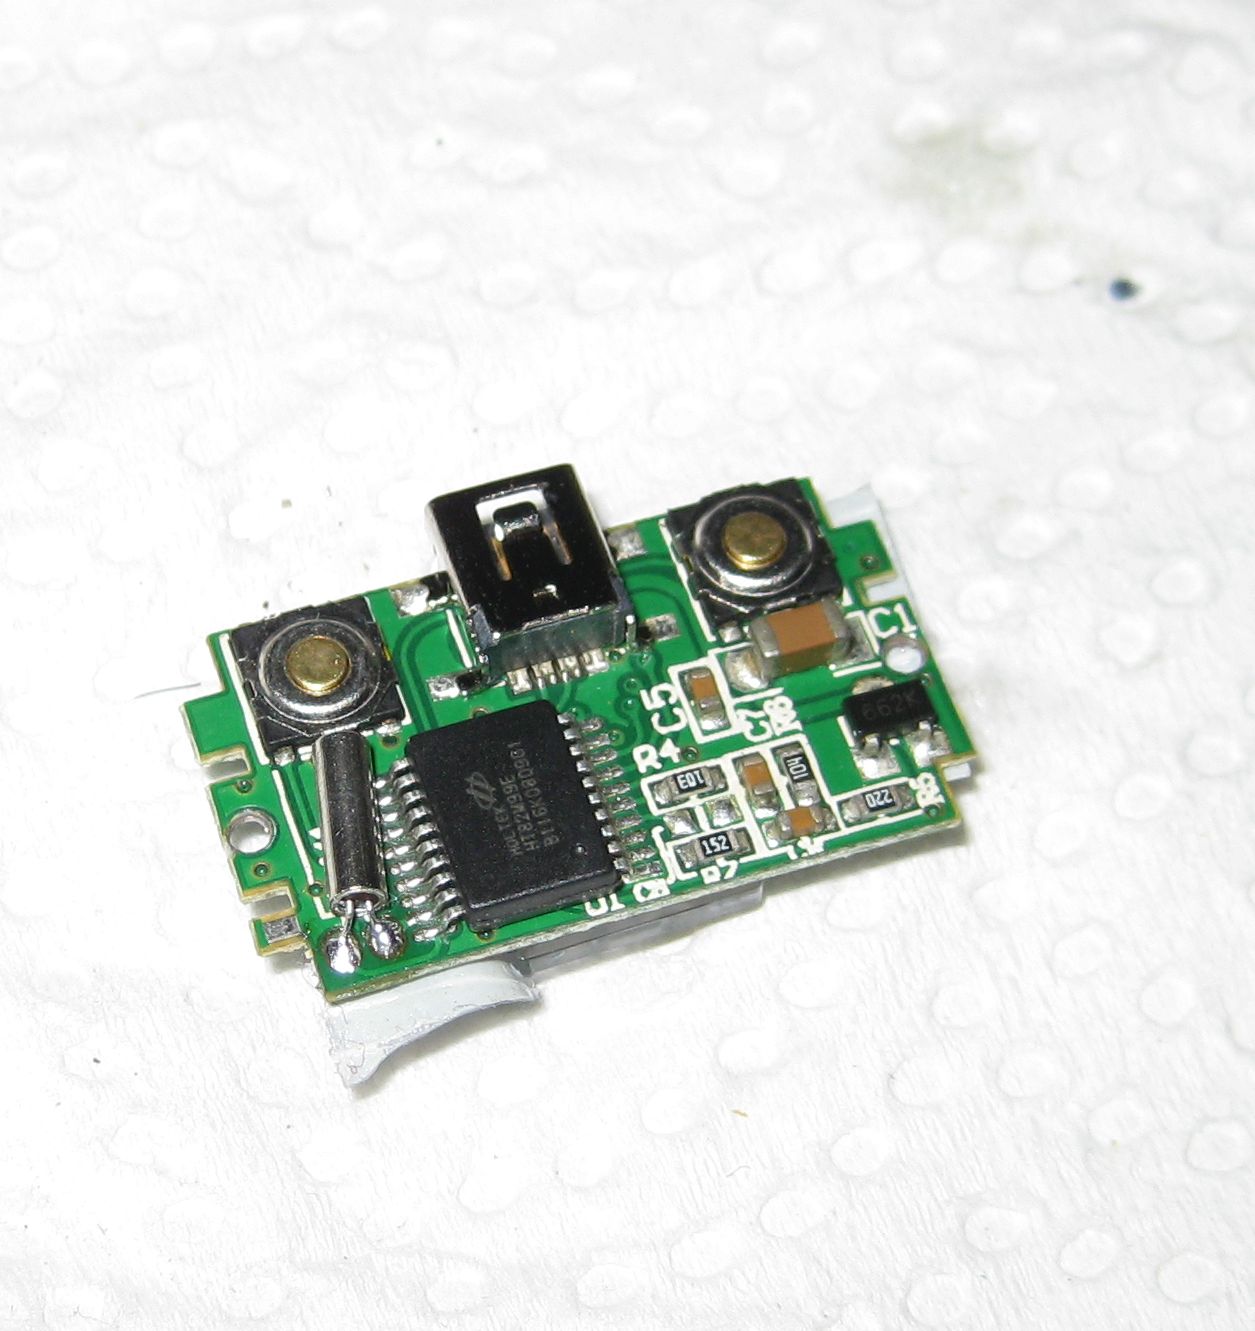
    Now its time to open the tiny PC mouse:
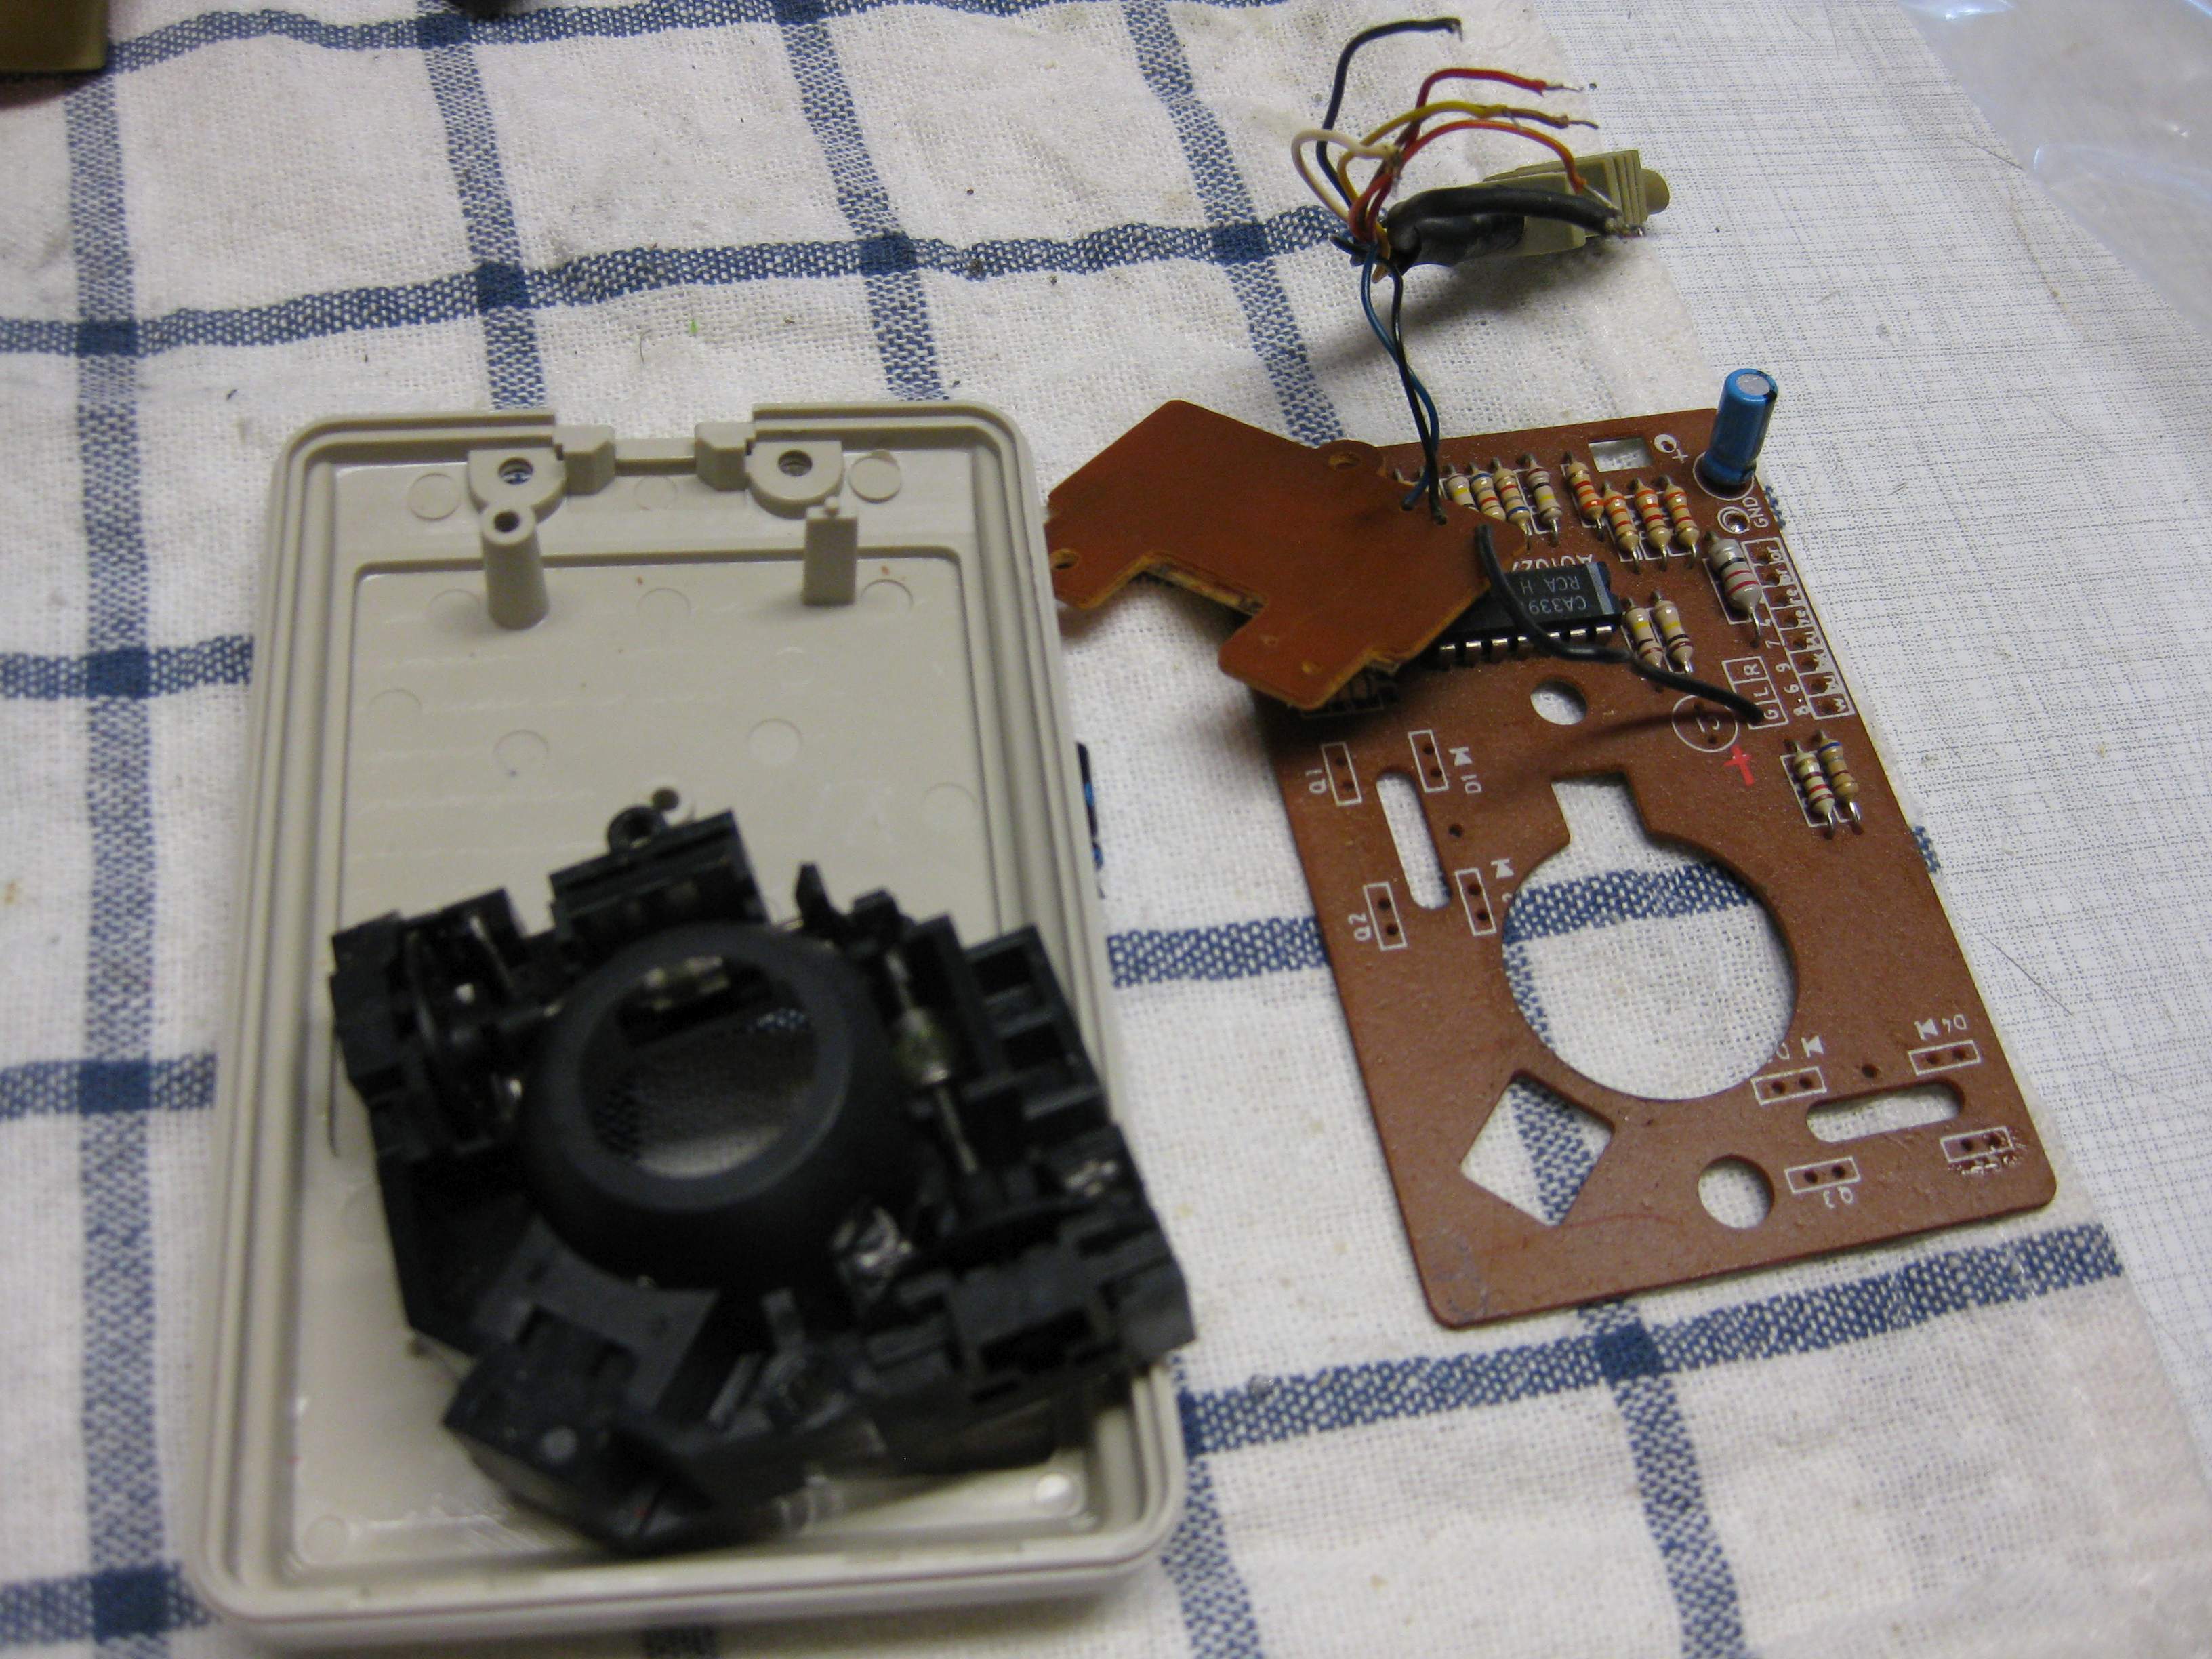
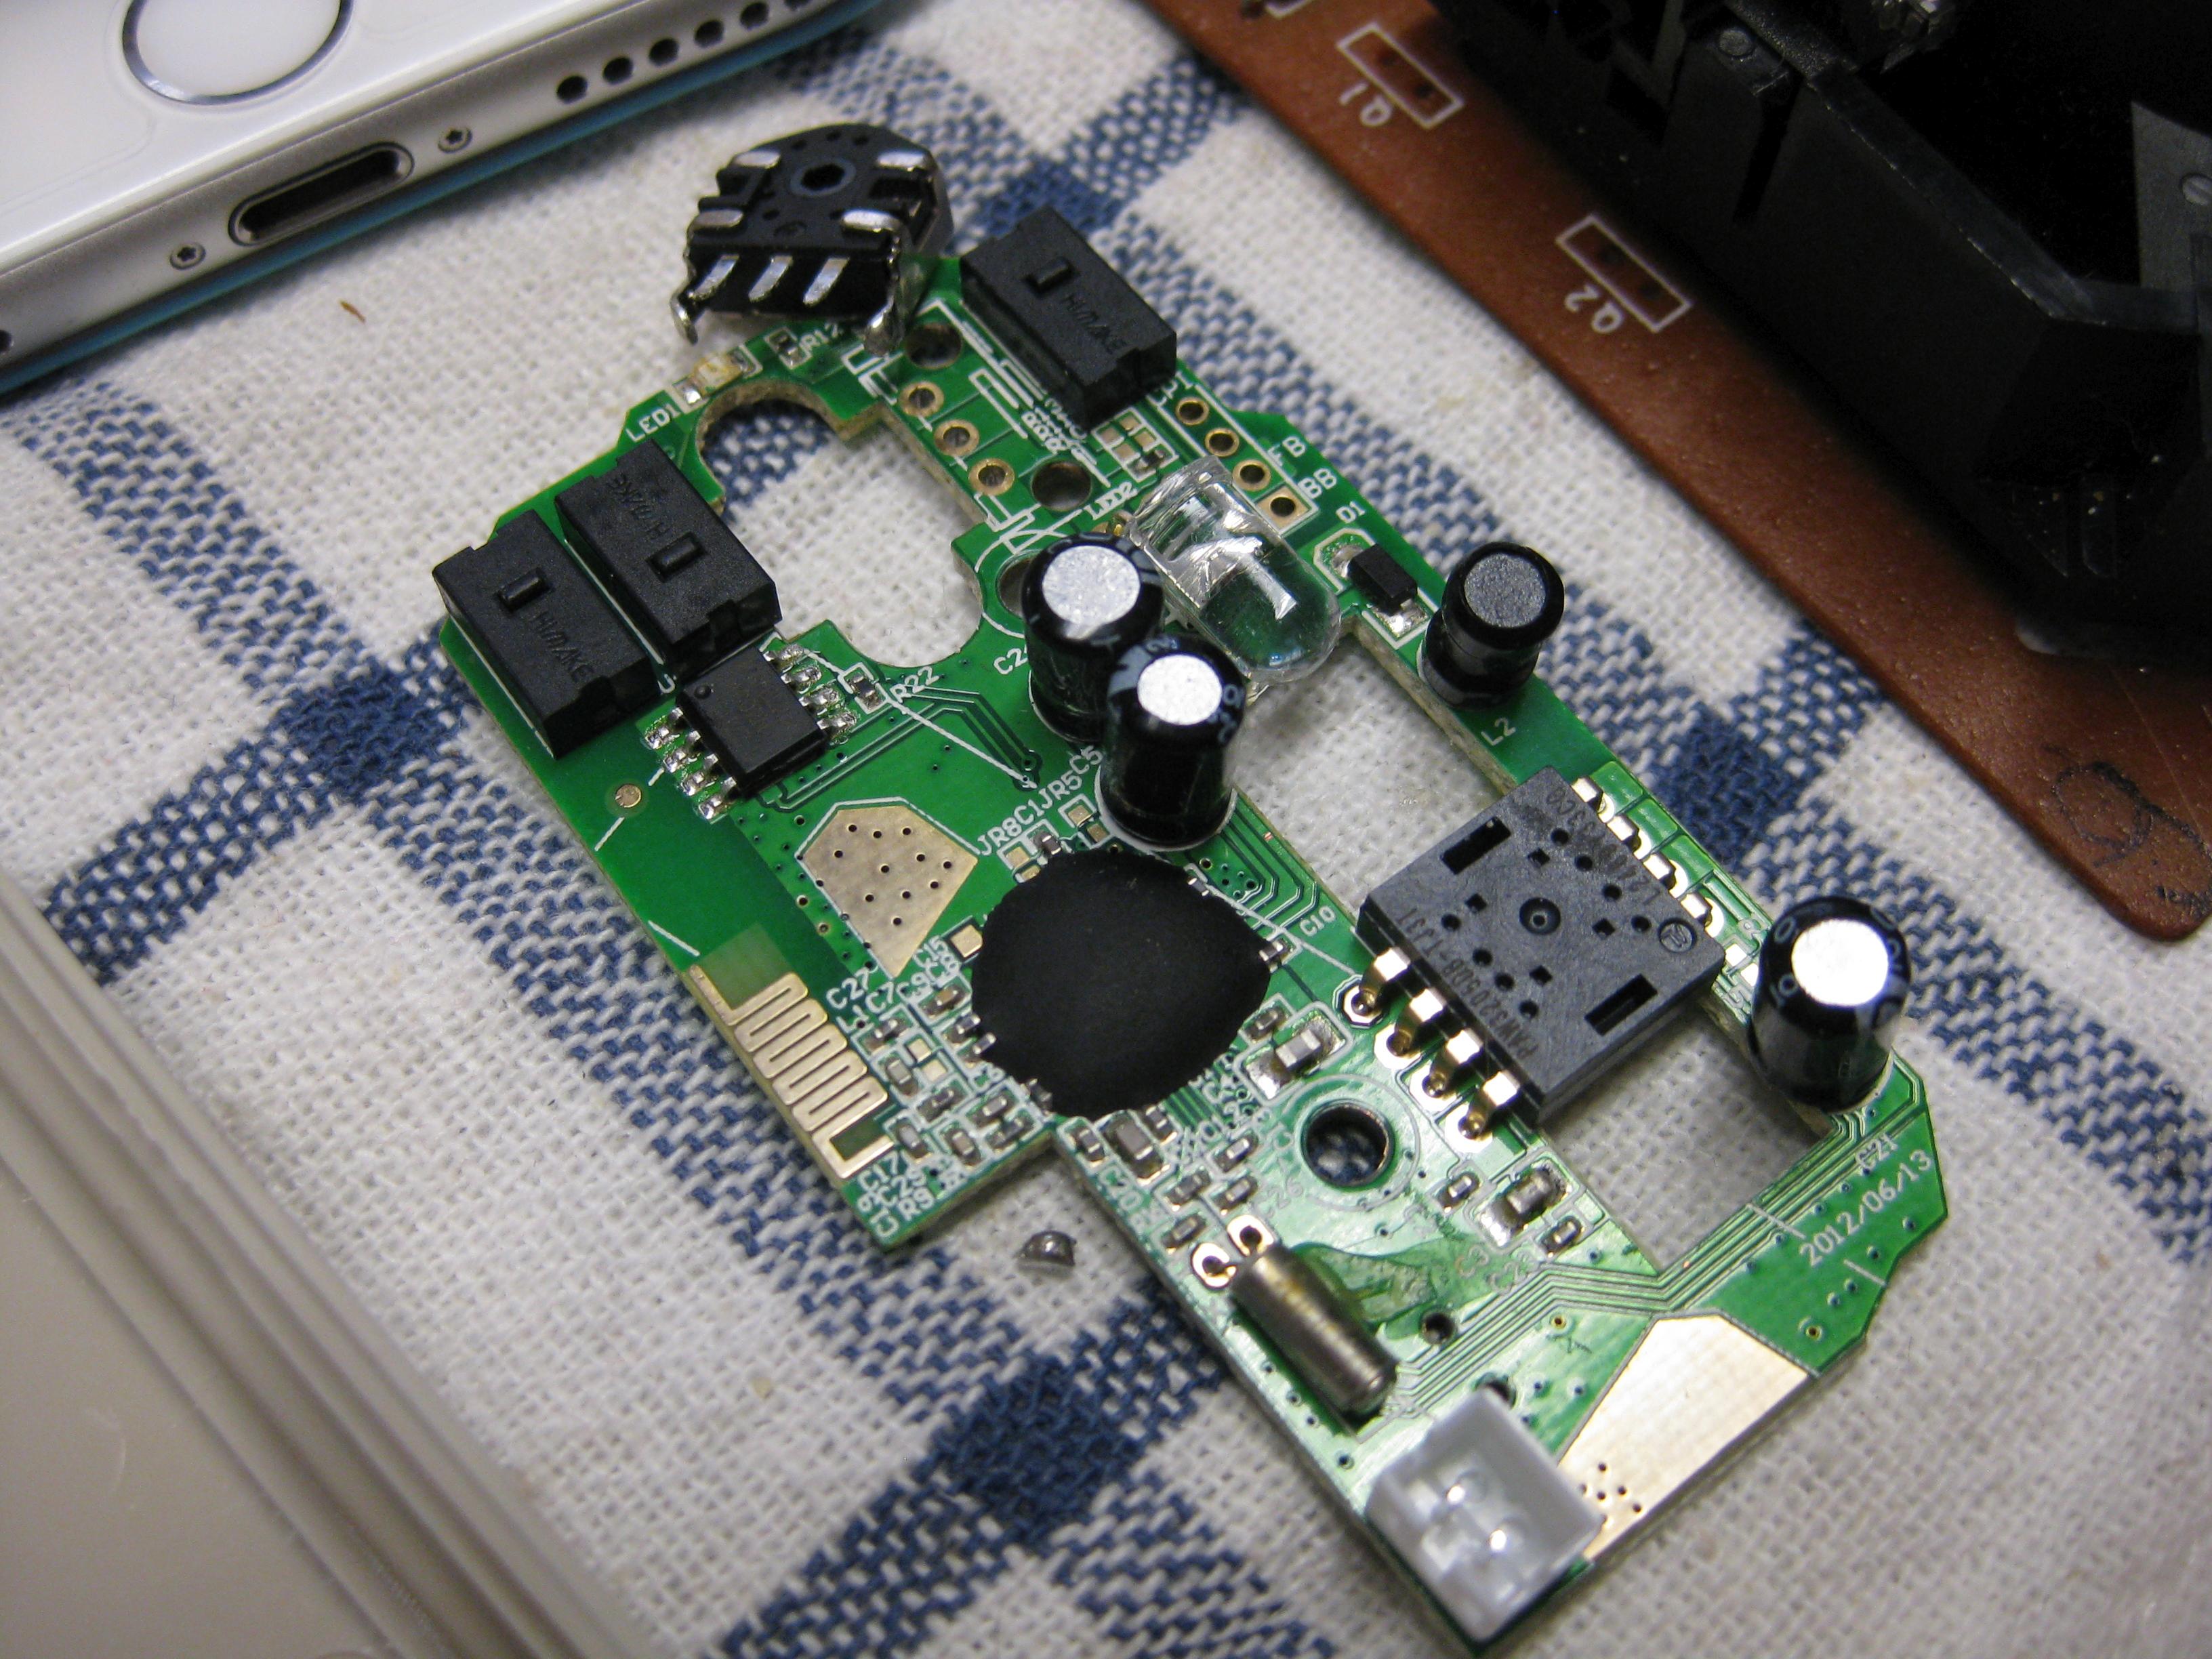
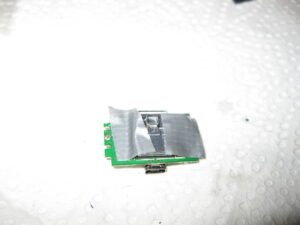
    amiga_mouse_optical_usb (5)

    pcb only :

    amiga_mouse_optical_usb (6)

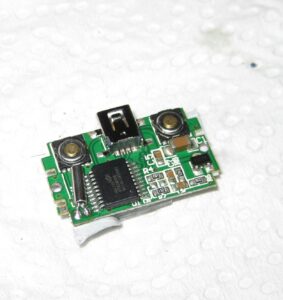
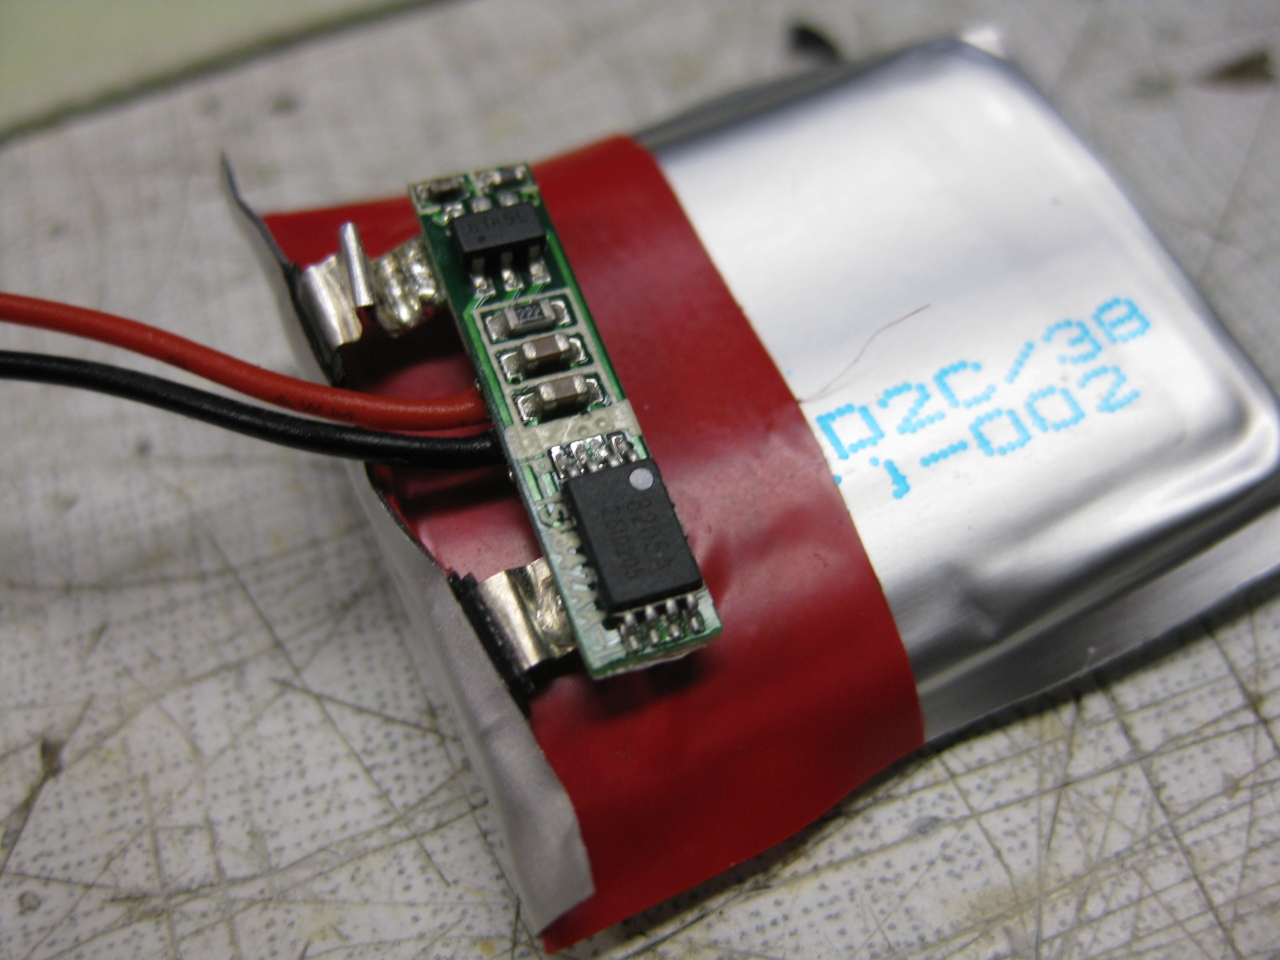
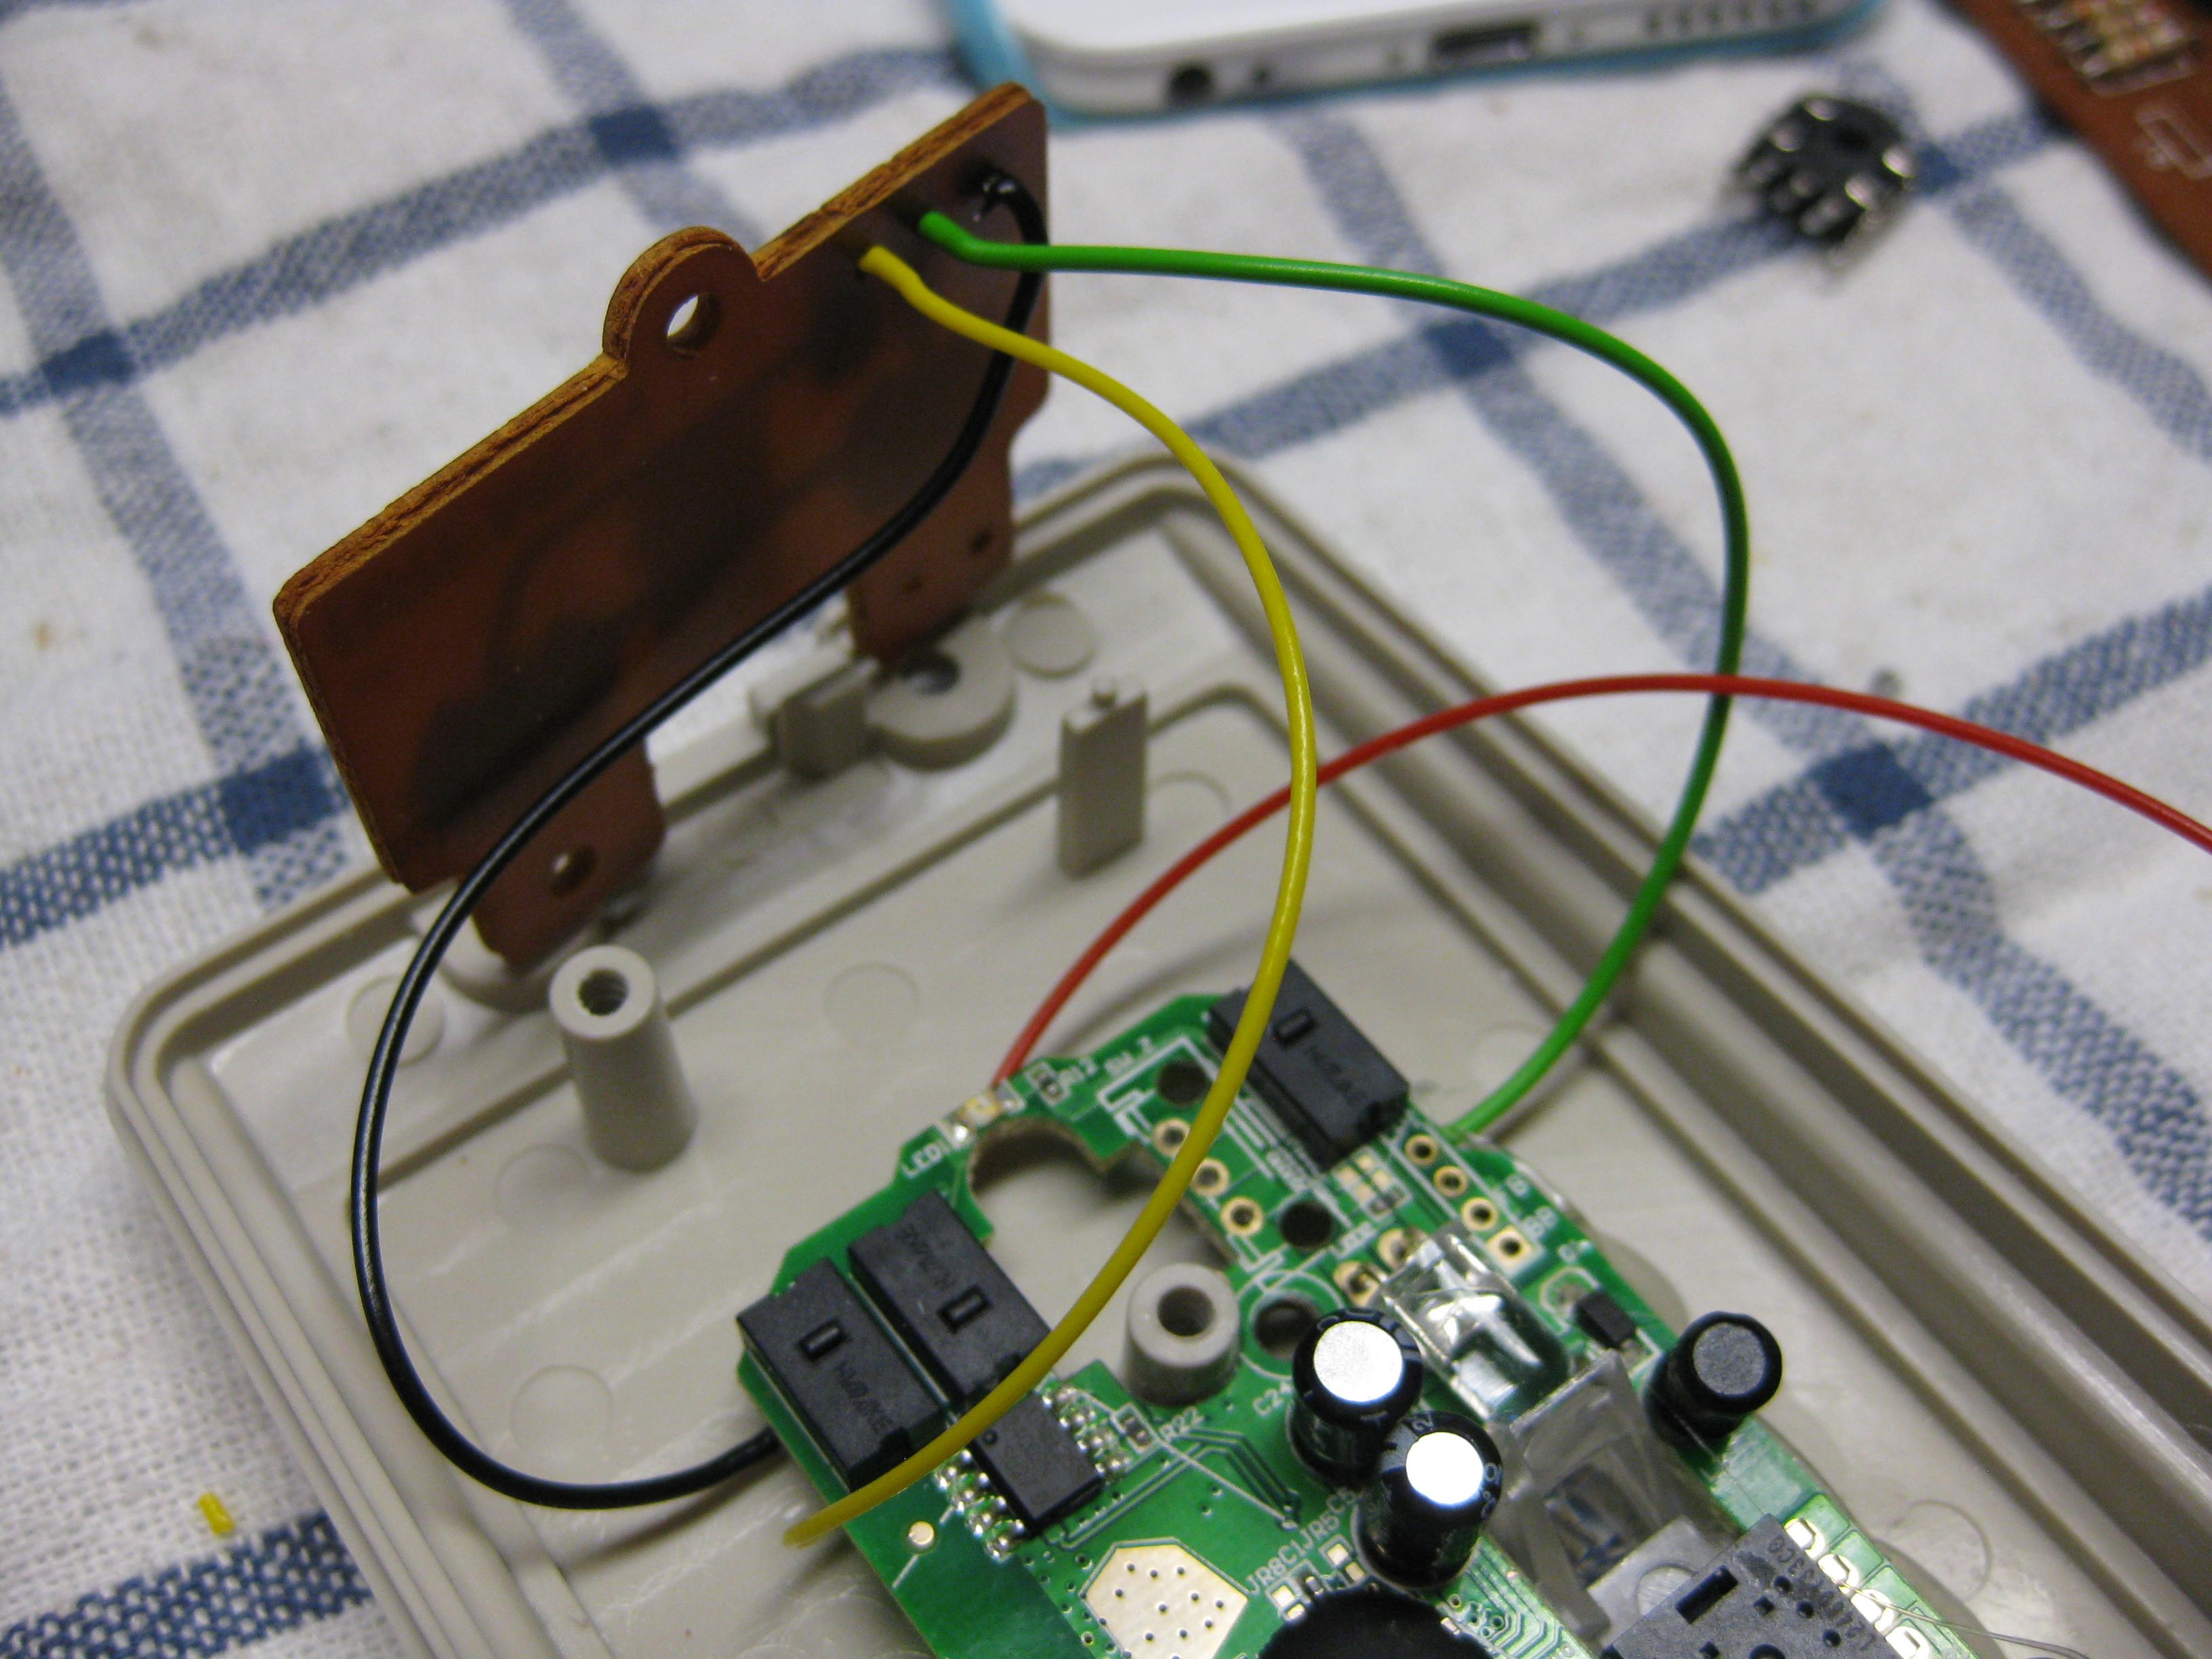
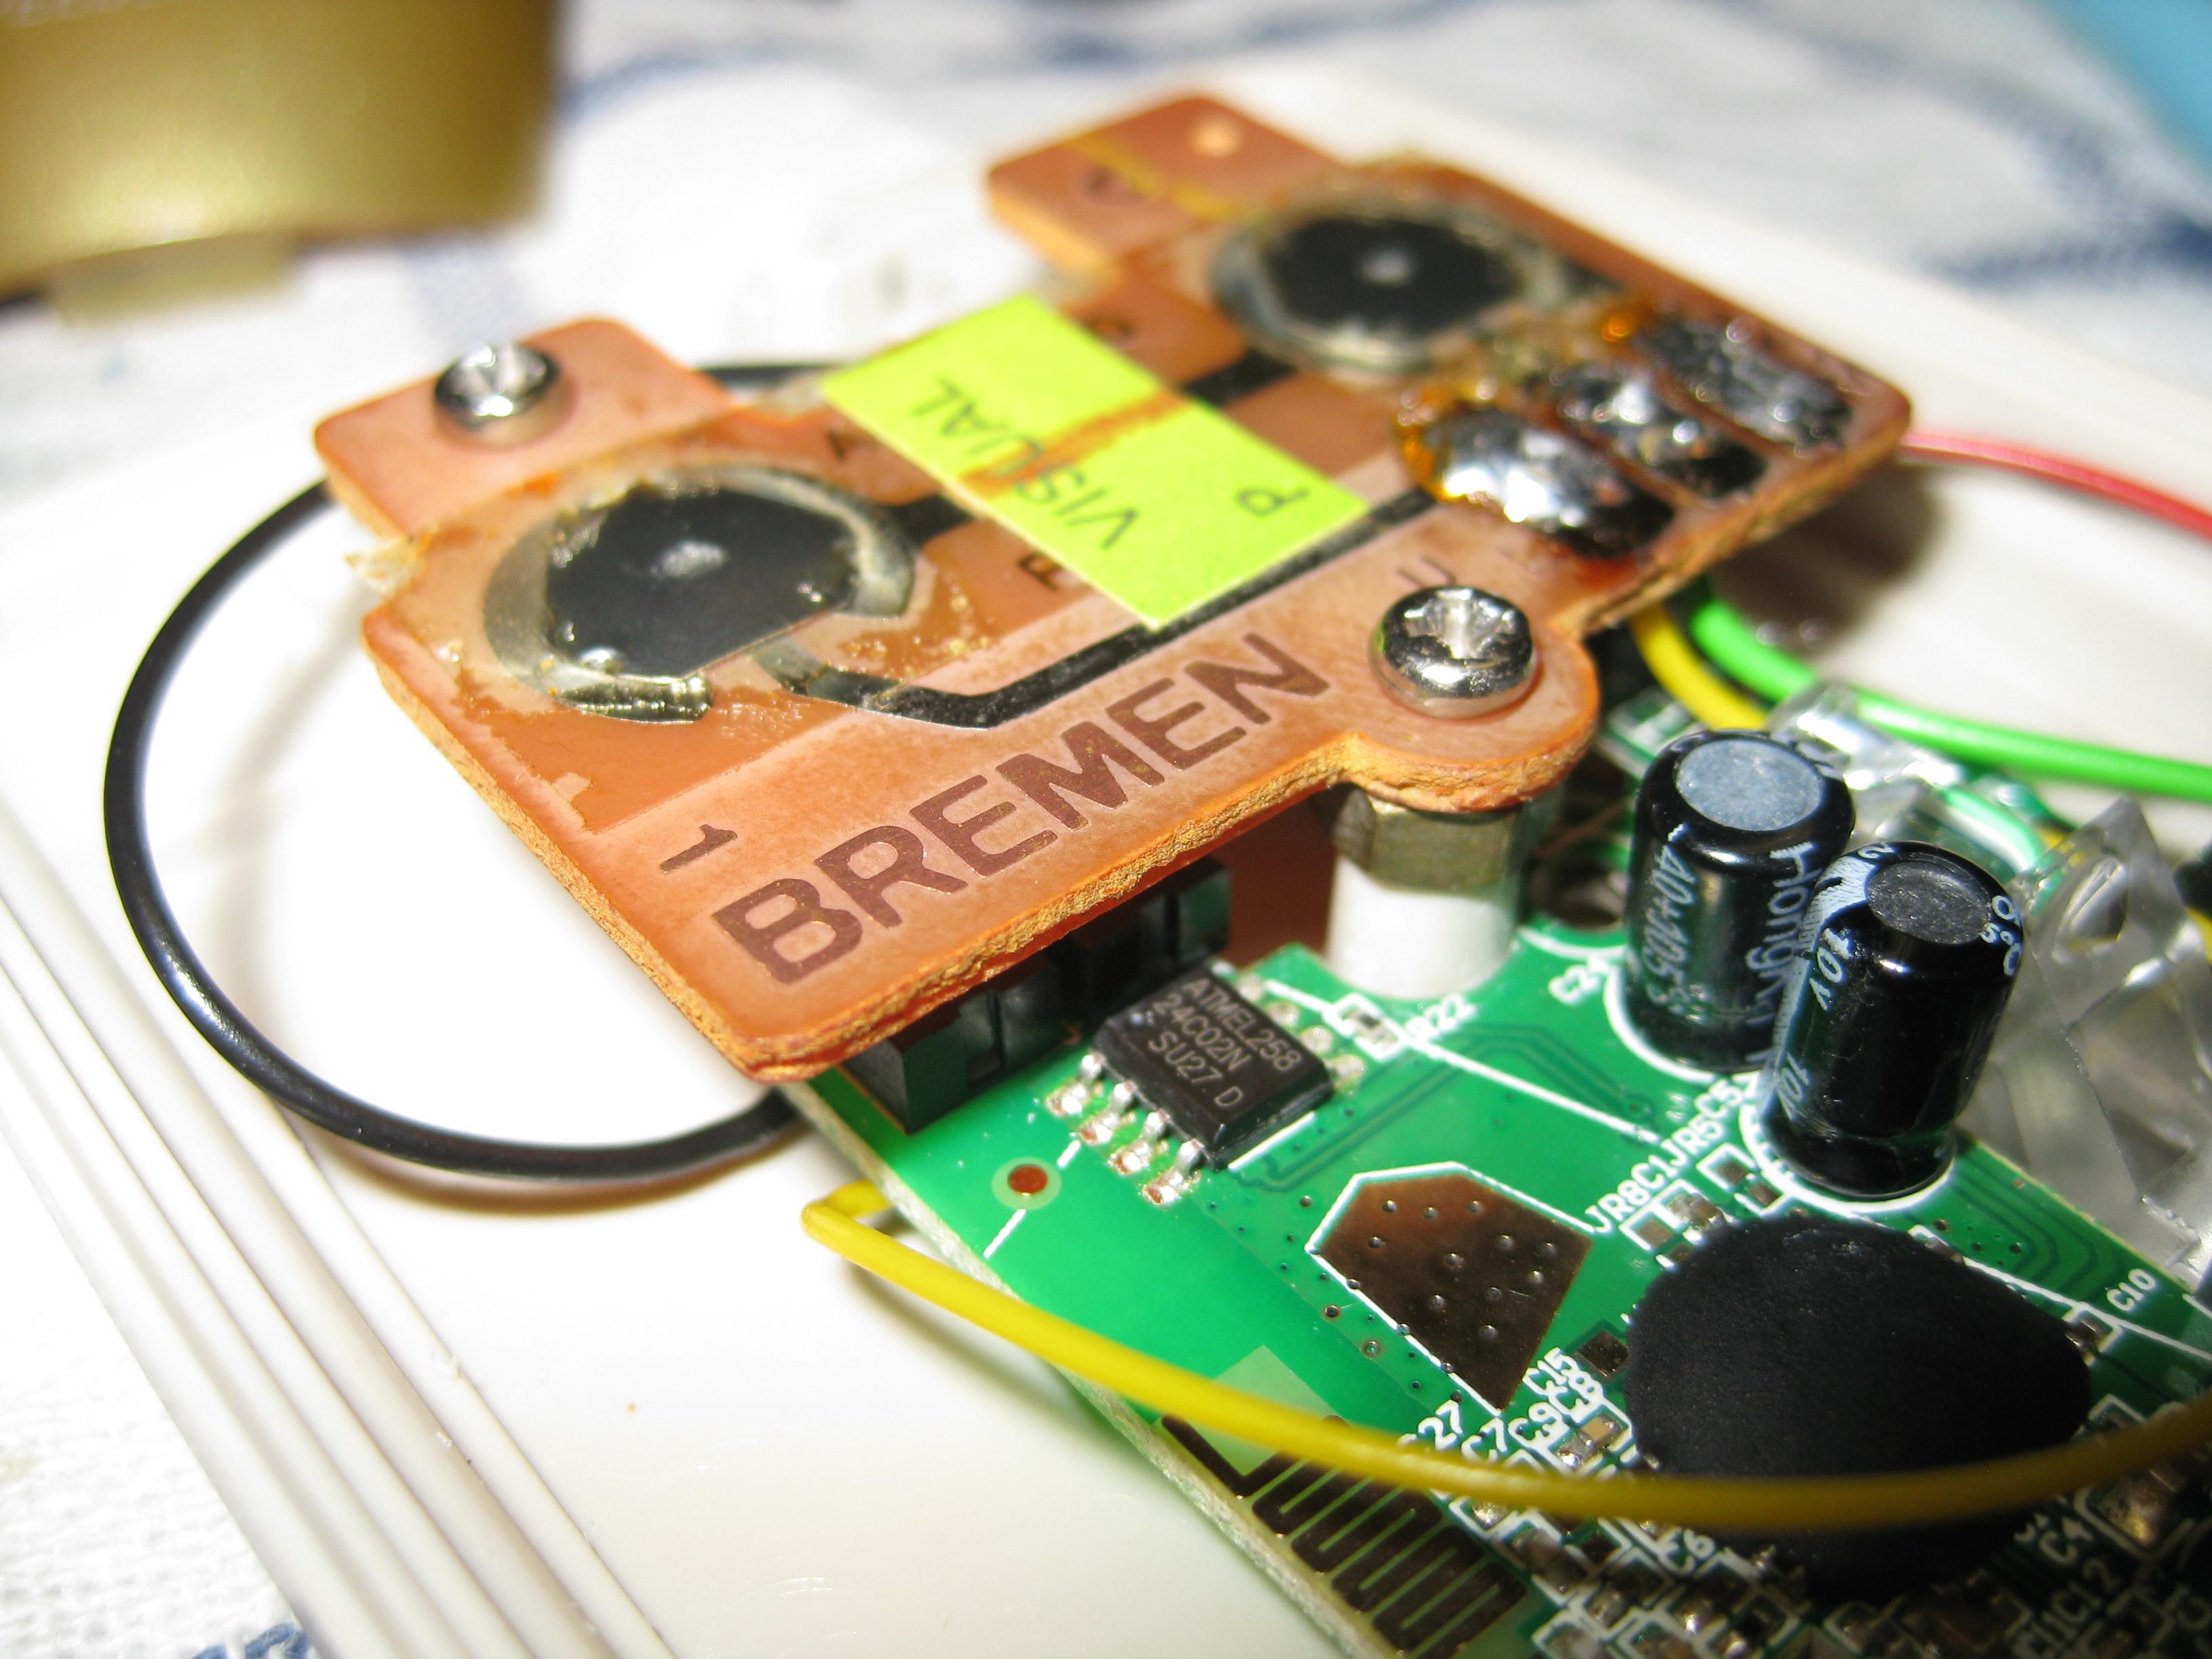
    For testing I am using some tape to hold the lens in right position. The final version will hold via clue:

    amiga_mouse_optical_usb (7)

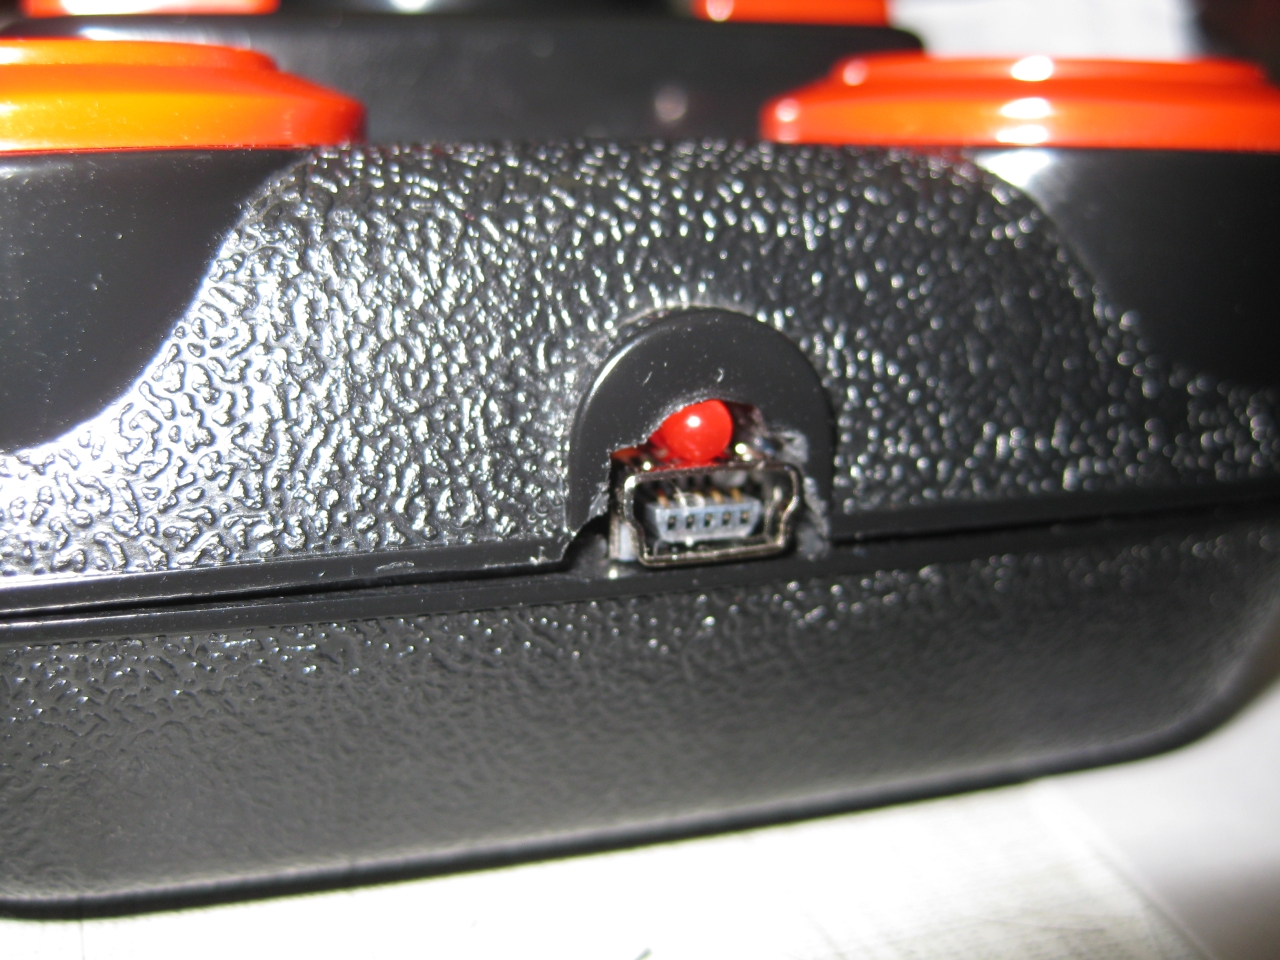
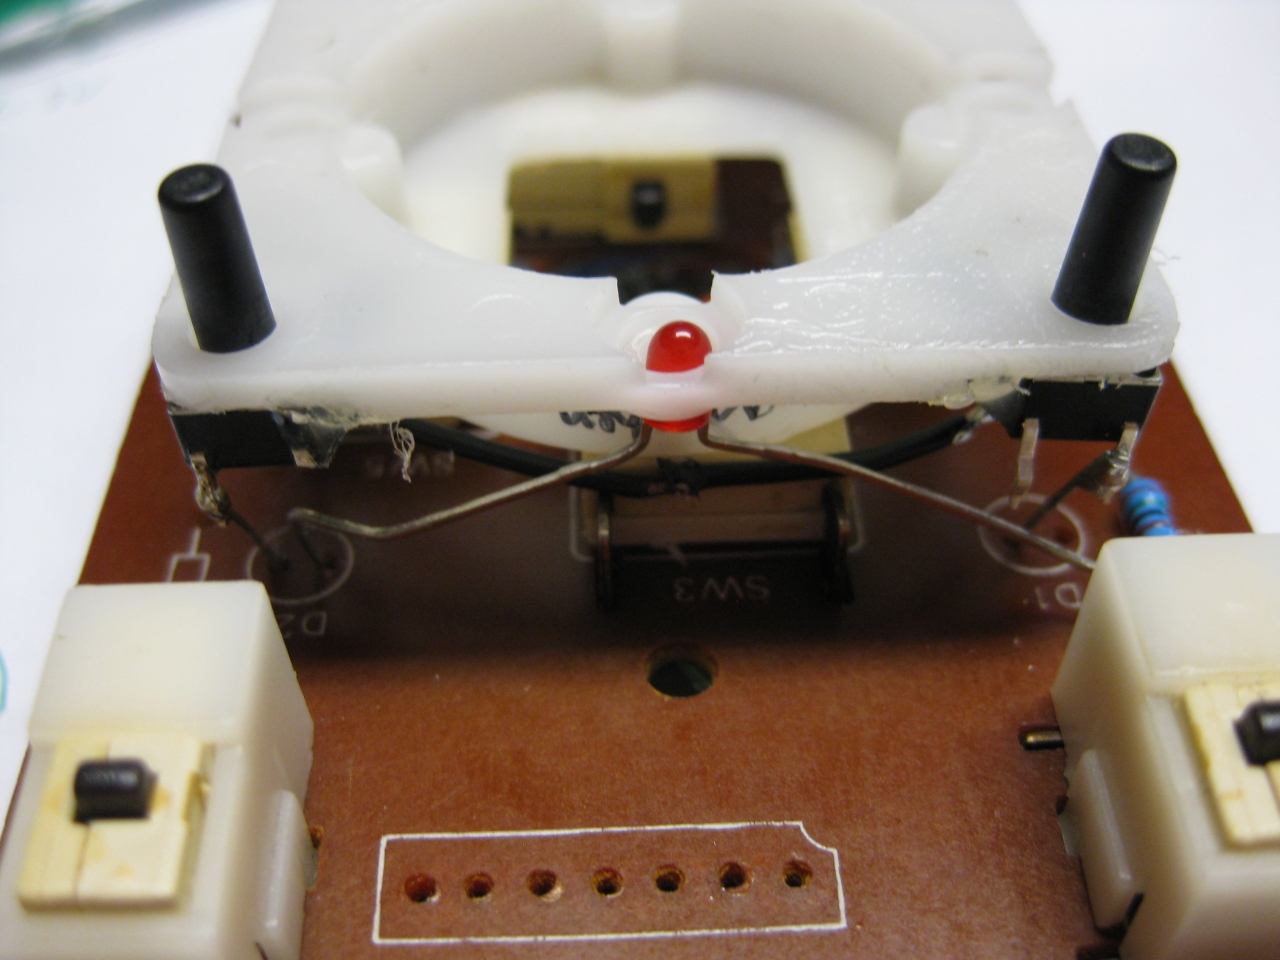
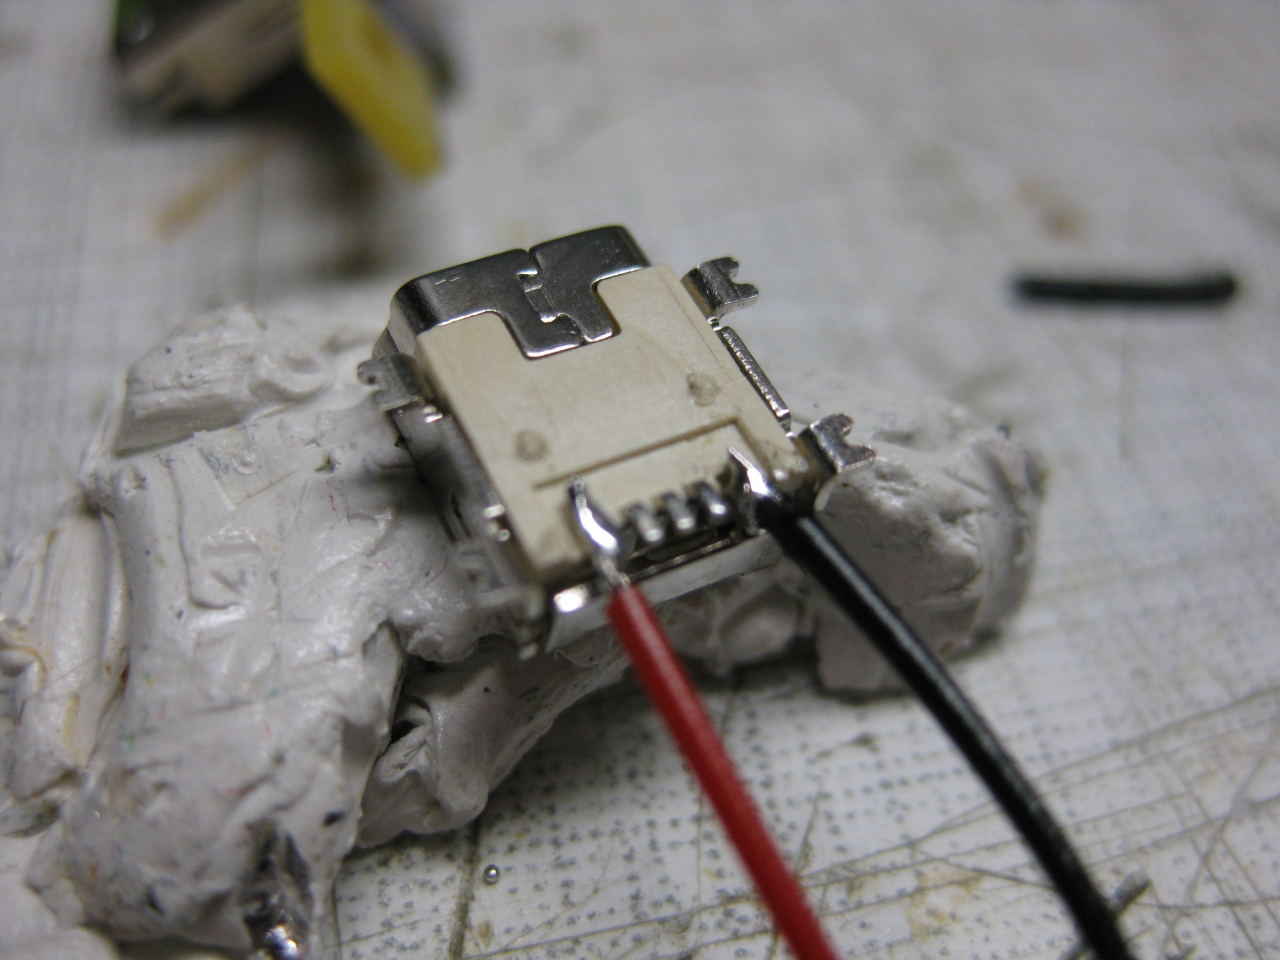
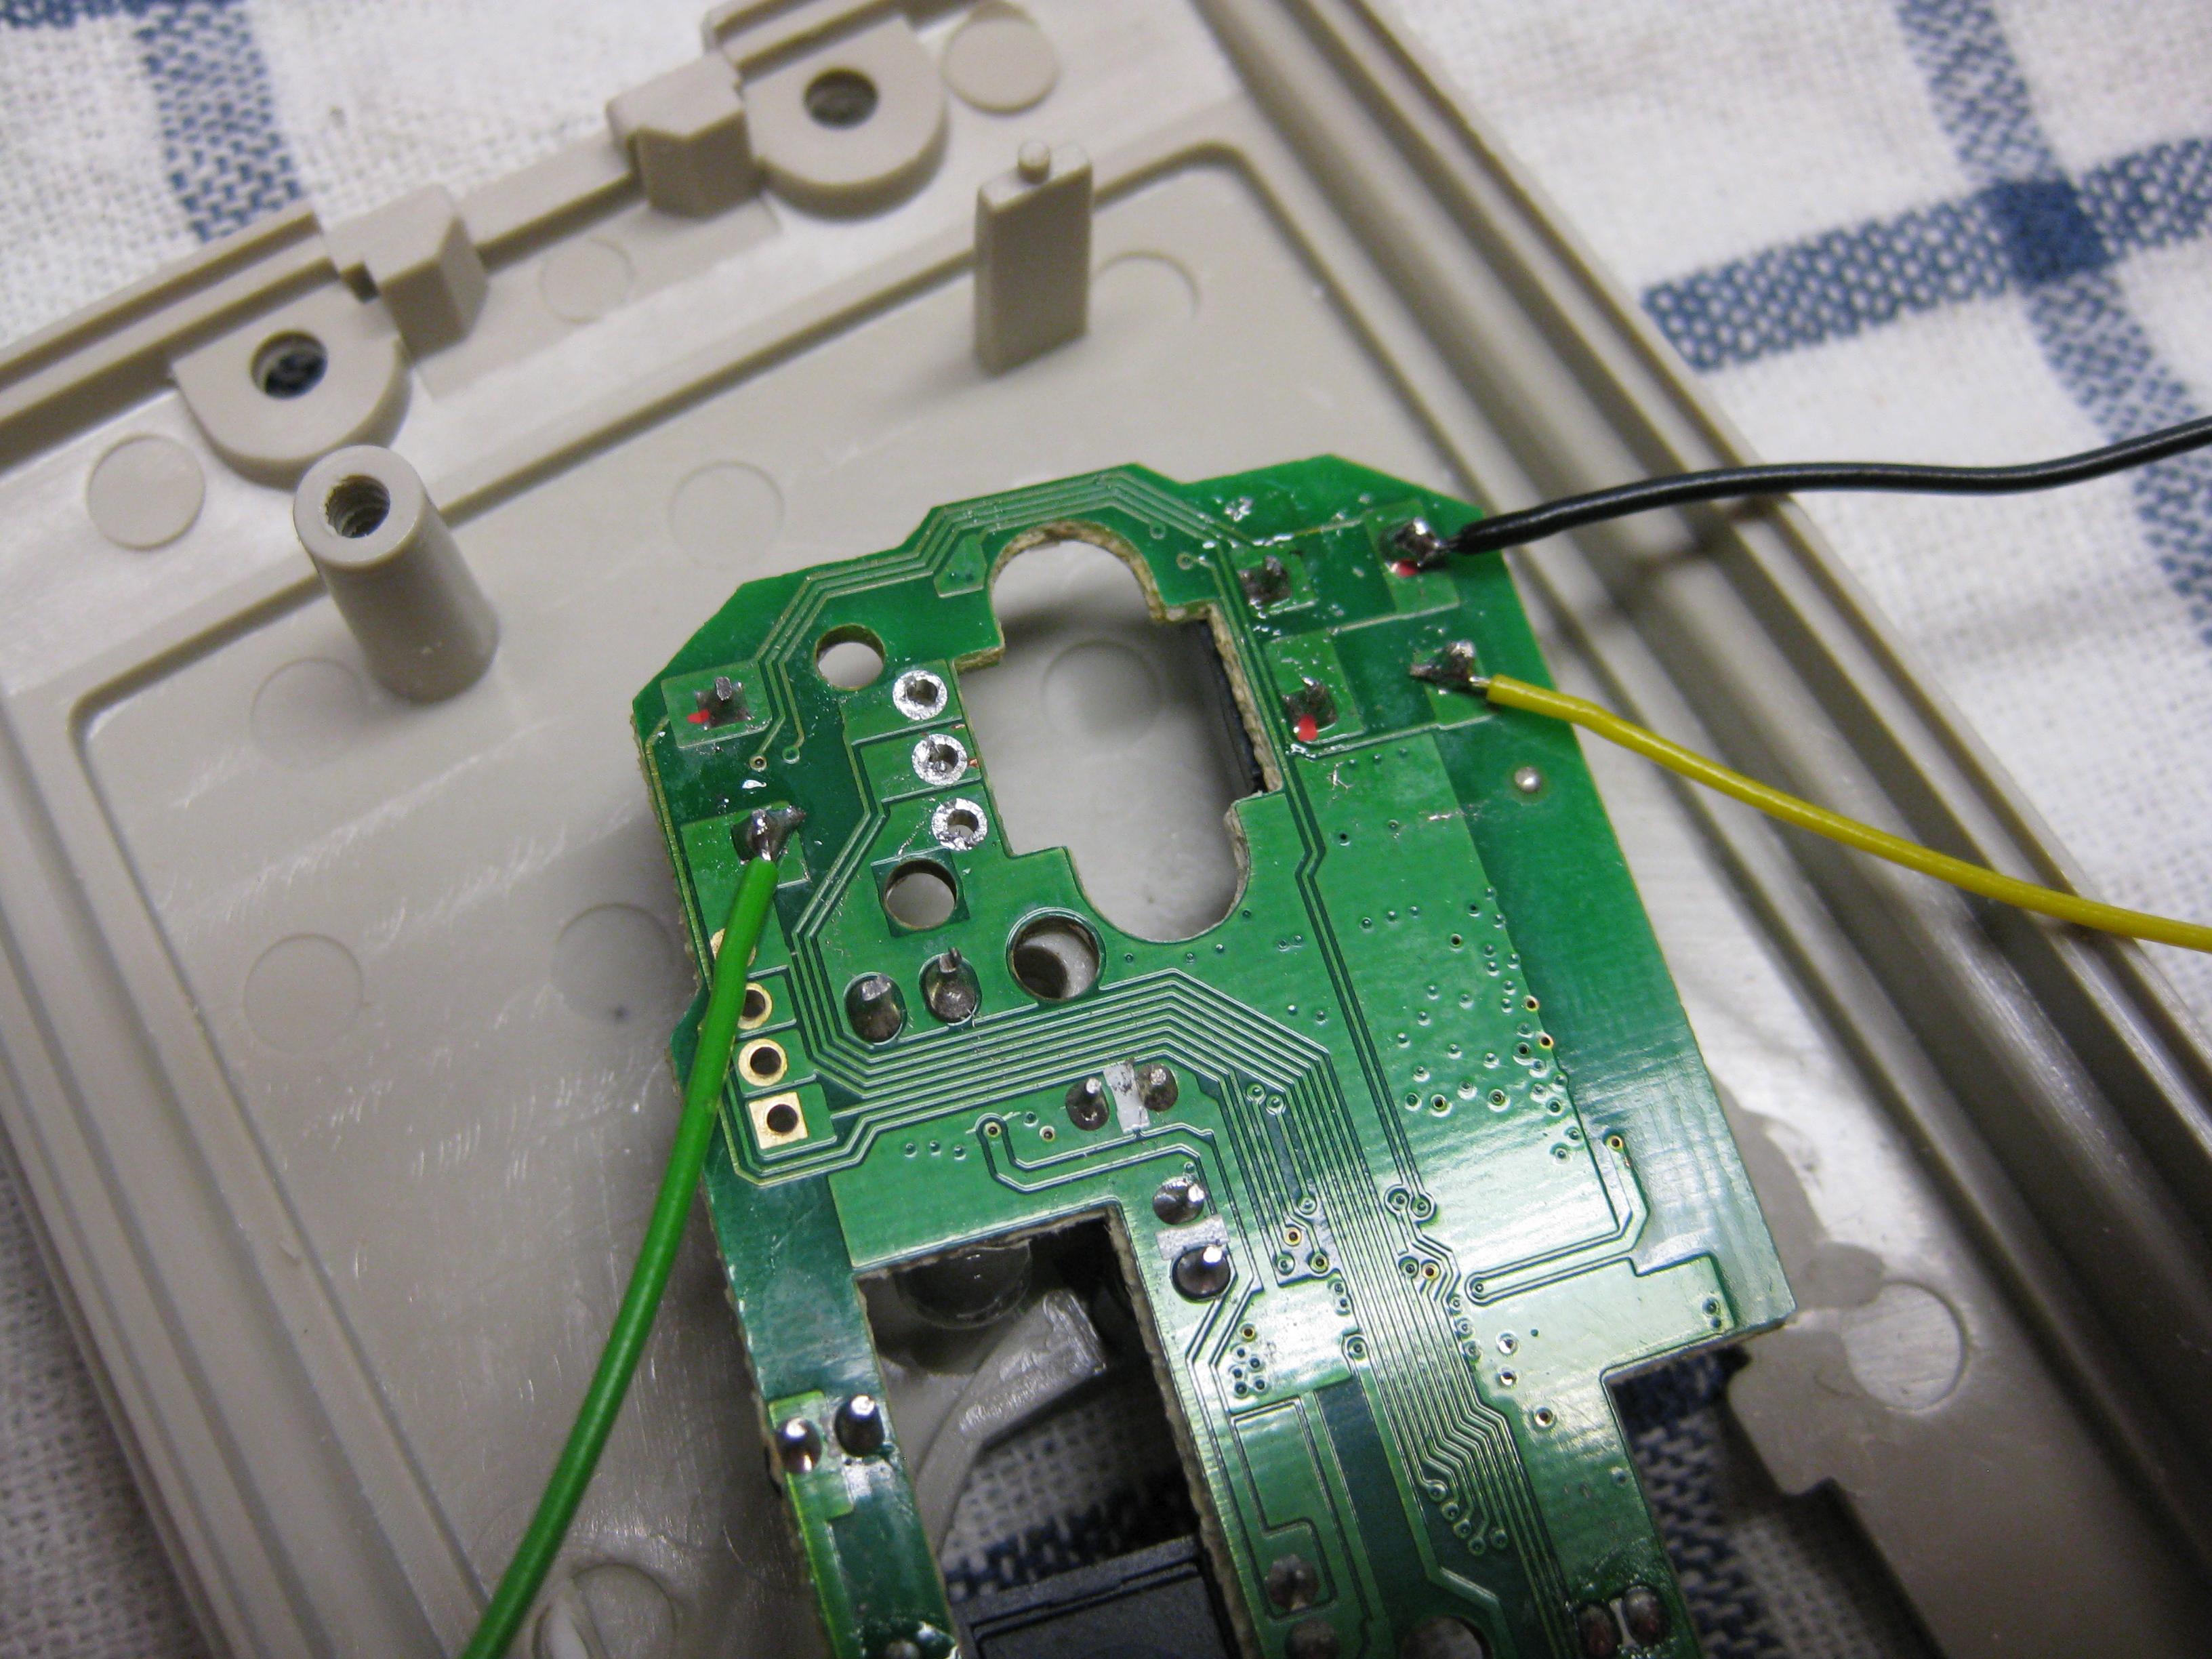
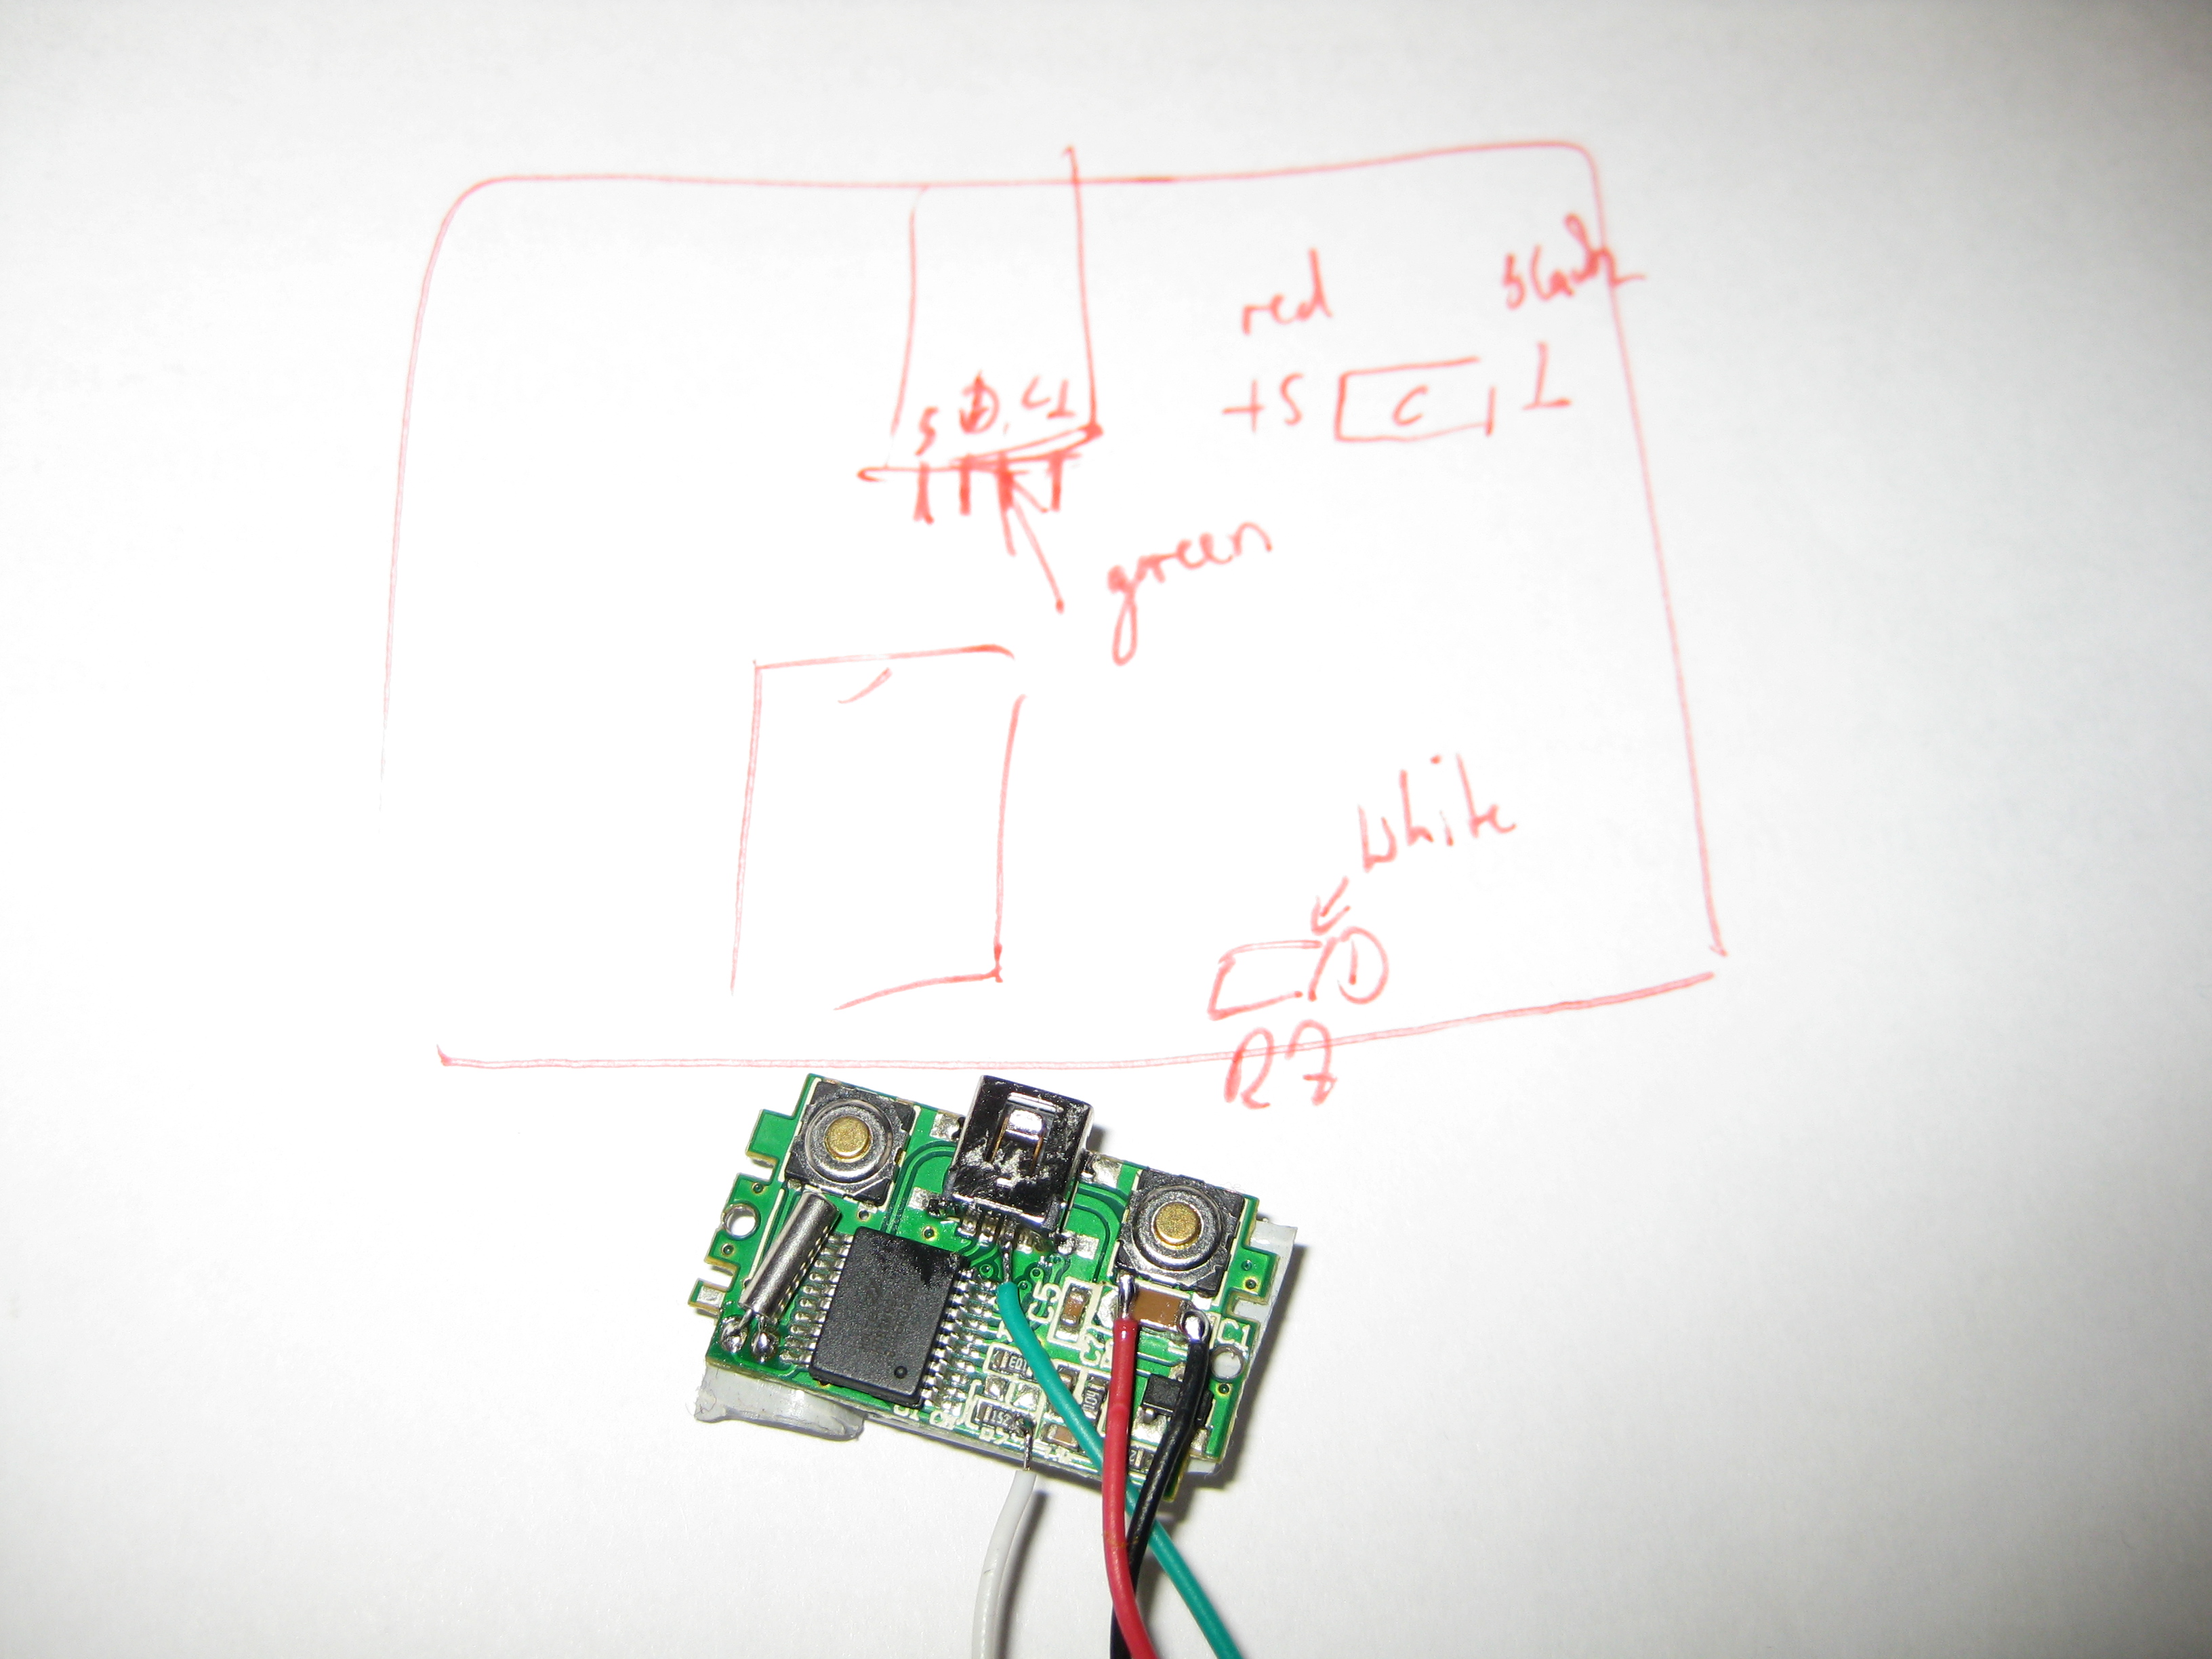
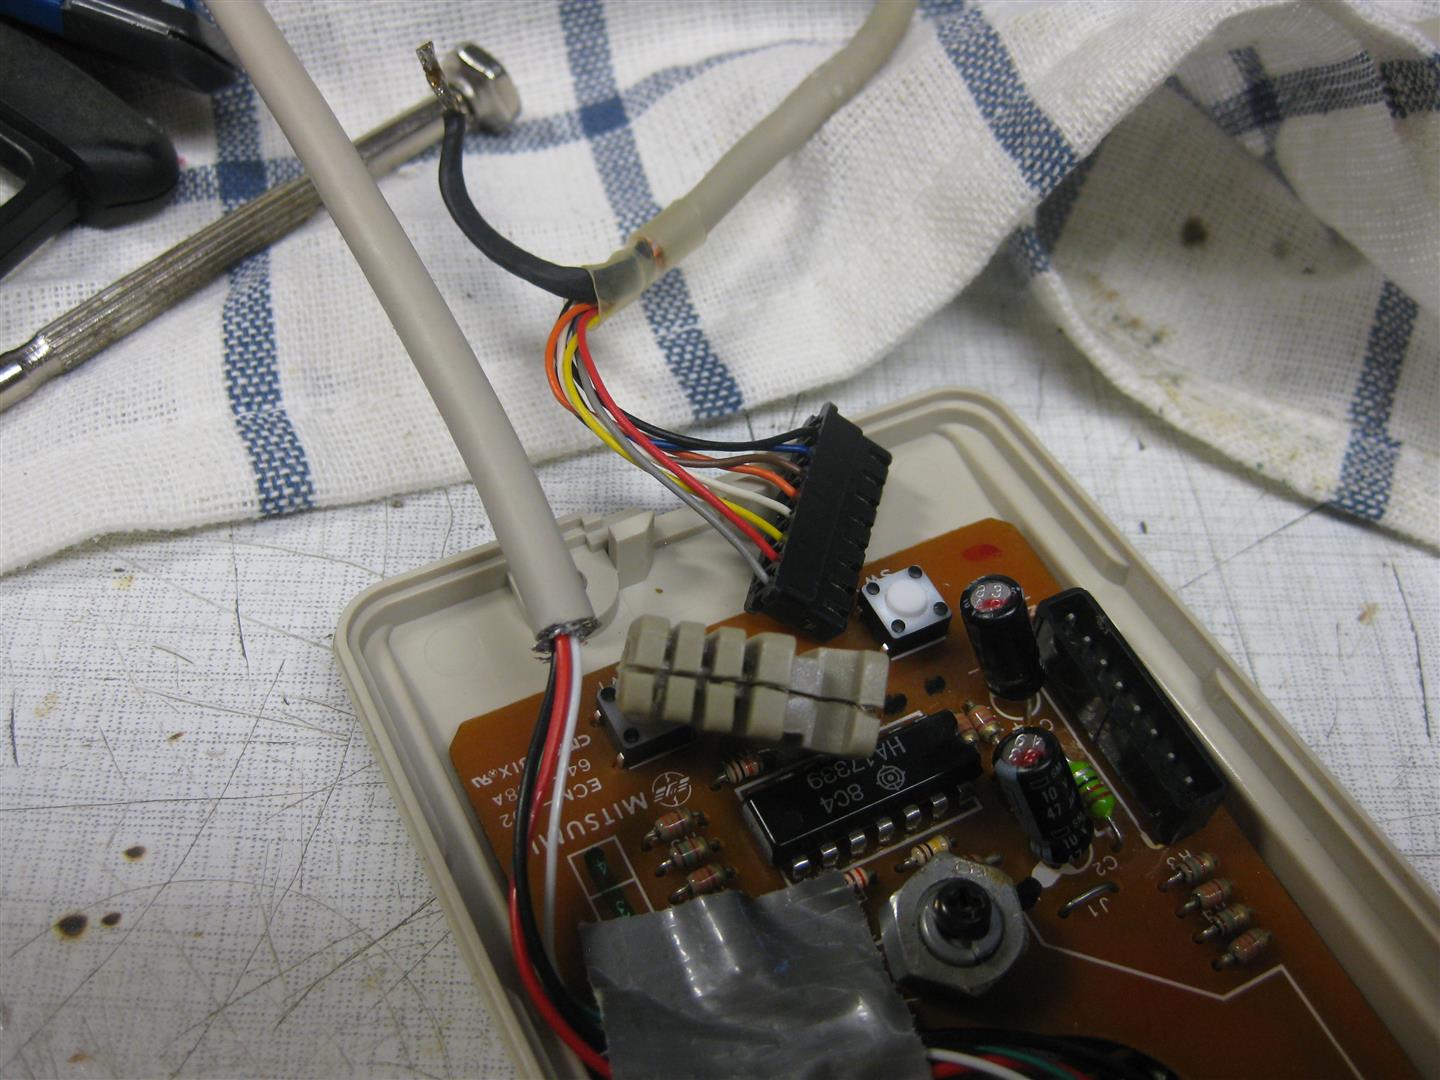
    The USB Cable Connector is to big. Instead I found some better solder points for direct connect of a cable:

    amiga_mouse_optical_usb (9)

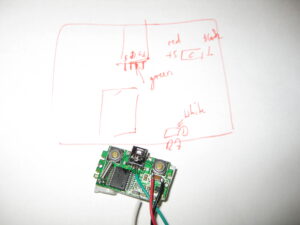
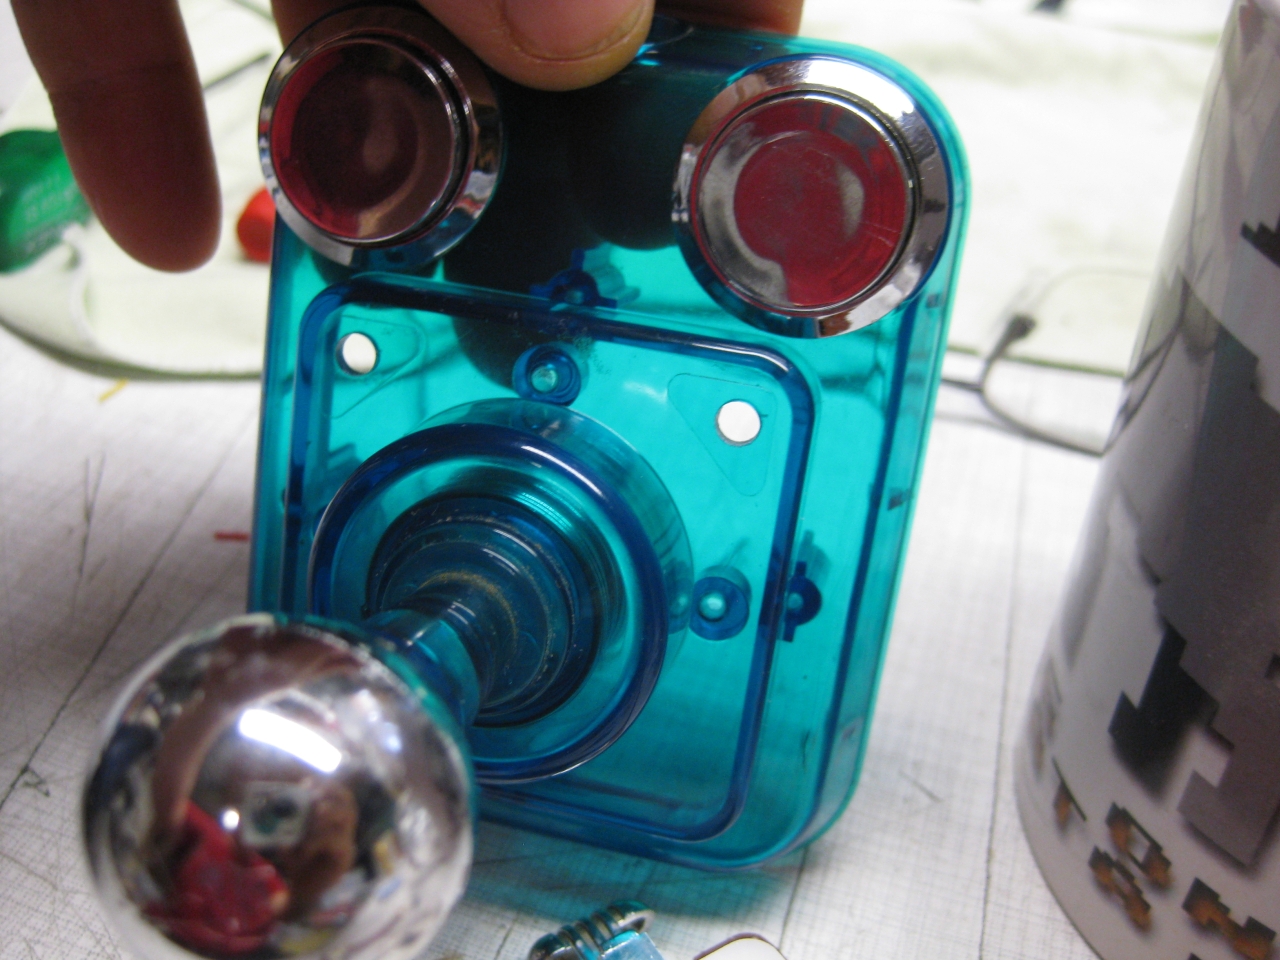
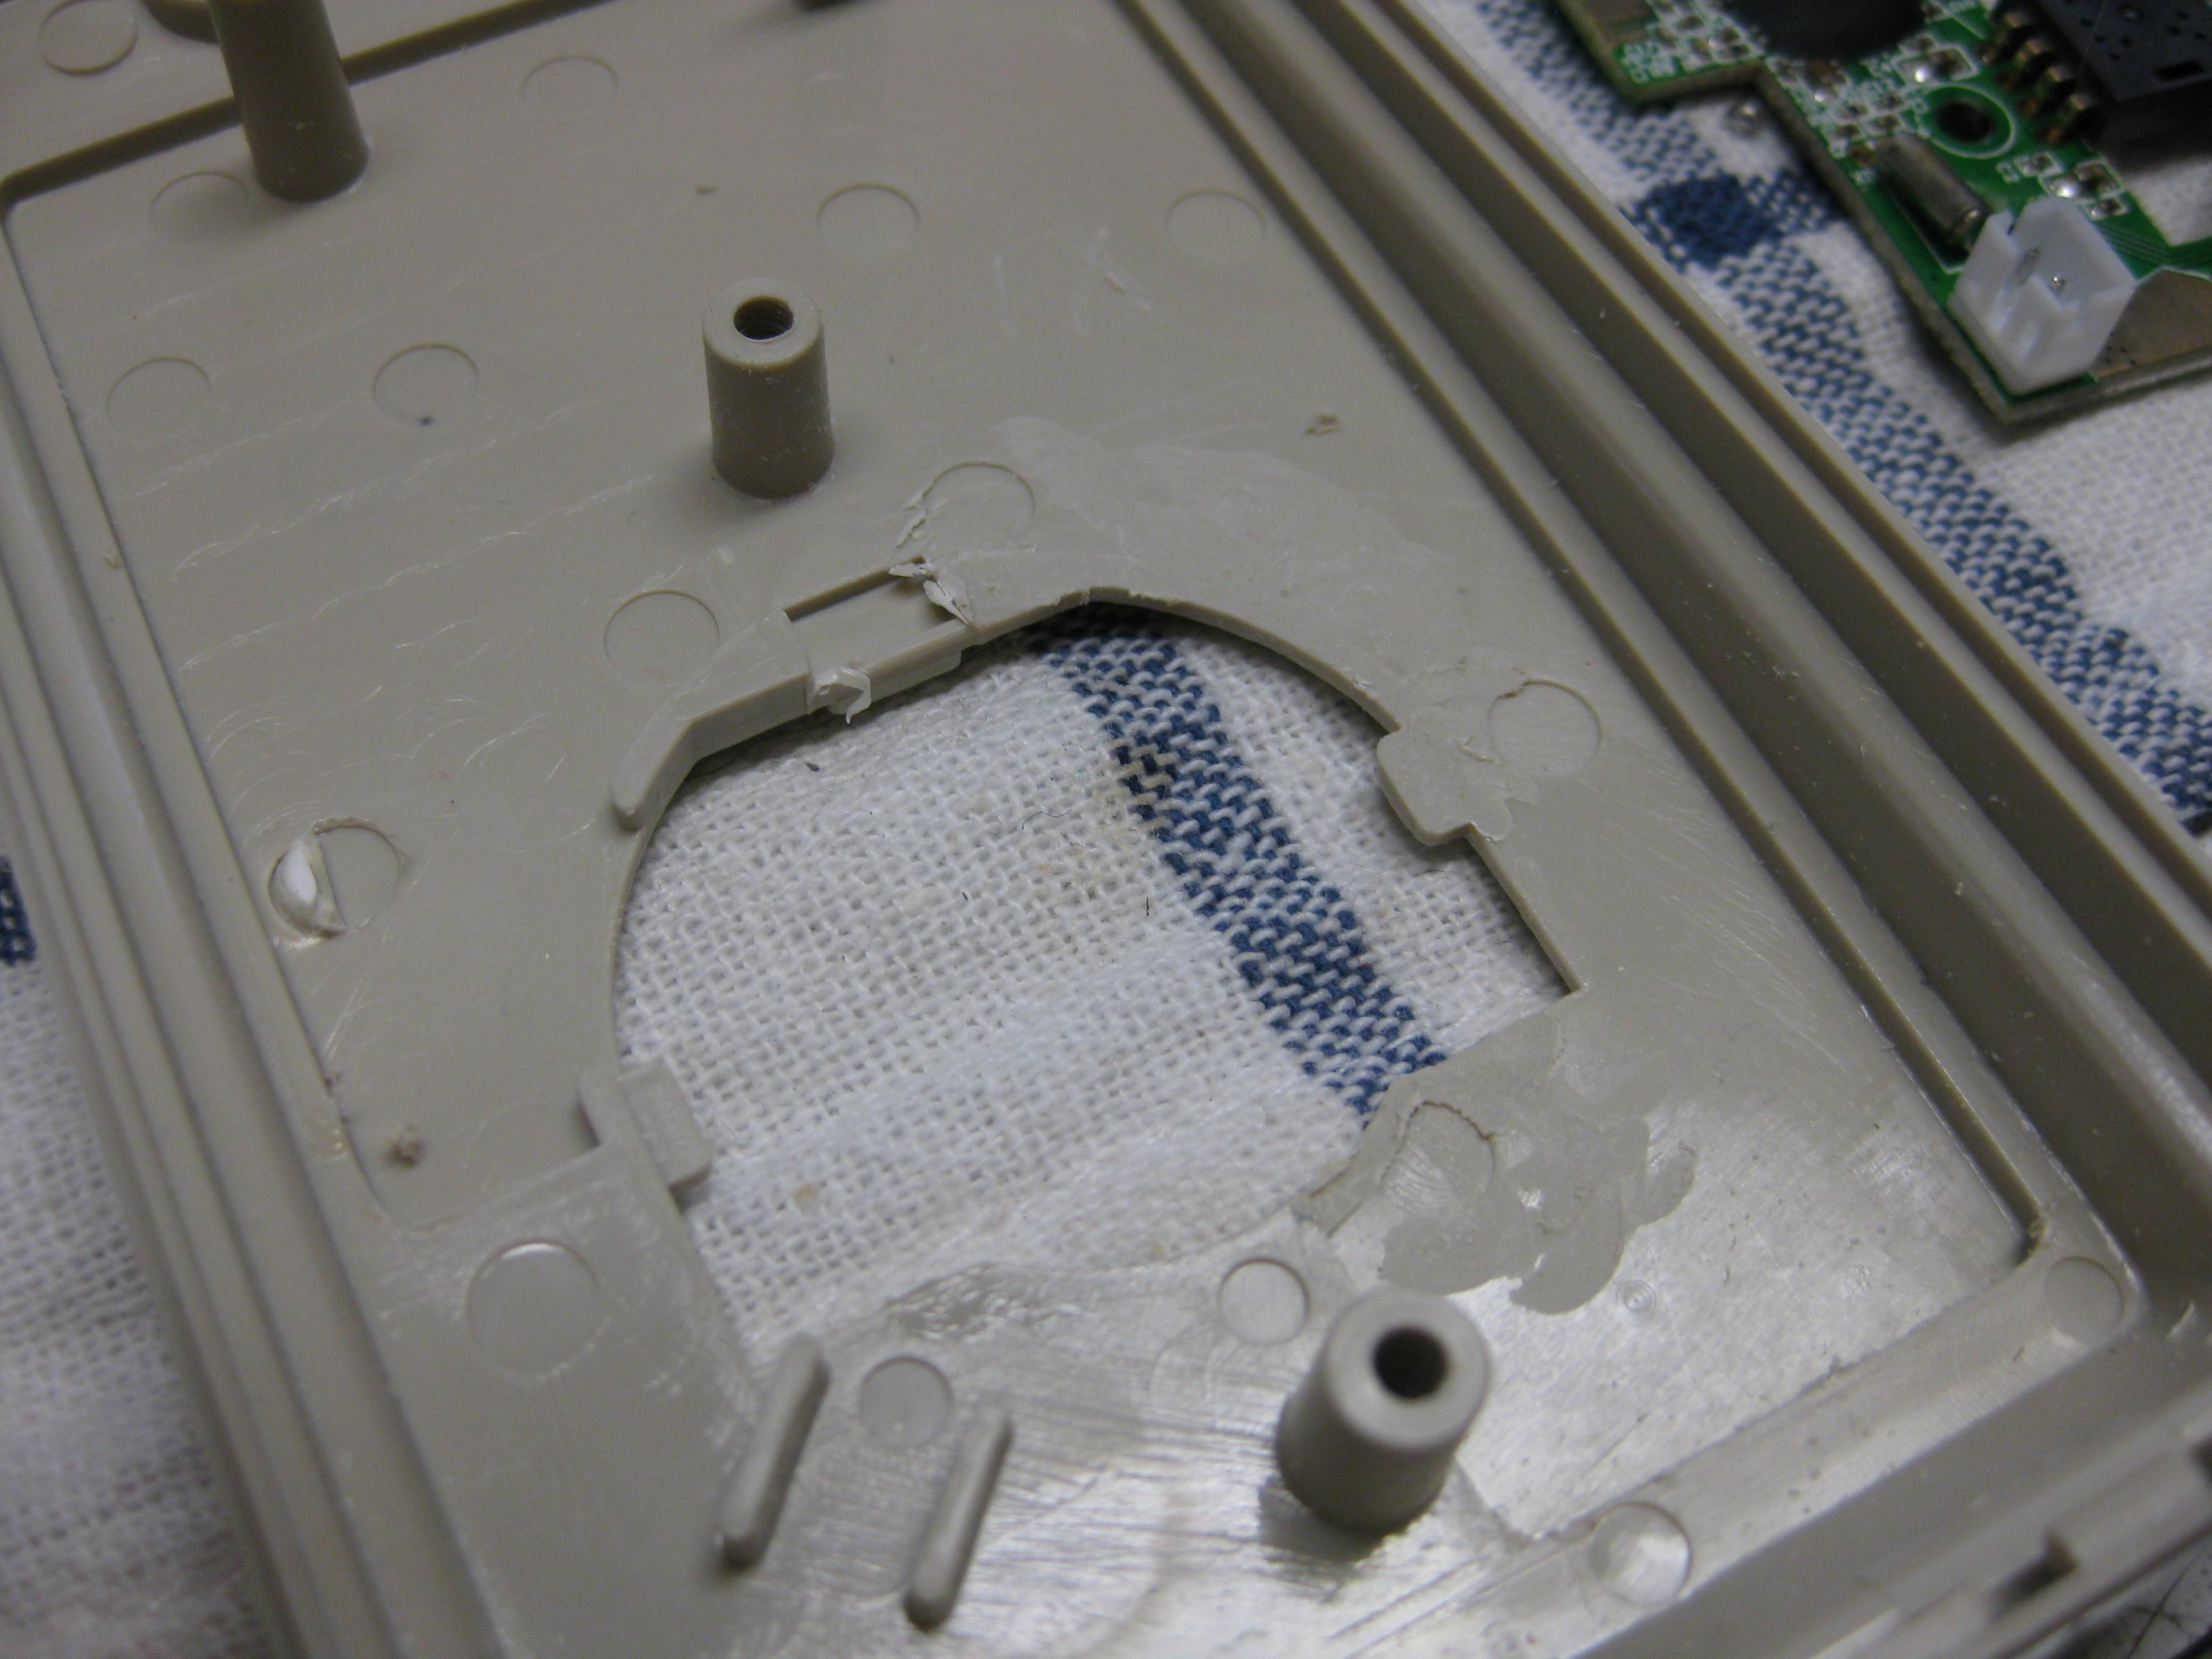
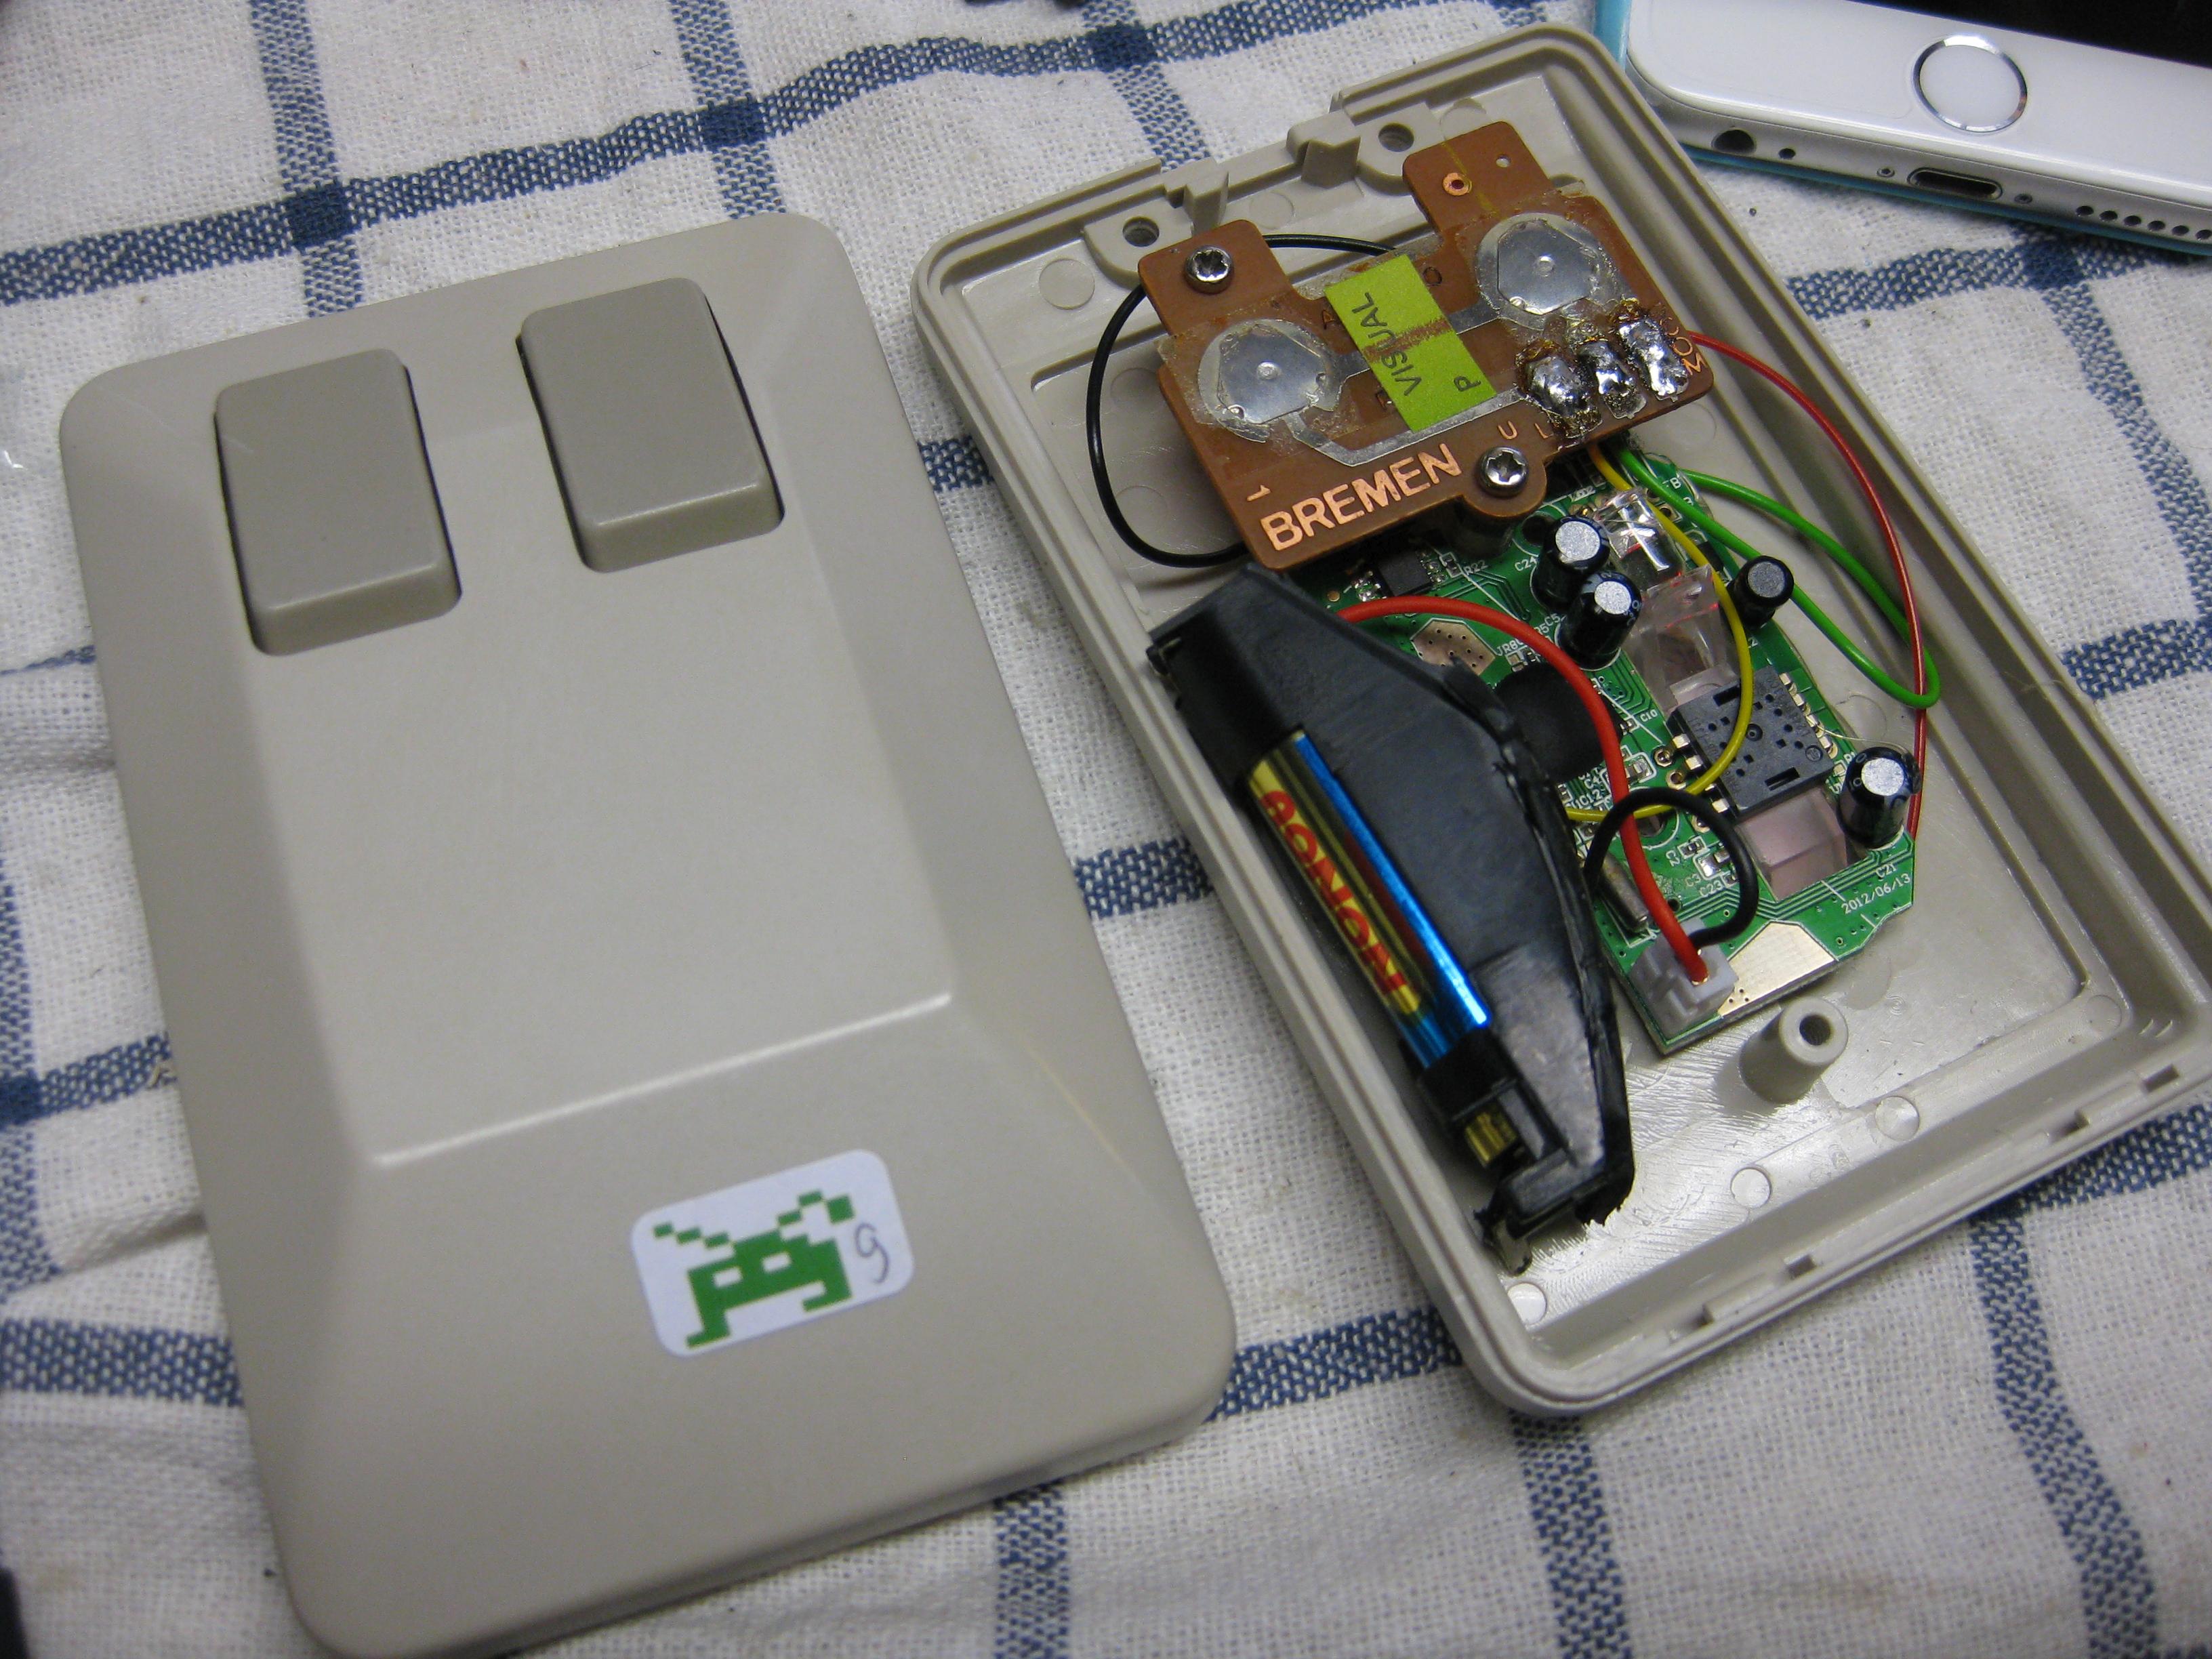
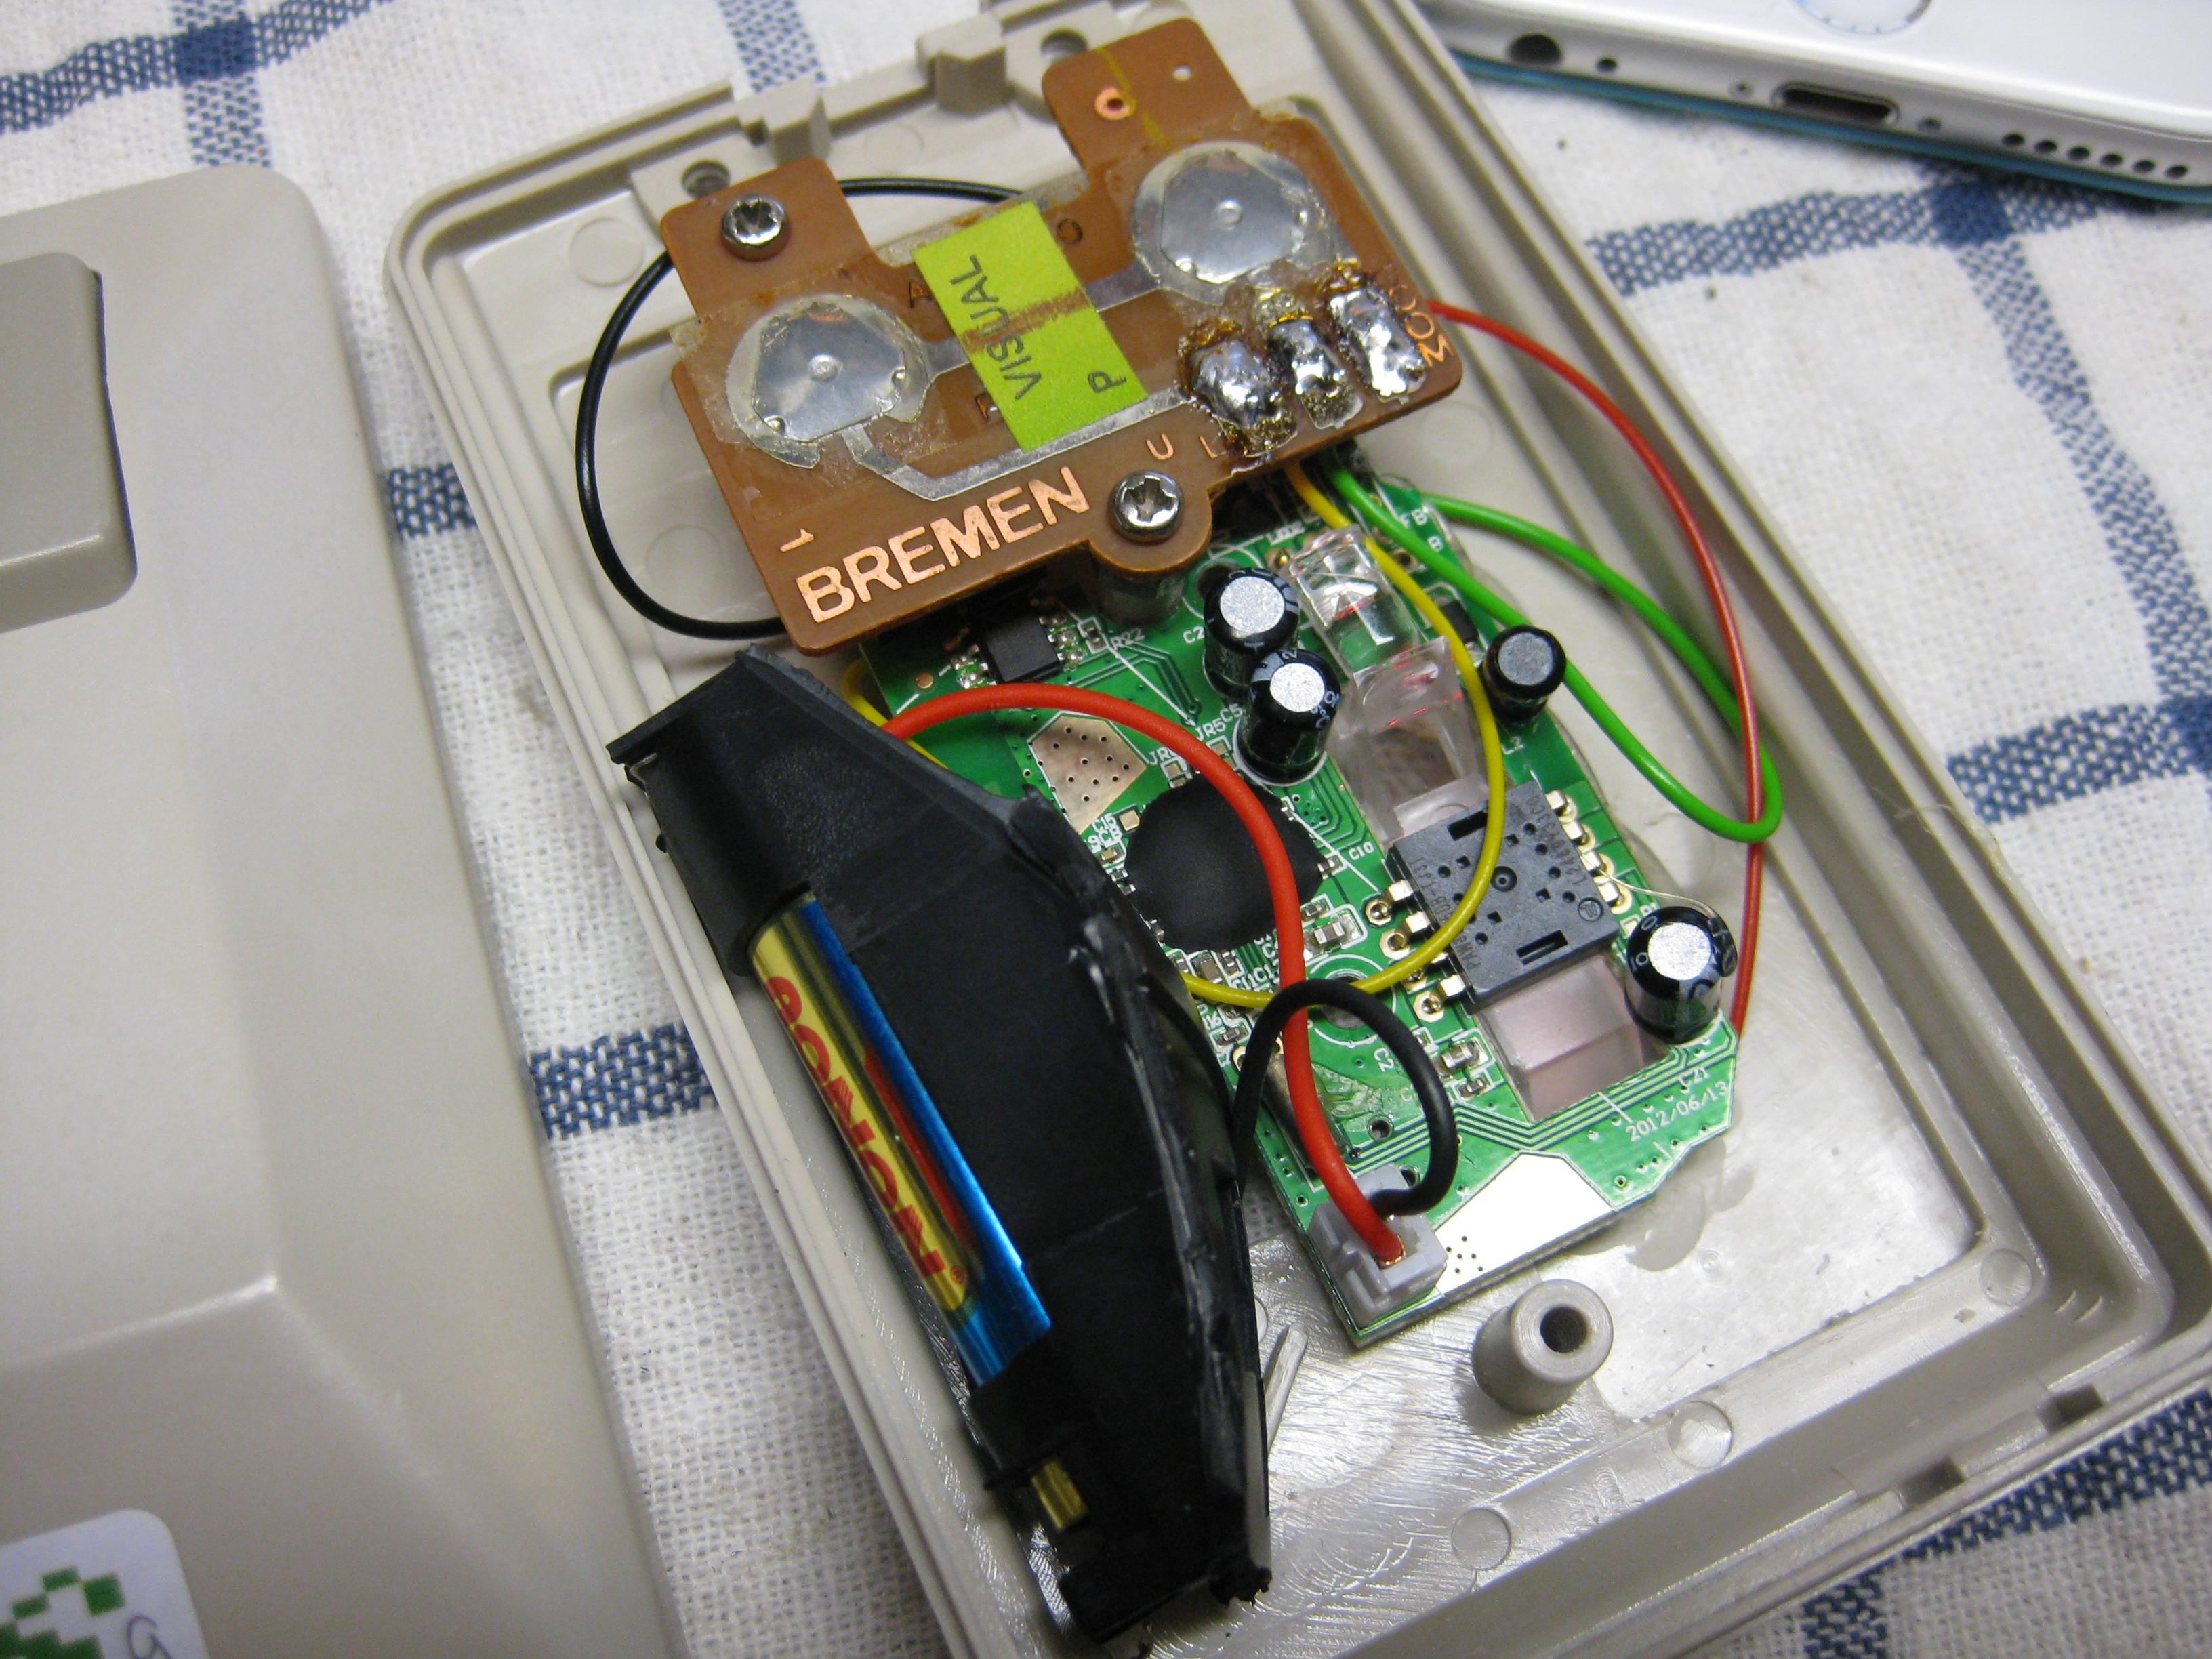
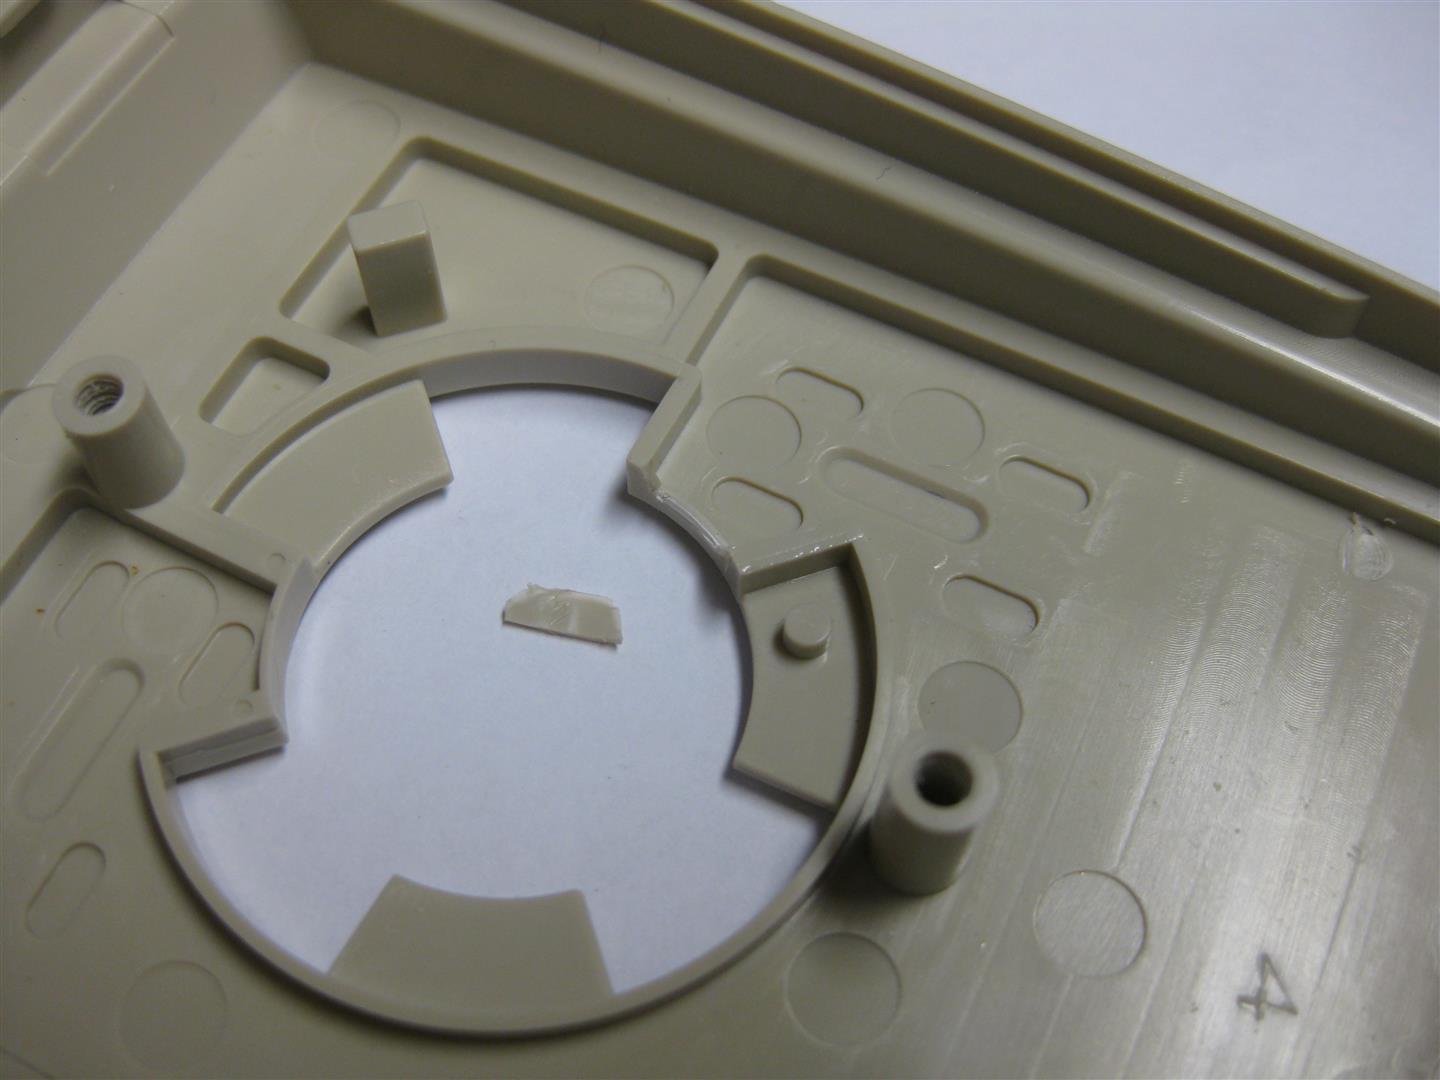
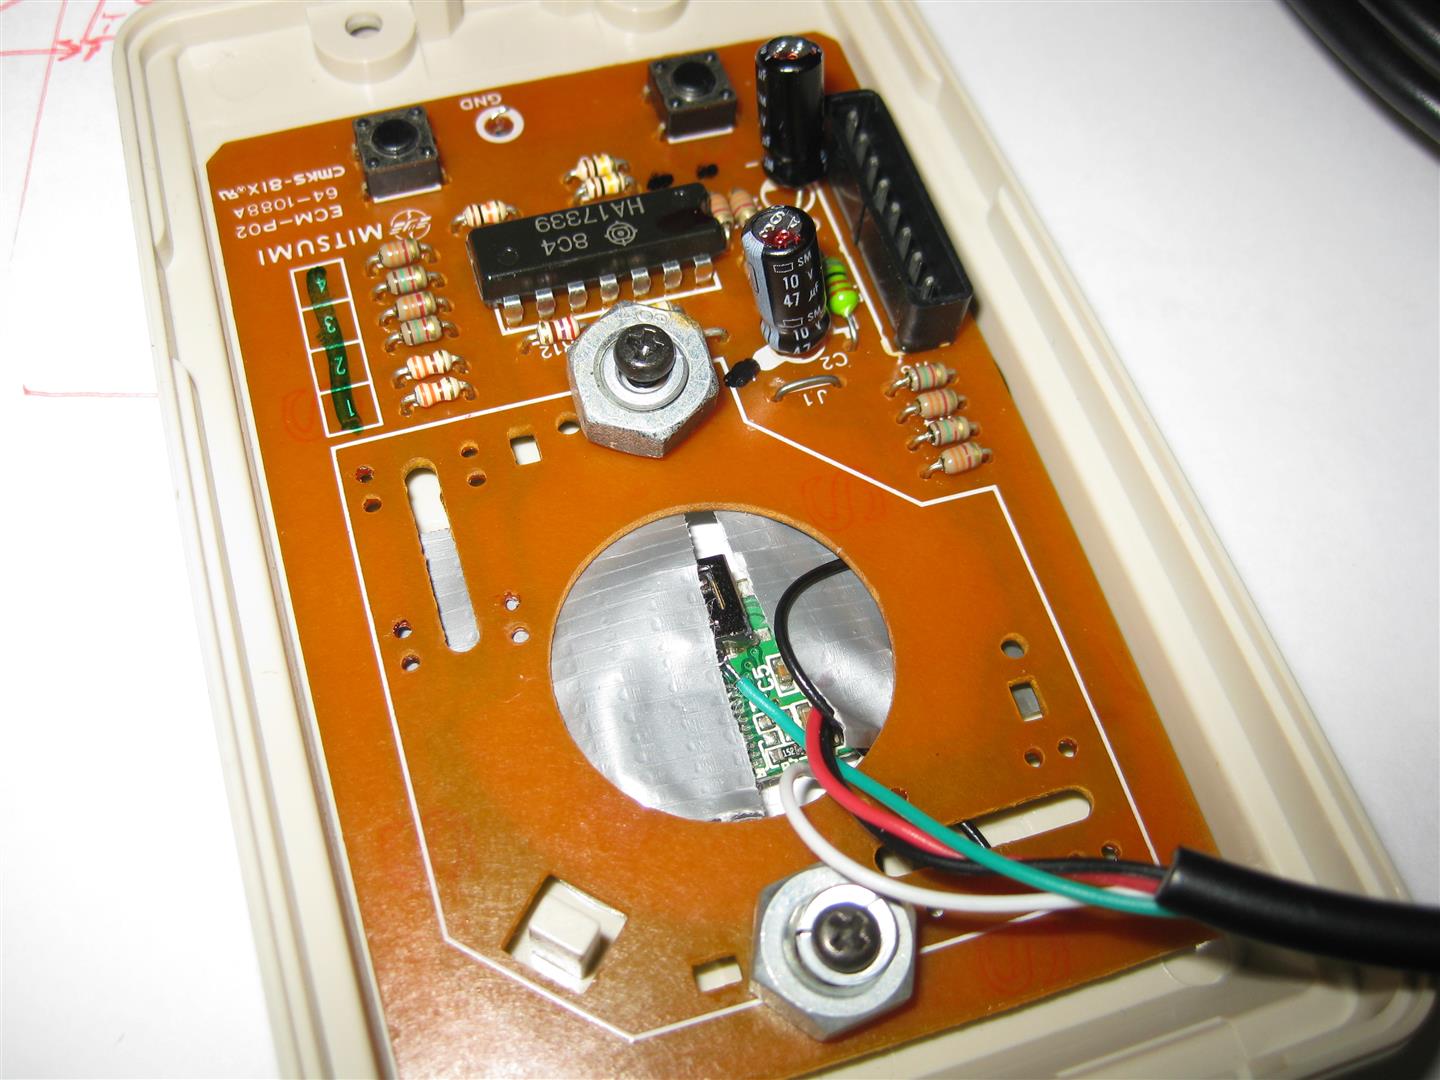
    for fitting into original Amiga Mouse you need only to remove this pcb peace:

    amiga_mouse_optical_usb (10) (Large)

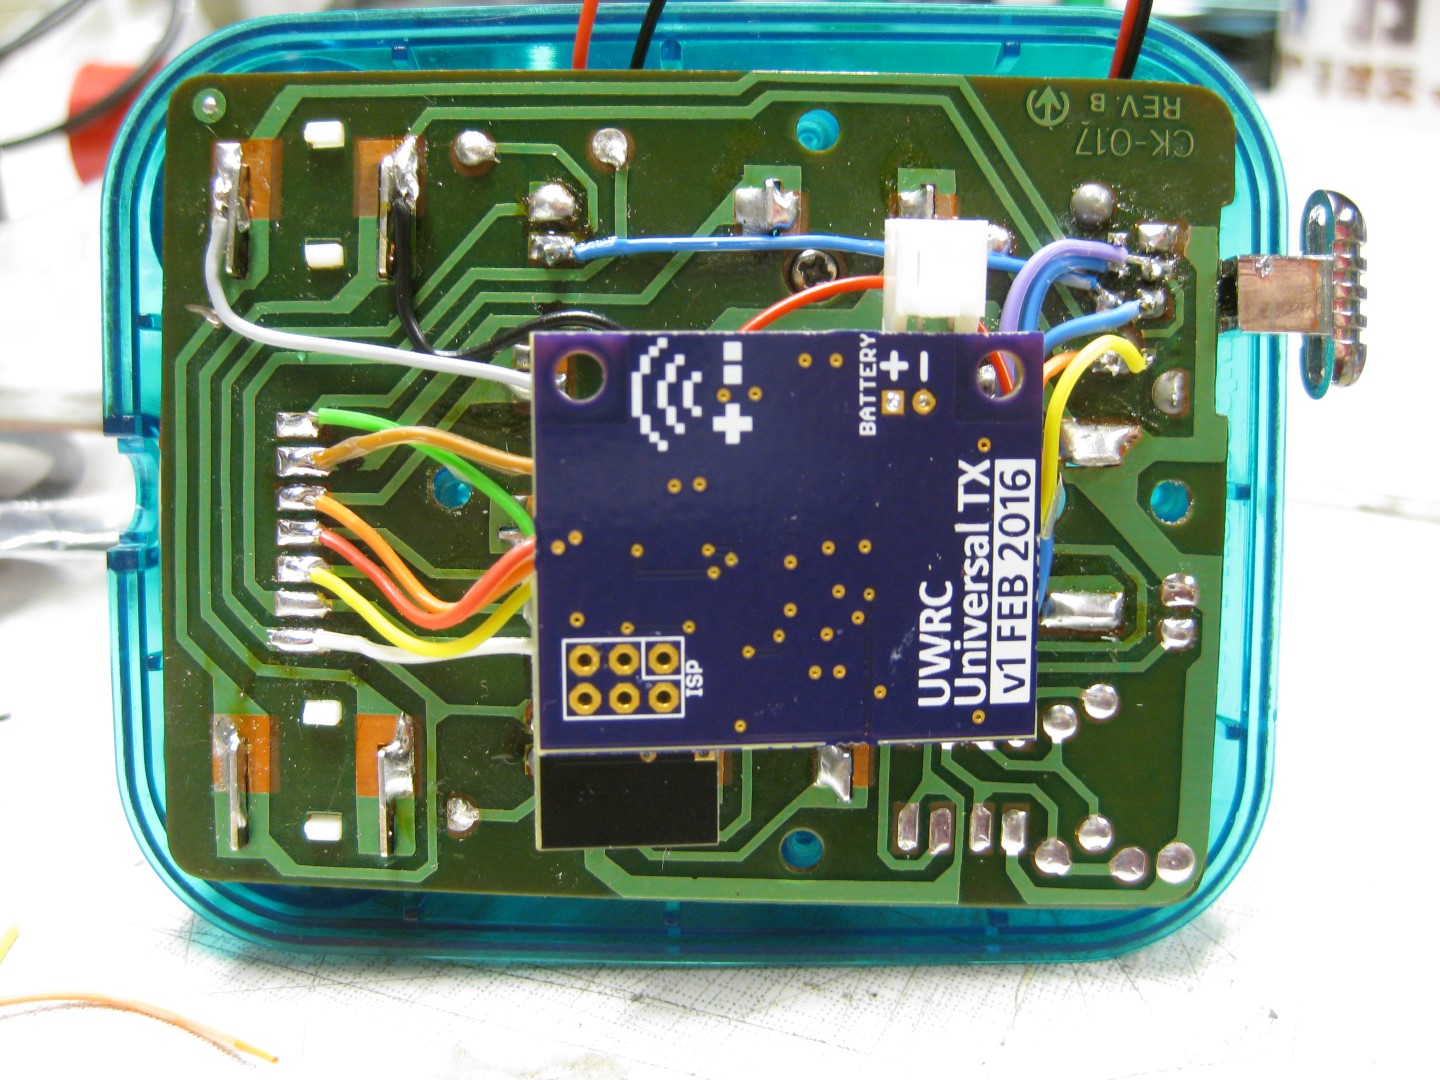
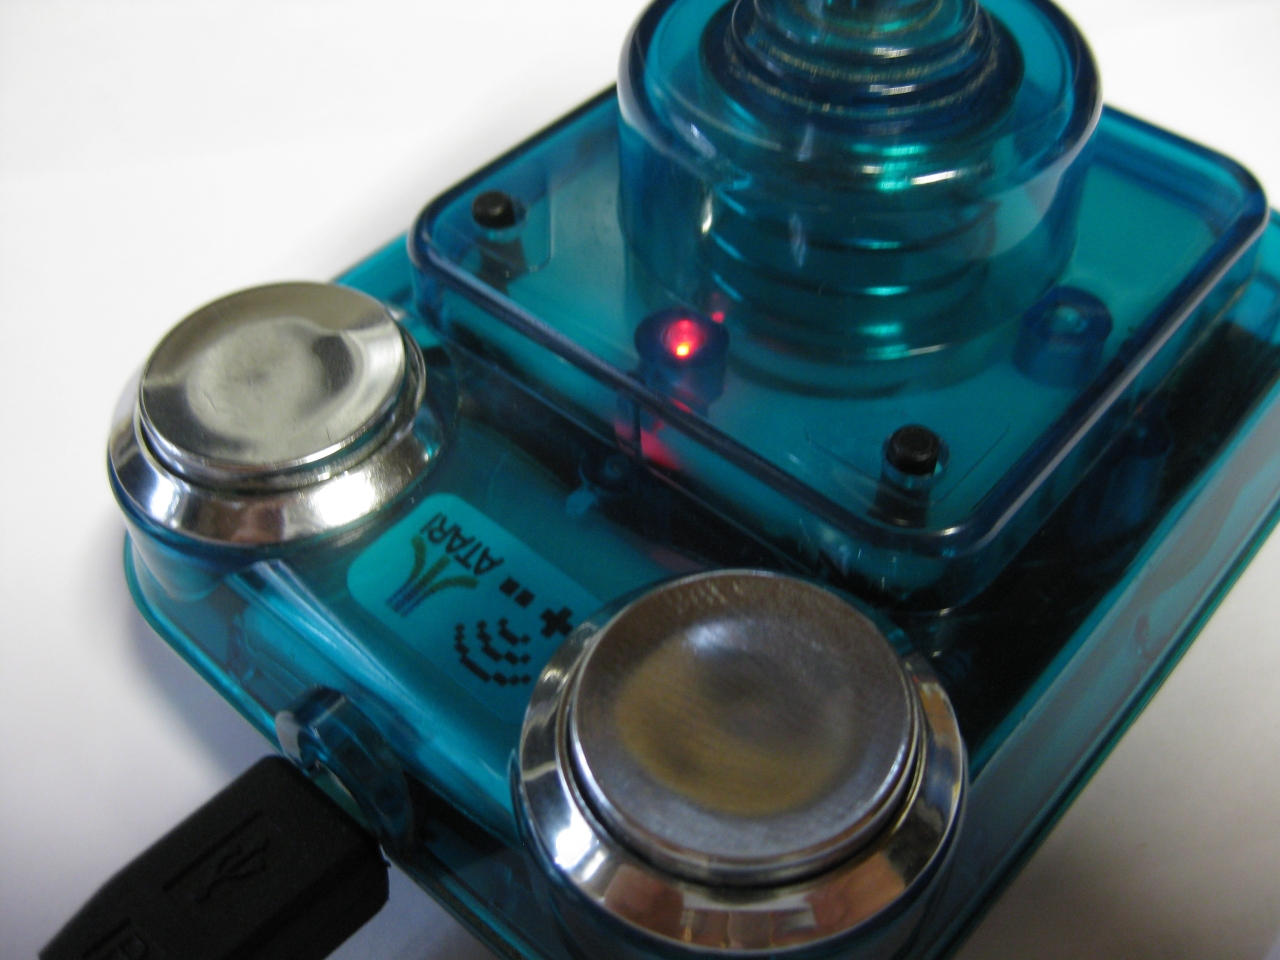
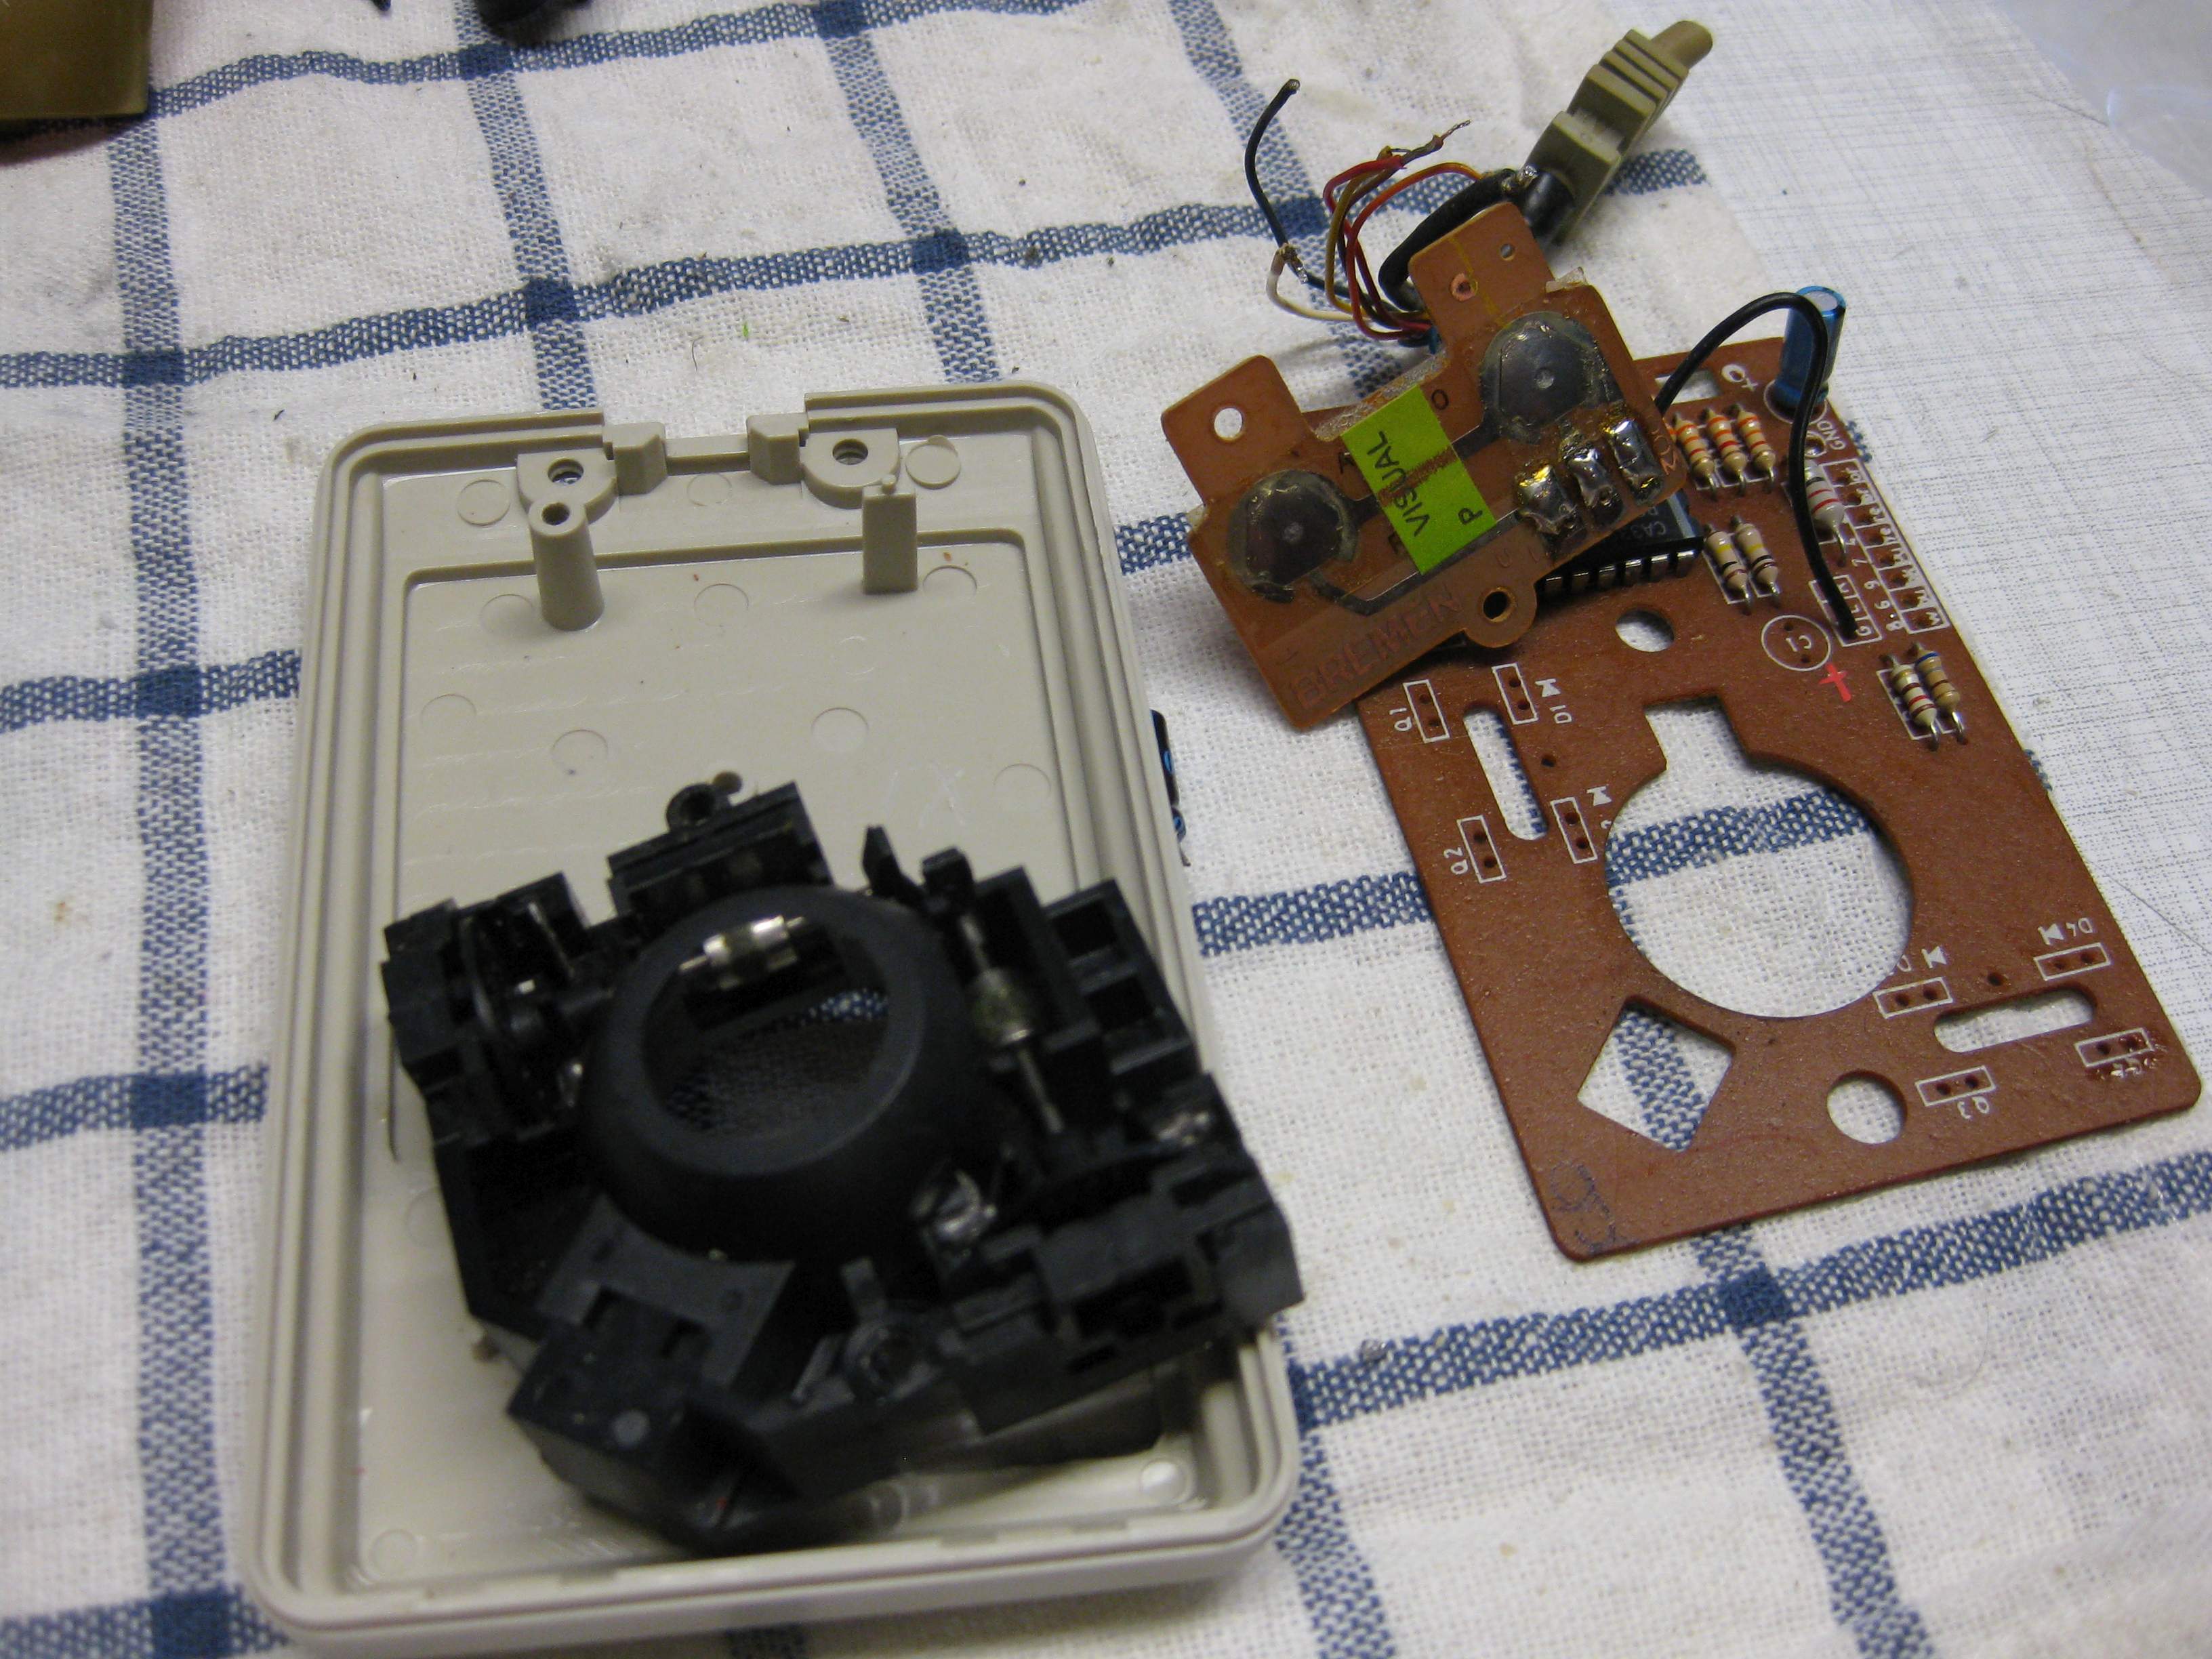
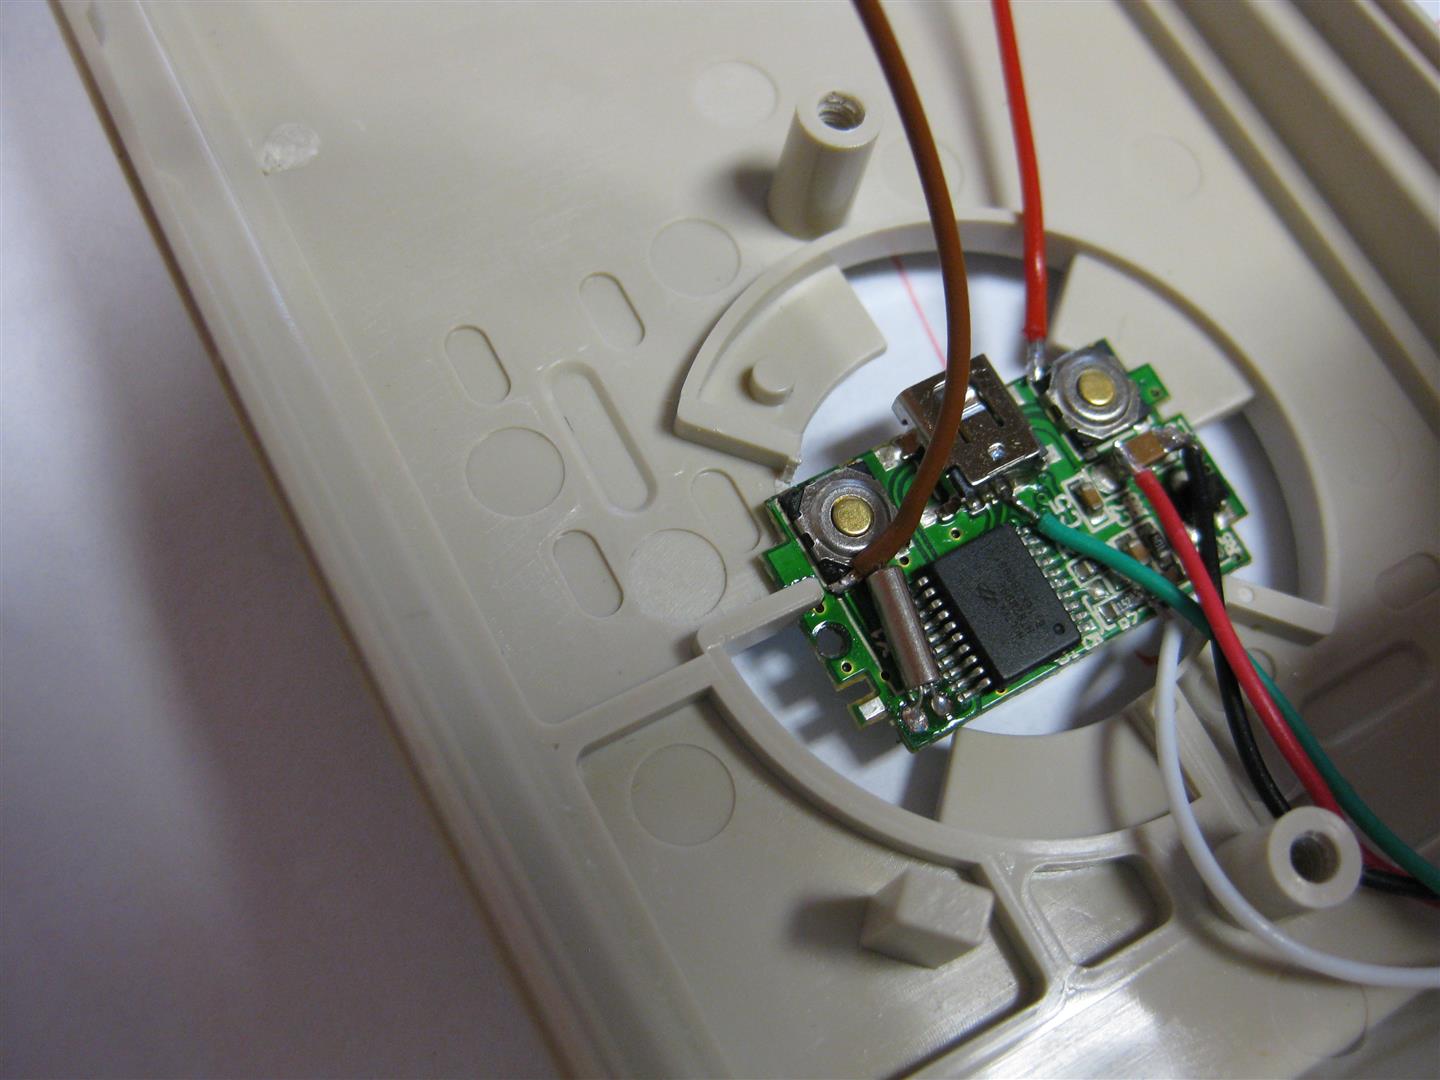
    here you see how it fits. brown and red wire are left and right button signal

    amiga_mouse_optical_usb (11) (Large)

    brown and red wire to the buttons and a ground wire and some screws to make it hold:

    amiga_mouse_optical_usb (12) (Large)

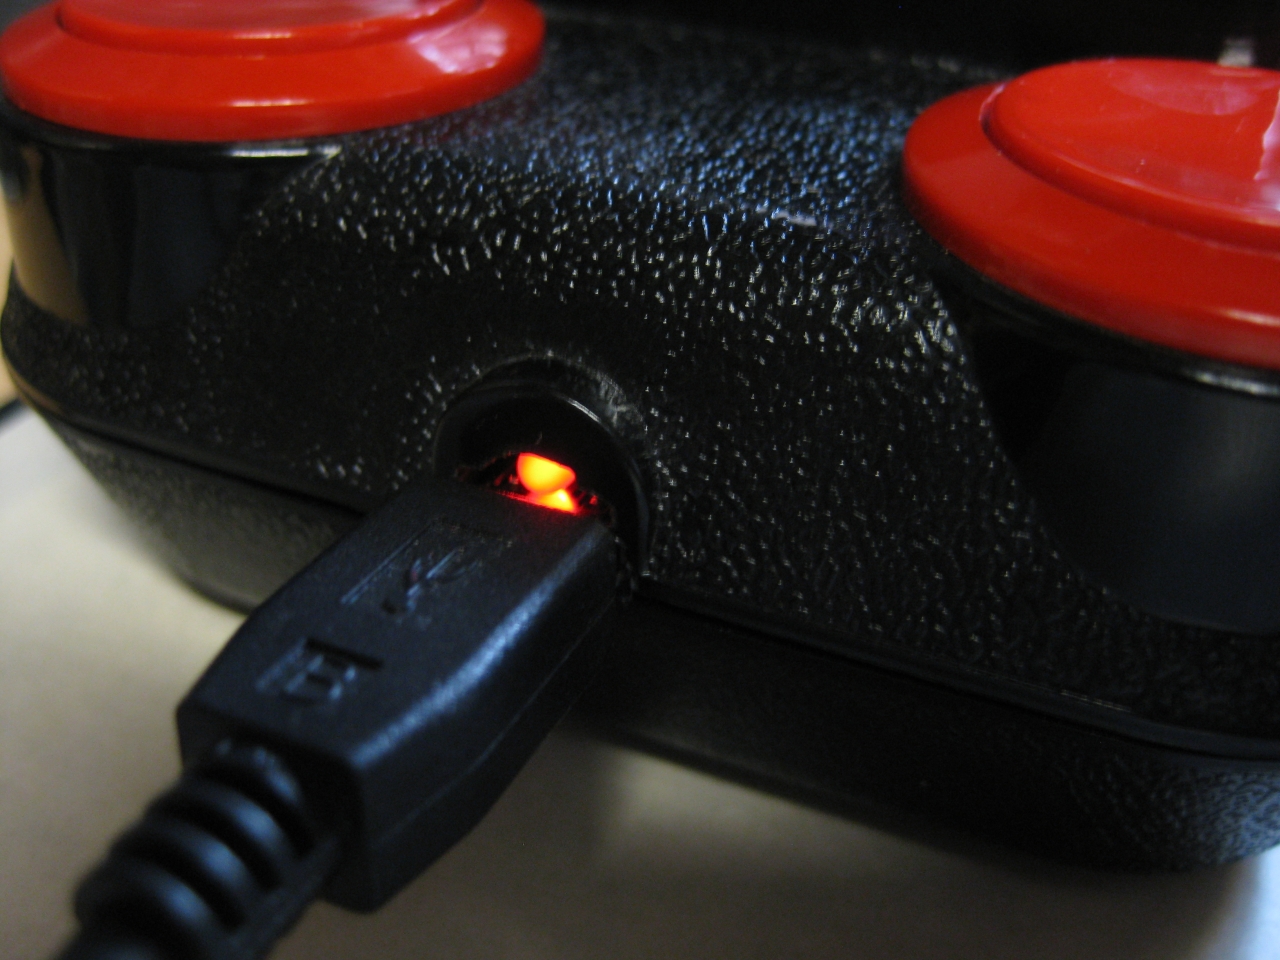
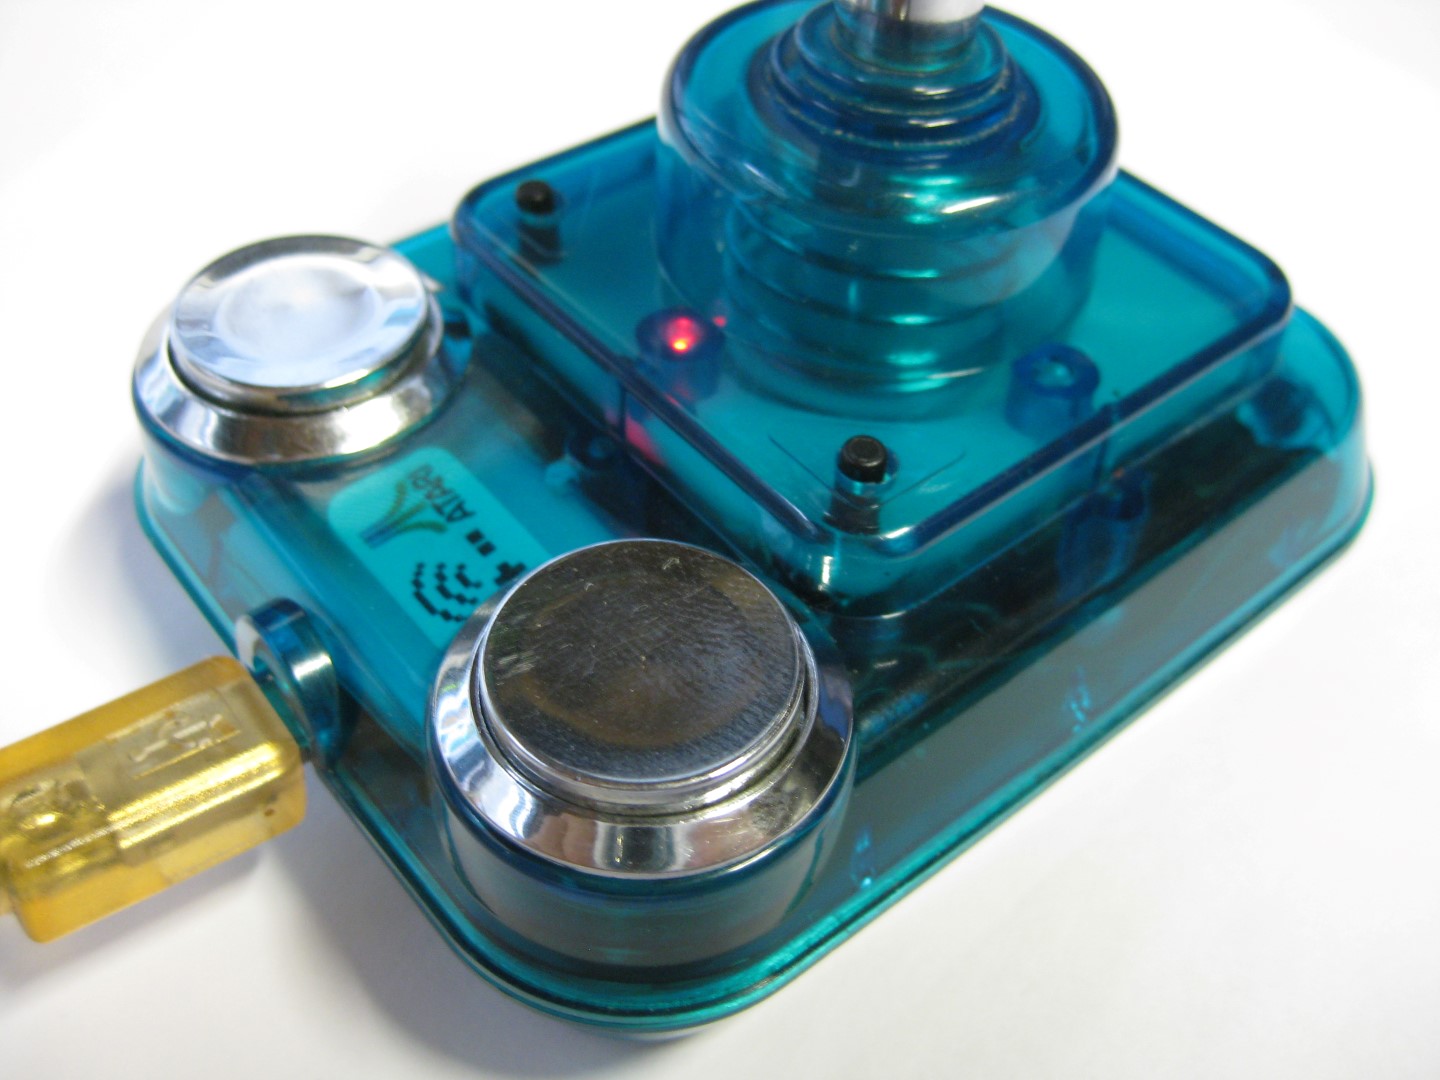
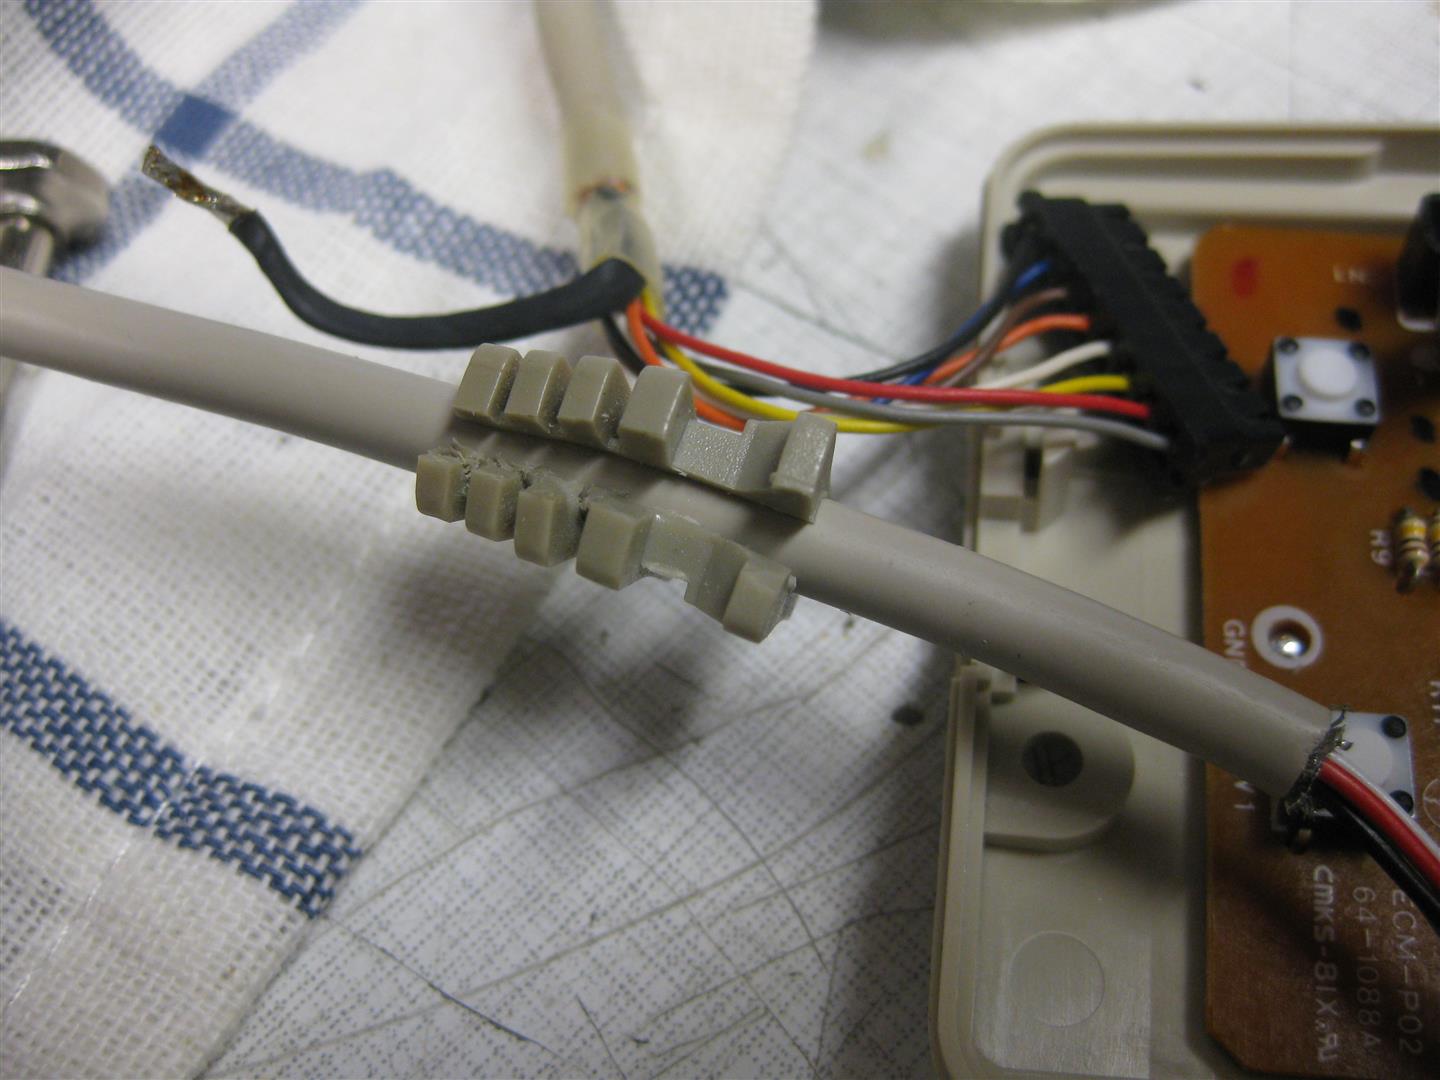
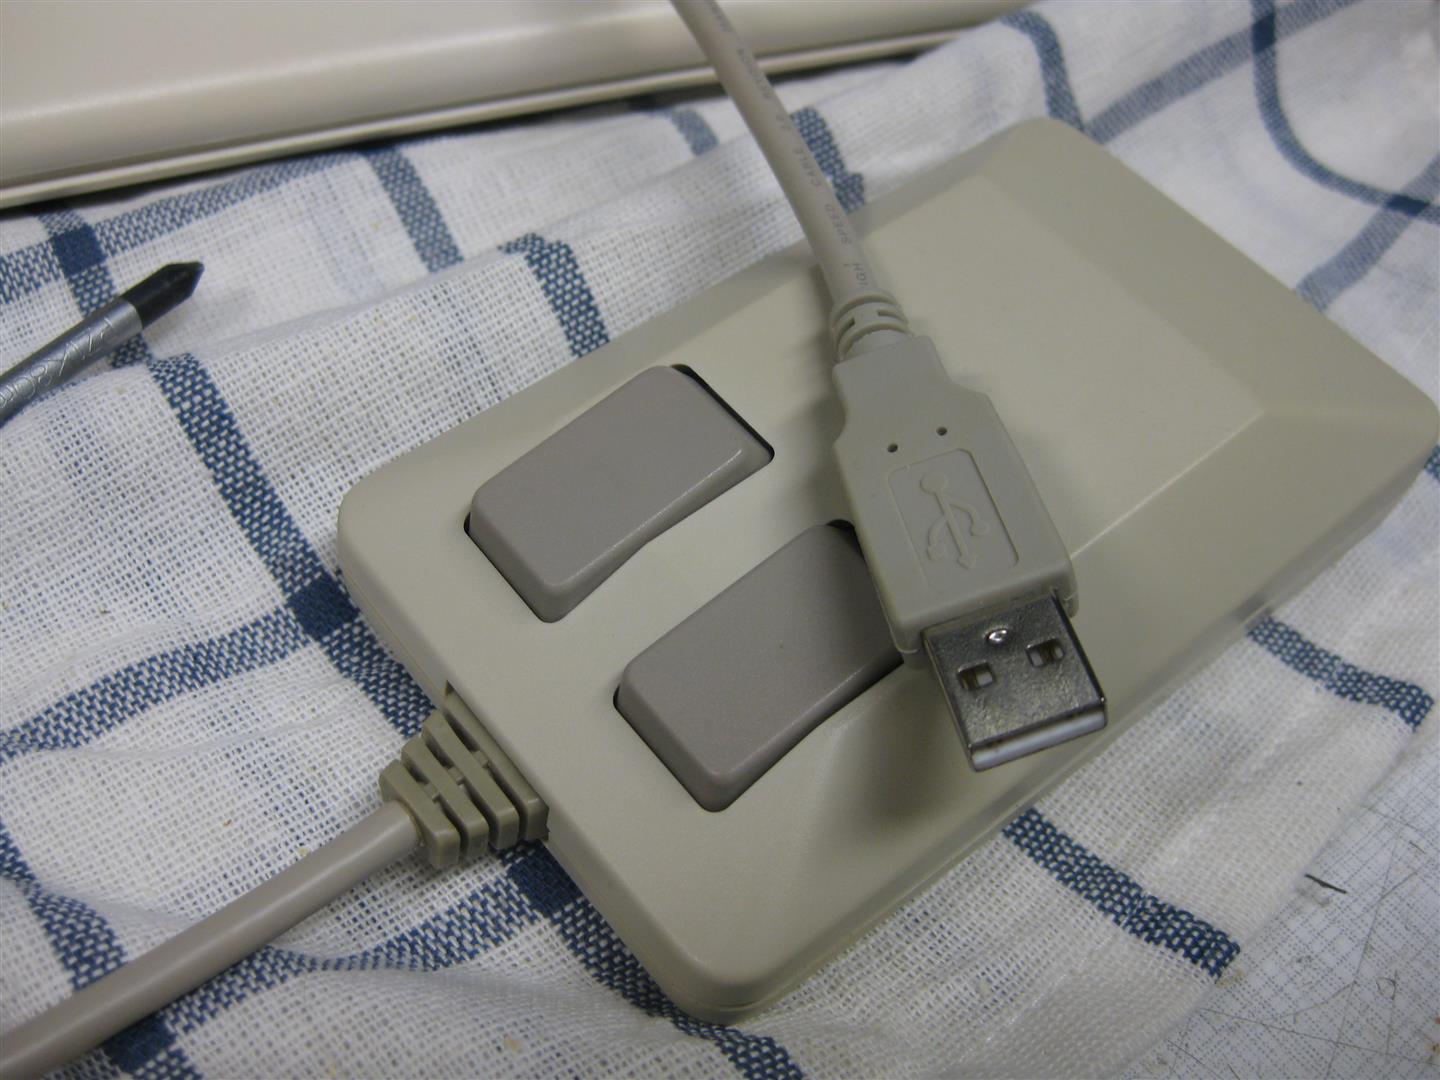
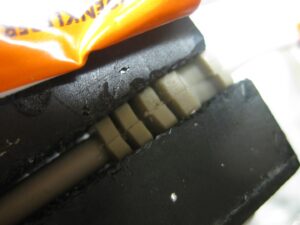
    I changed the USB cable to make it look more authentical

    amiga_usb_mouse_part2 (3)

    openend the original cable holder and placed it to the usb cable

    amiga_usb_mouse_part2 (4)

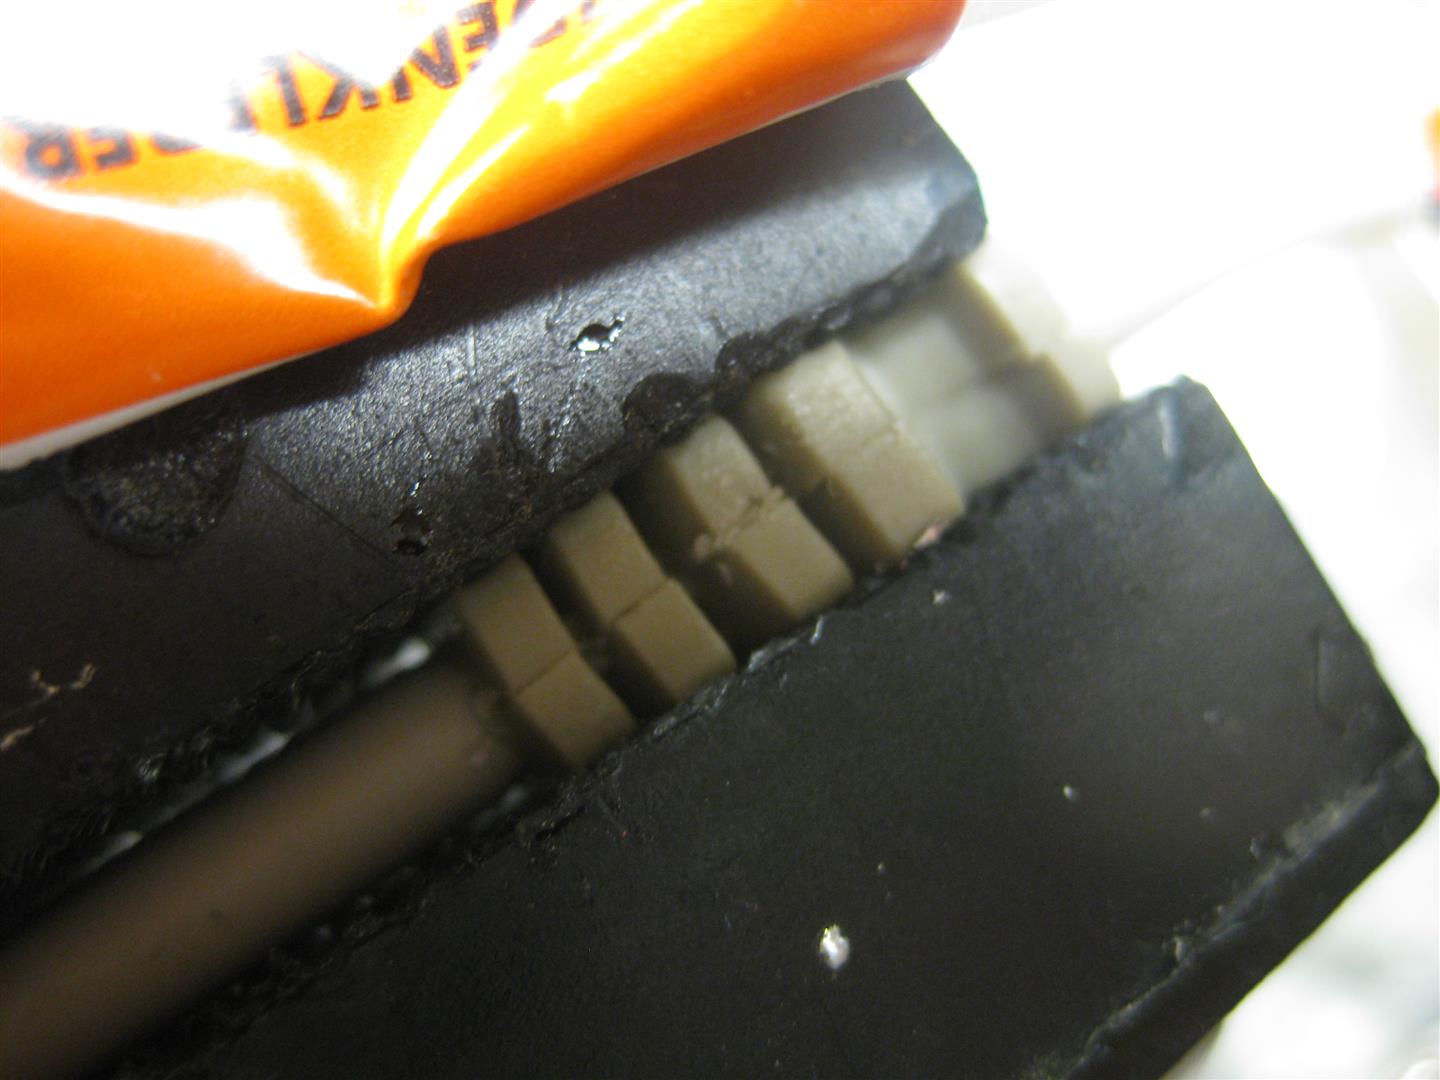
    some clue and pressure

    amiga_usb_mouse_part2 (5)

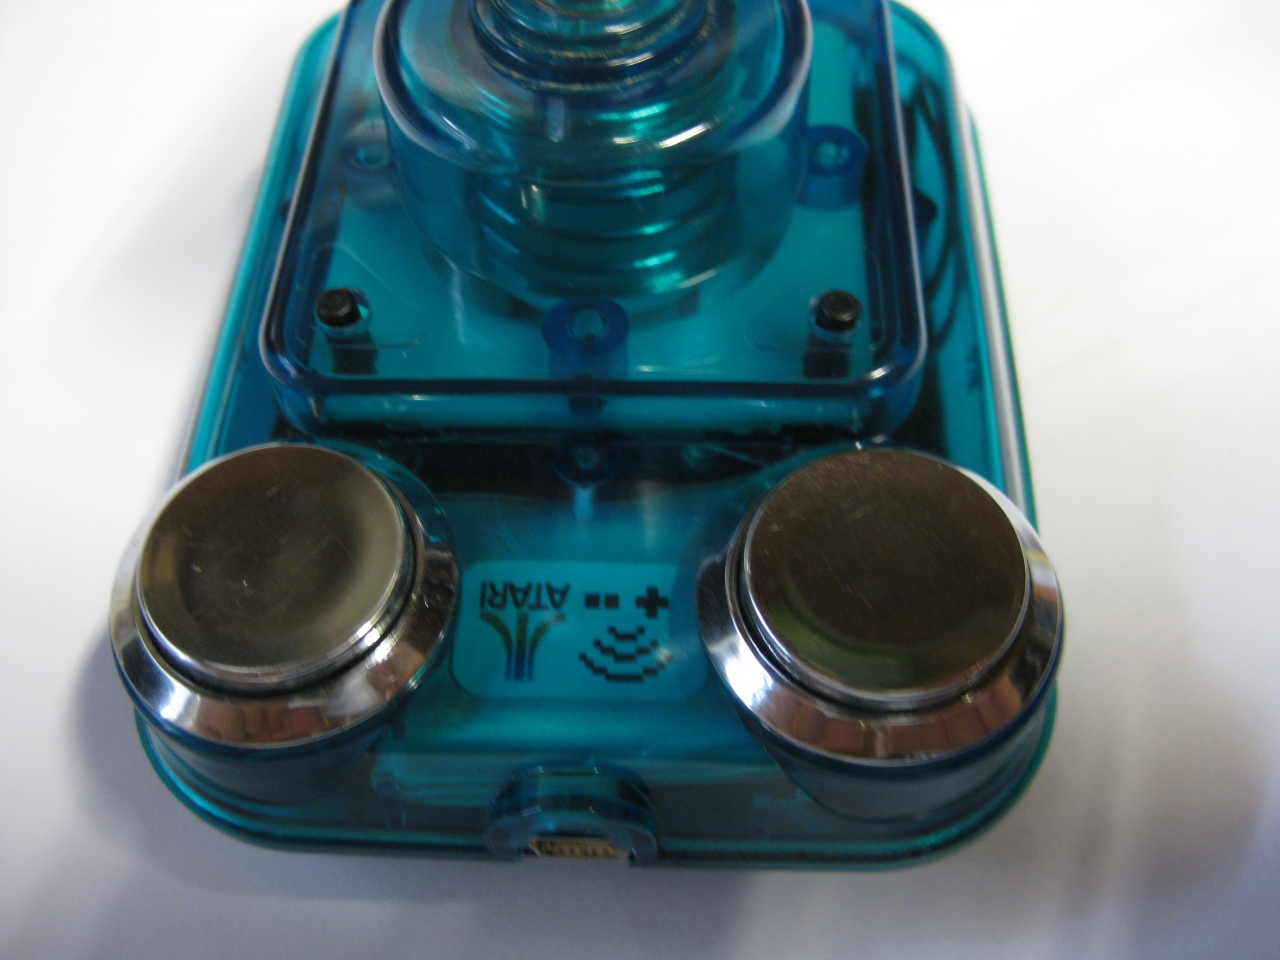
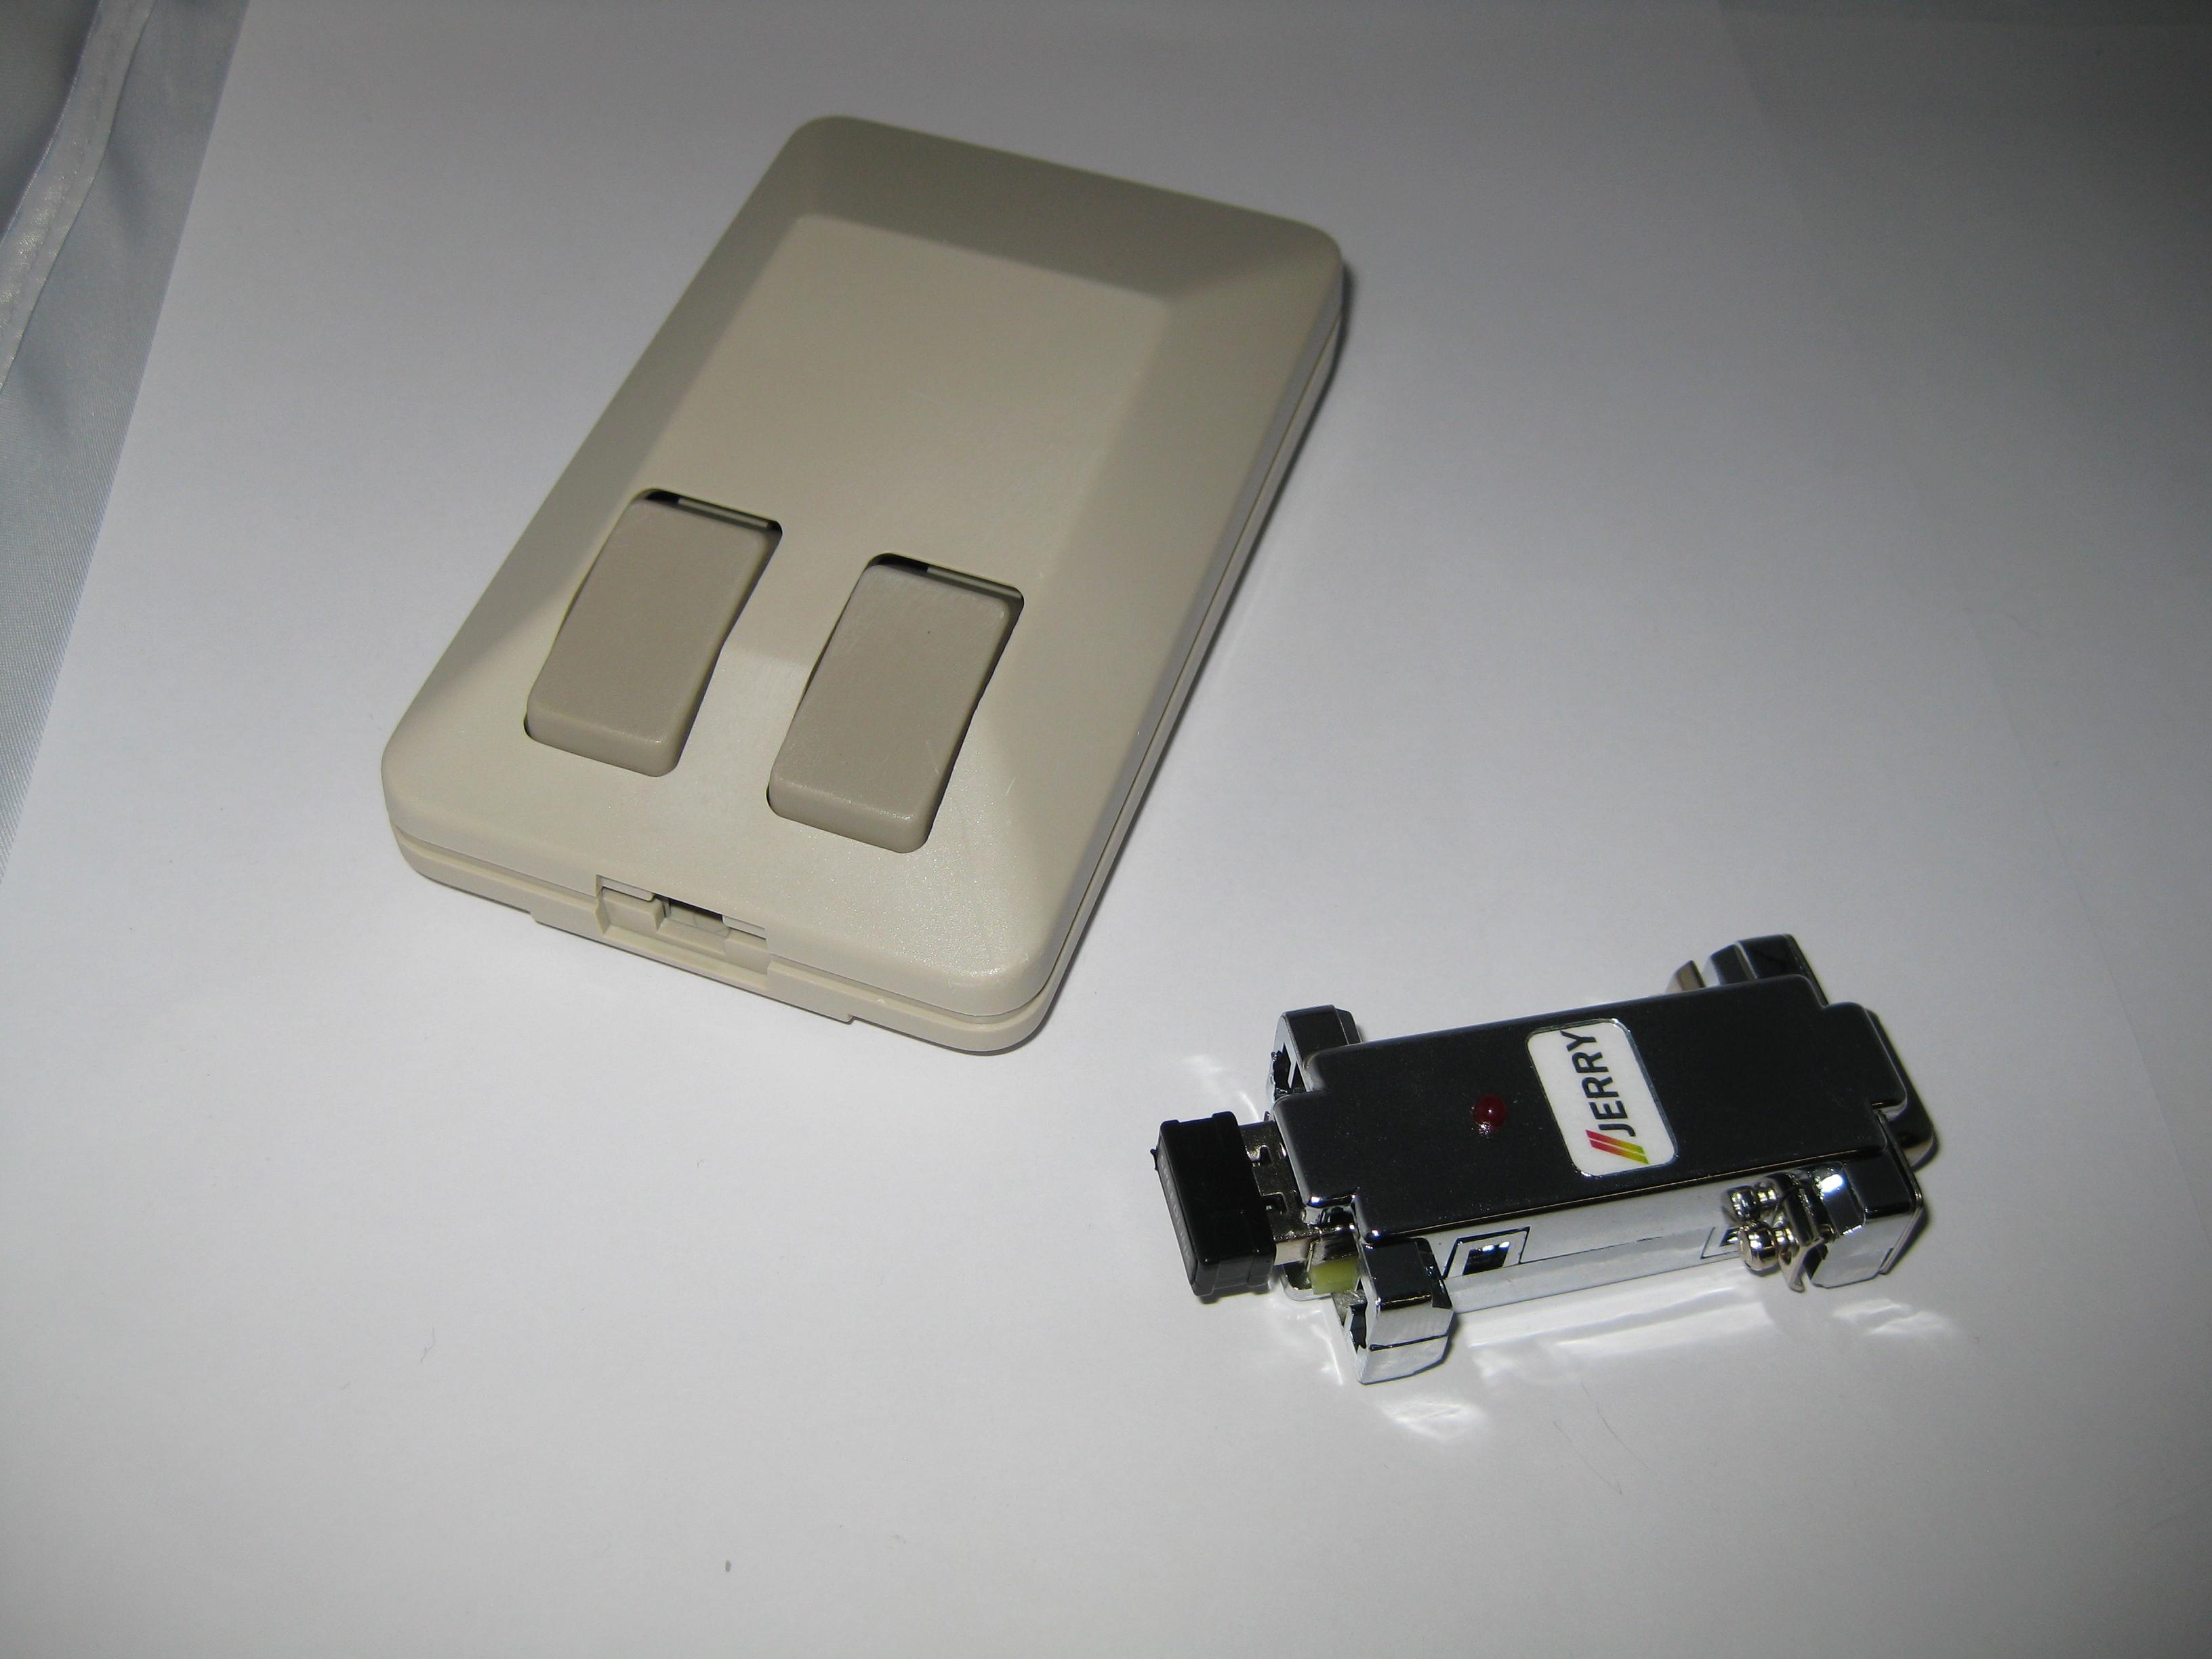
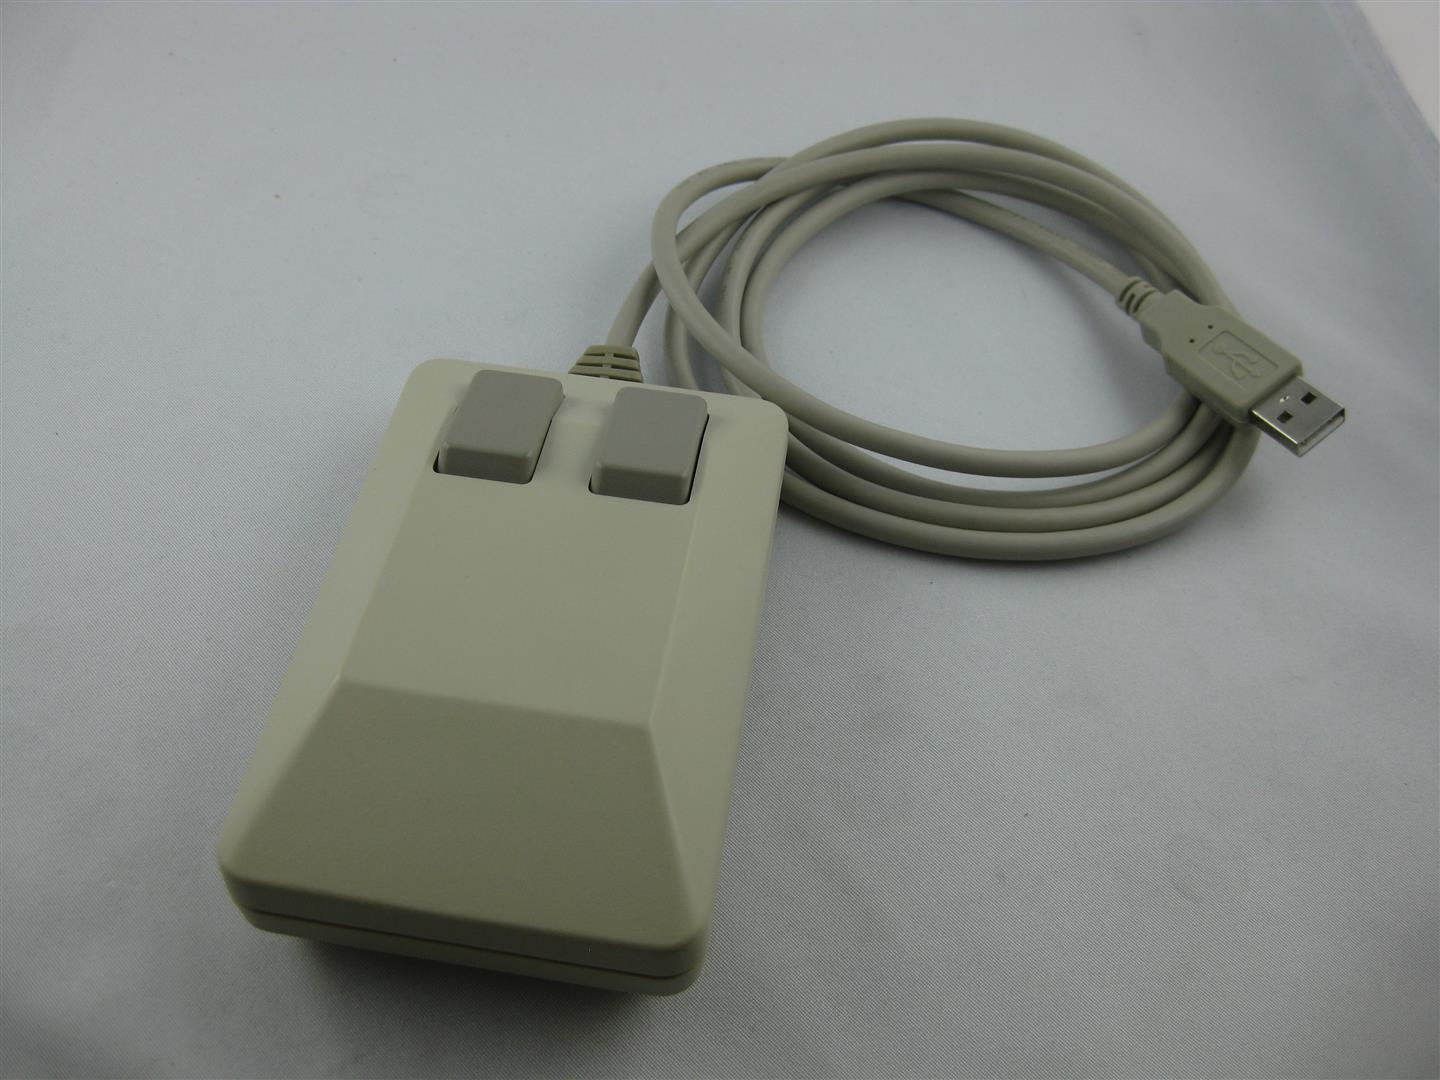
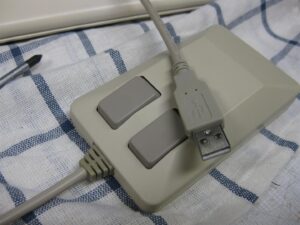
    and now it looks like a real amiga mouse with cable but its working on PC

    amiga_usb_mouse_part2 (6)

    amiga_usb_mouse_part2 (10)

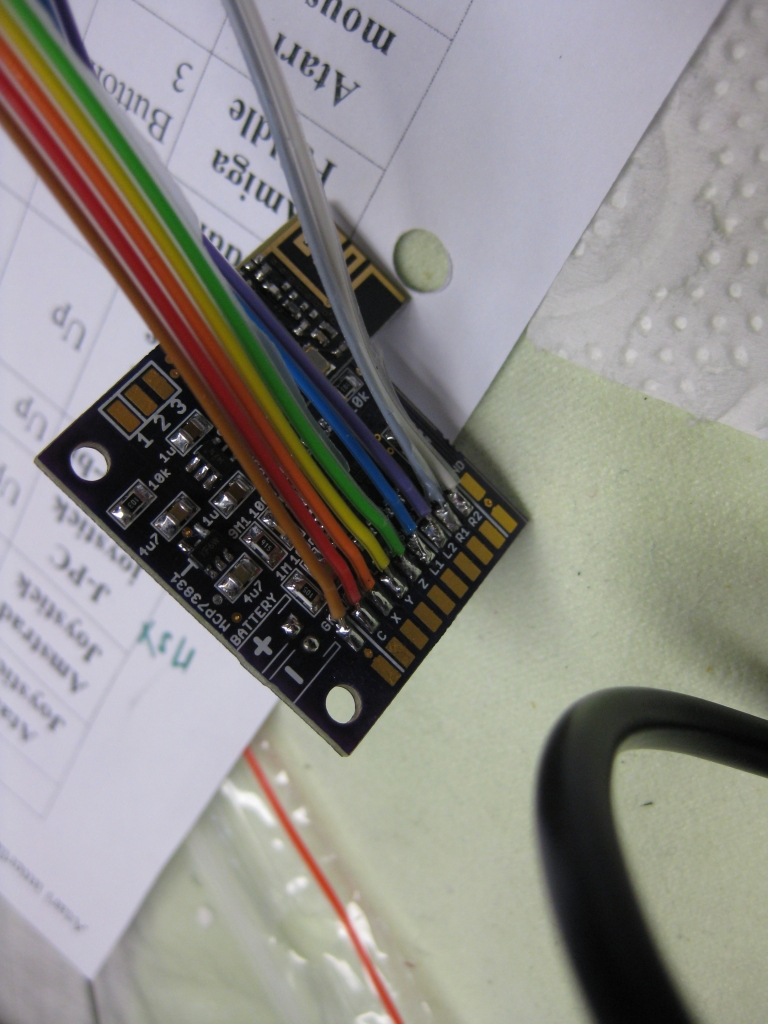
    and with the help of this little device from Pawel Burdzy http://www.ebay.de/usr/electronika4you

    it is working on amiga too 🙂


    amiga_usb_mouse_part2 (1)

    amiga_usb_mouse_part2 (7)


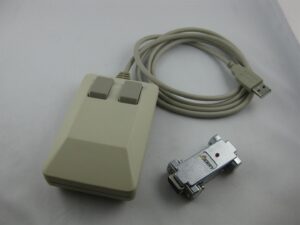
    you can order it here

    http://www.wolfsoft.de/shop/product_info.php/products_id/15230