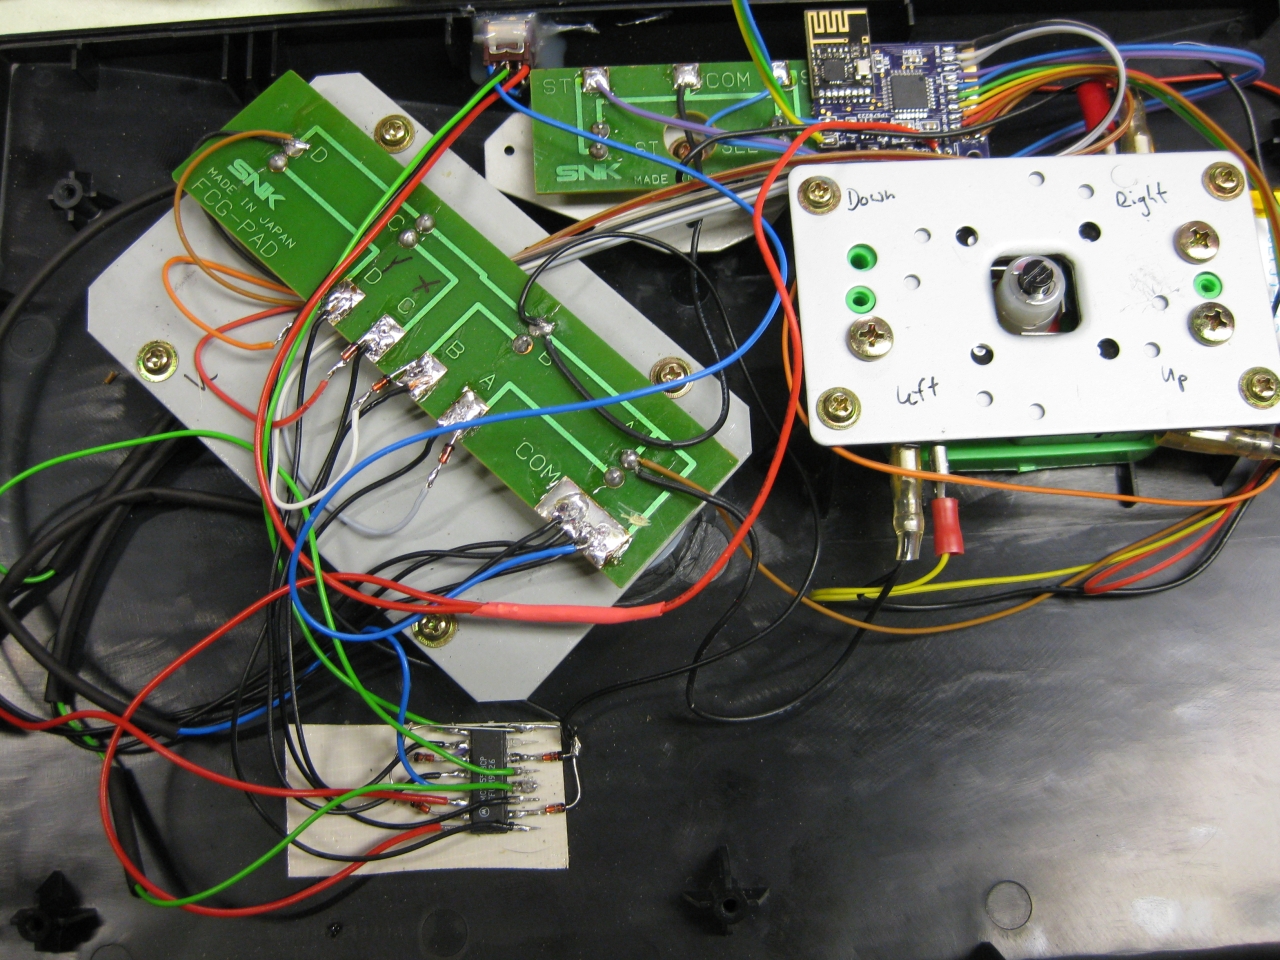
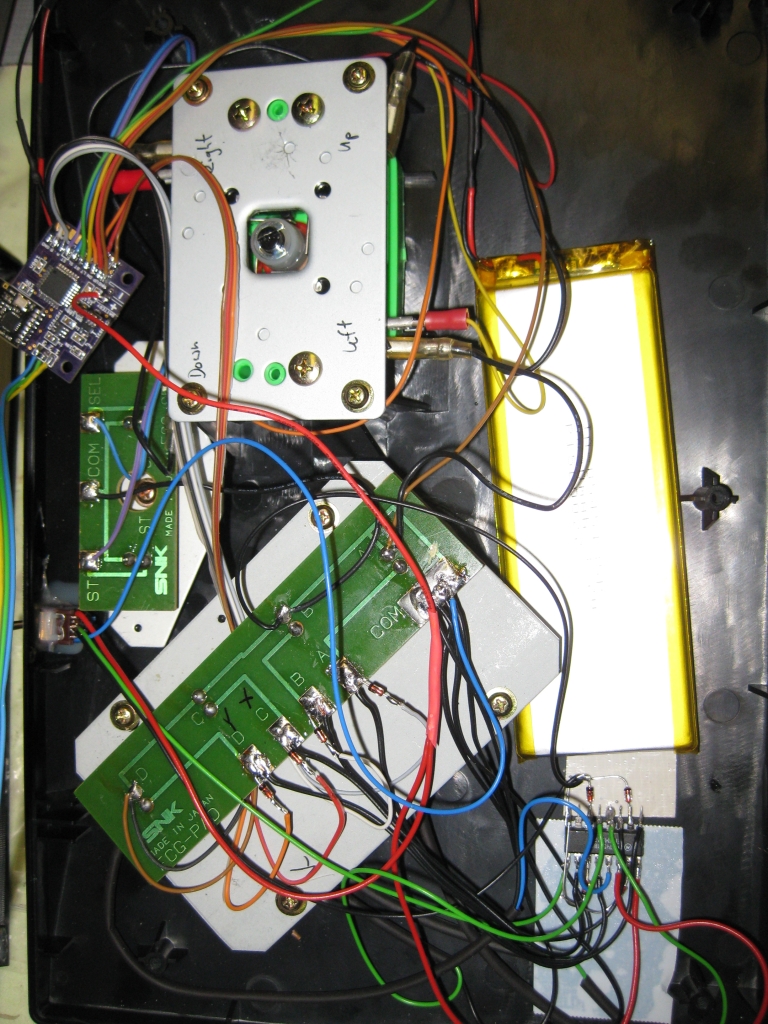
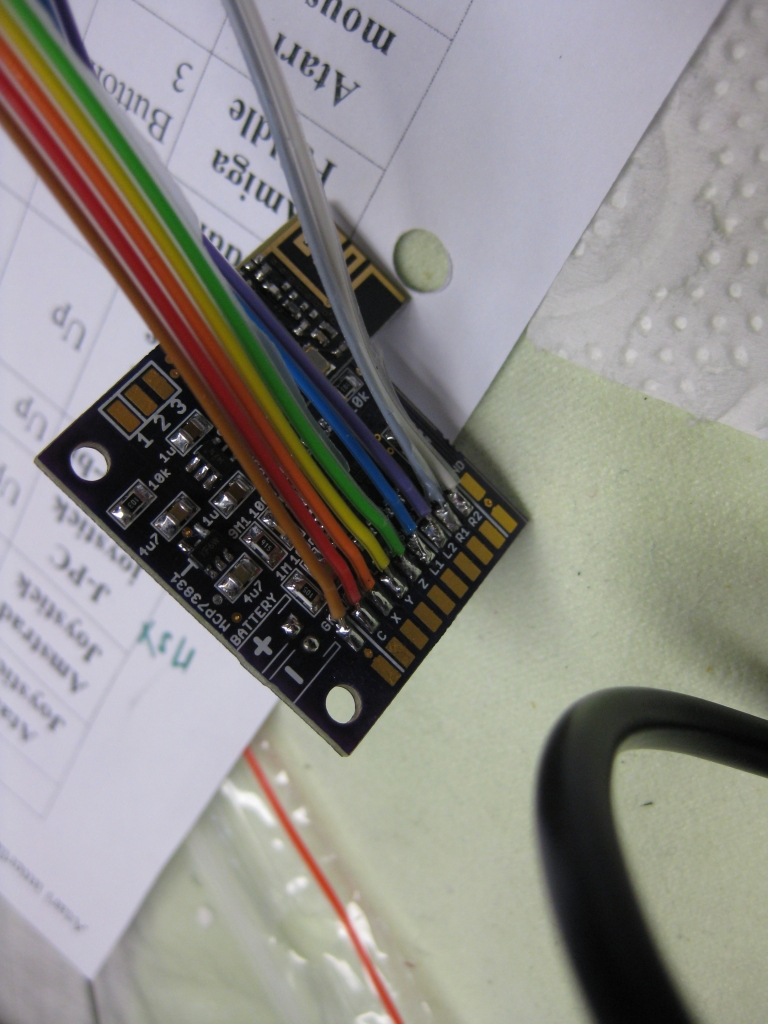
| 9 | GND | GND | 19 | GND | GND | |||
| 8 | B | Button 2 | 18 | R2 | Button 10 | |||
| 7 | A | Button 1 | 17 | R1 | Button 9 | |||
| 6 | ST | Start | 16 | L2 | Button 8 | |||
| 5 | SL | Select | 15 | L1 | Button 7 | |||
| 4 | RT | Right | 14 | Z | Button 6 | |||
| 3 | LT | Left | 13 | Y | Button 5 | |||
| 2 | DN | Down | 12 | X | Button 4 | |||
| 1 | UP | Up | 11 | C | Button 3 | |||
| 0 | GND | GND | 10 | GND | GND | |||
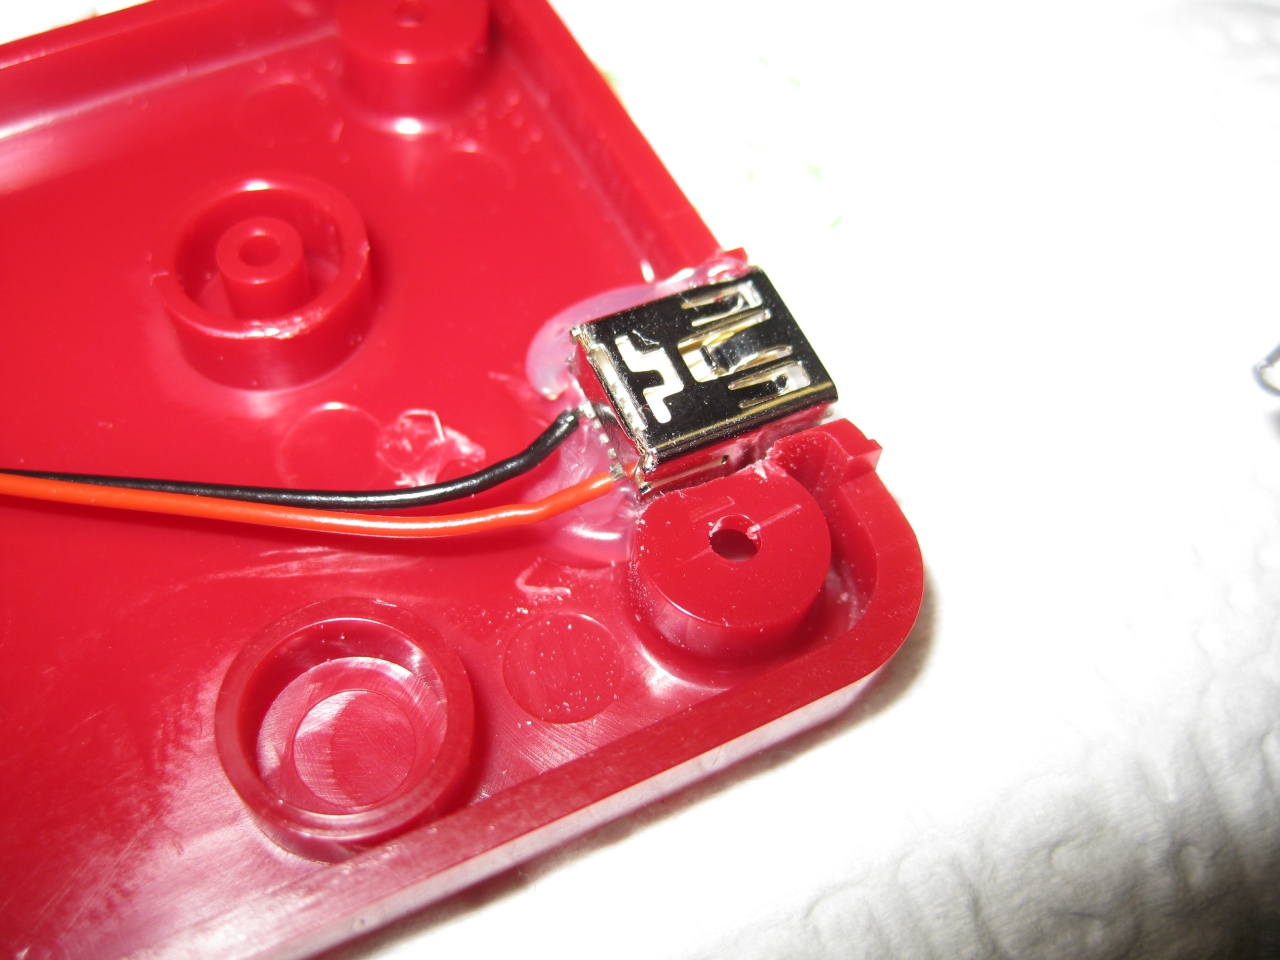
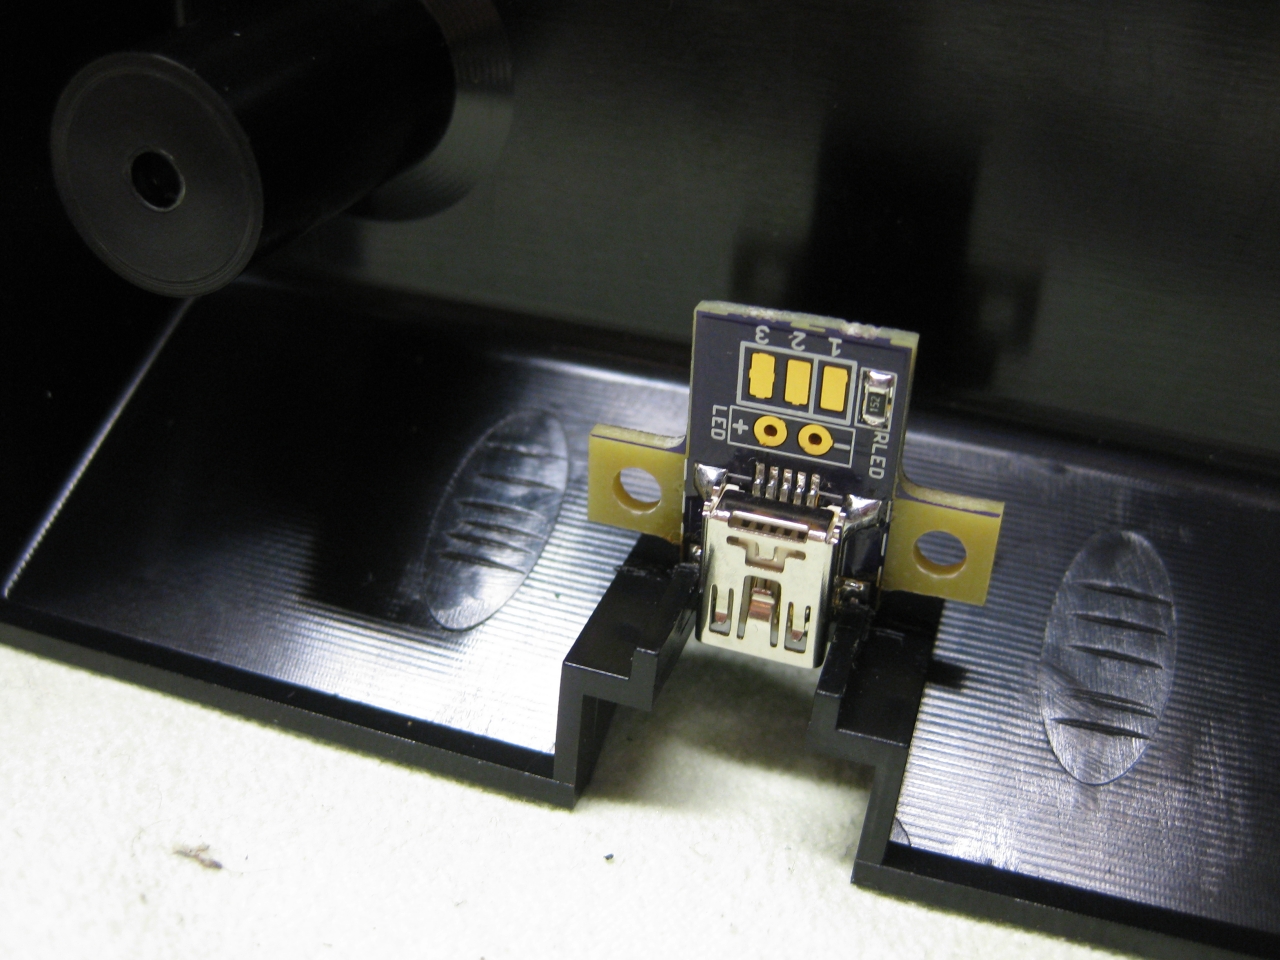
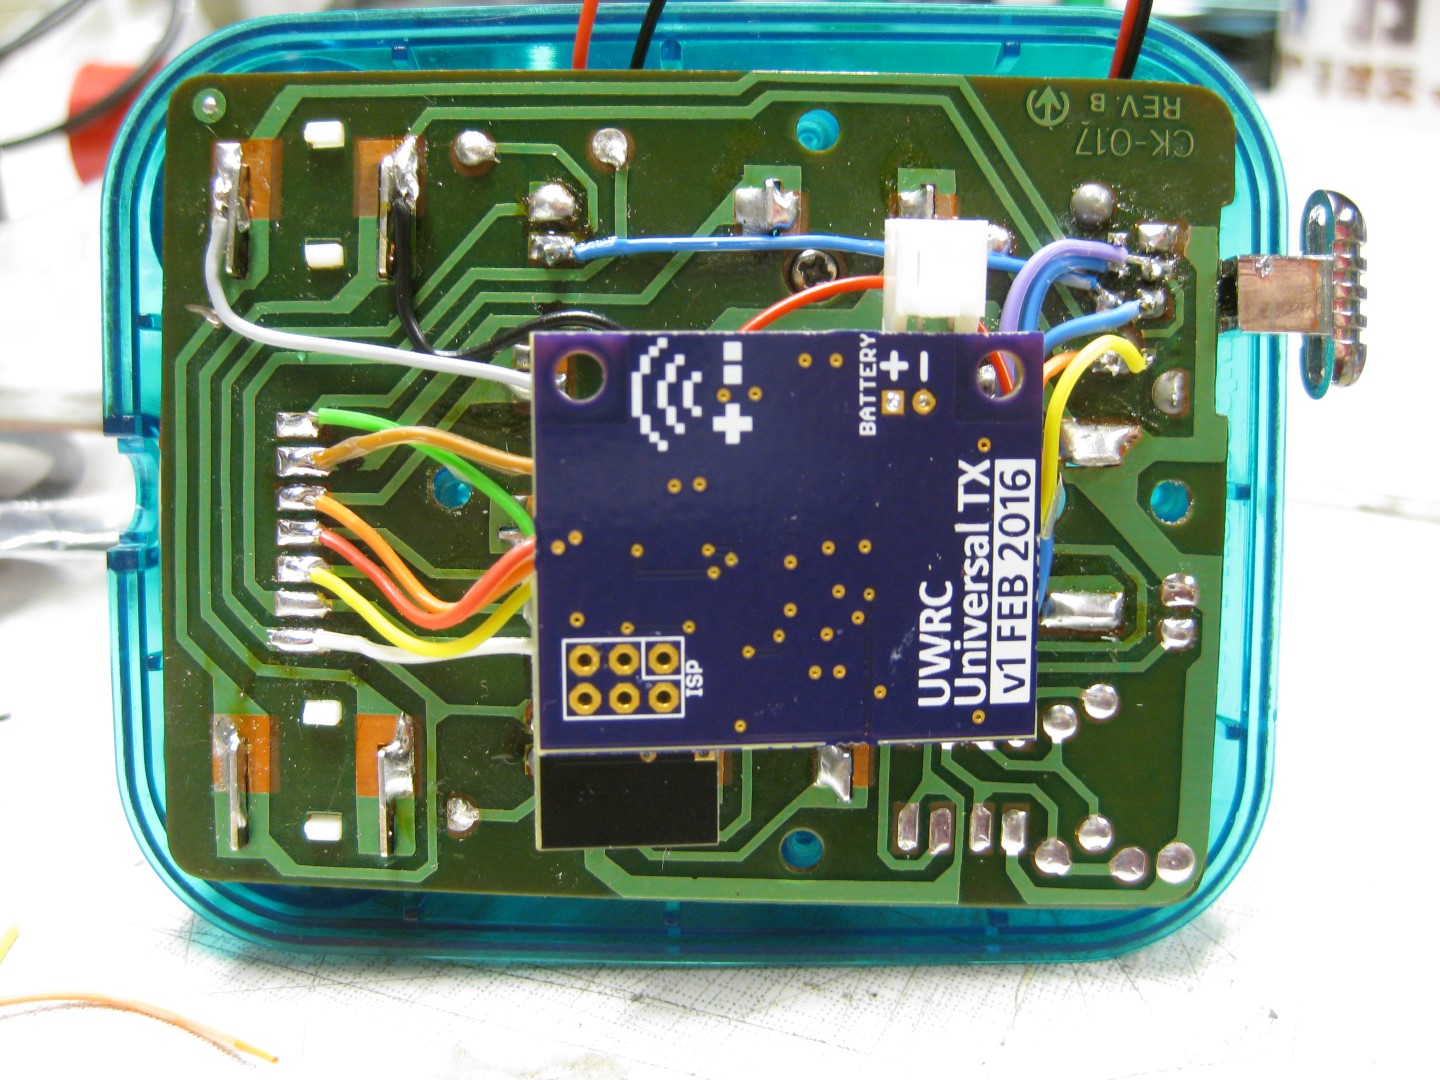
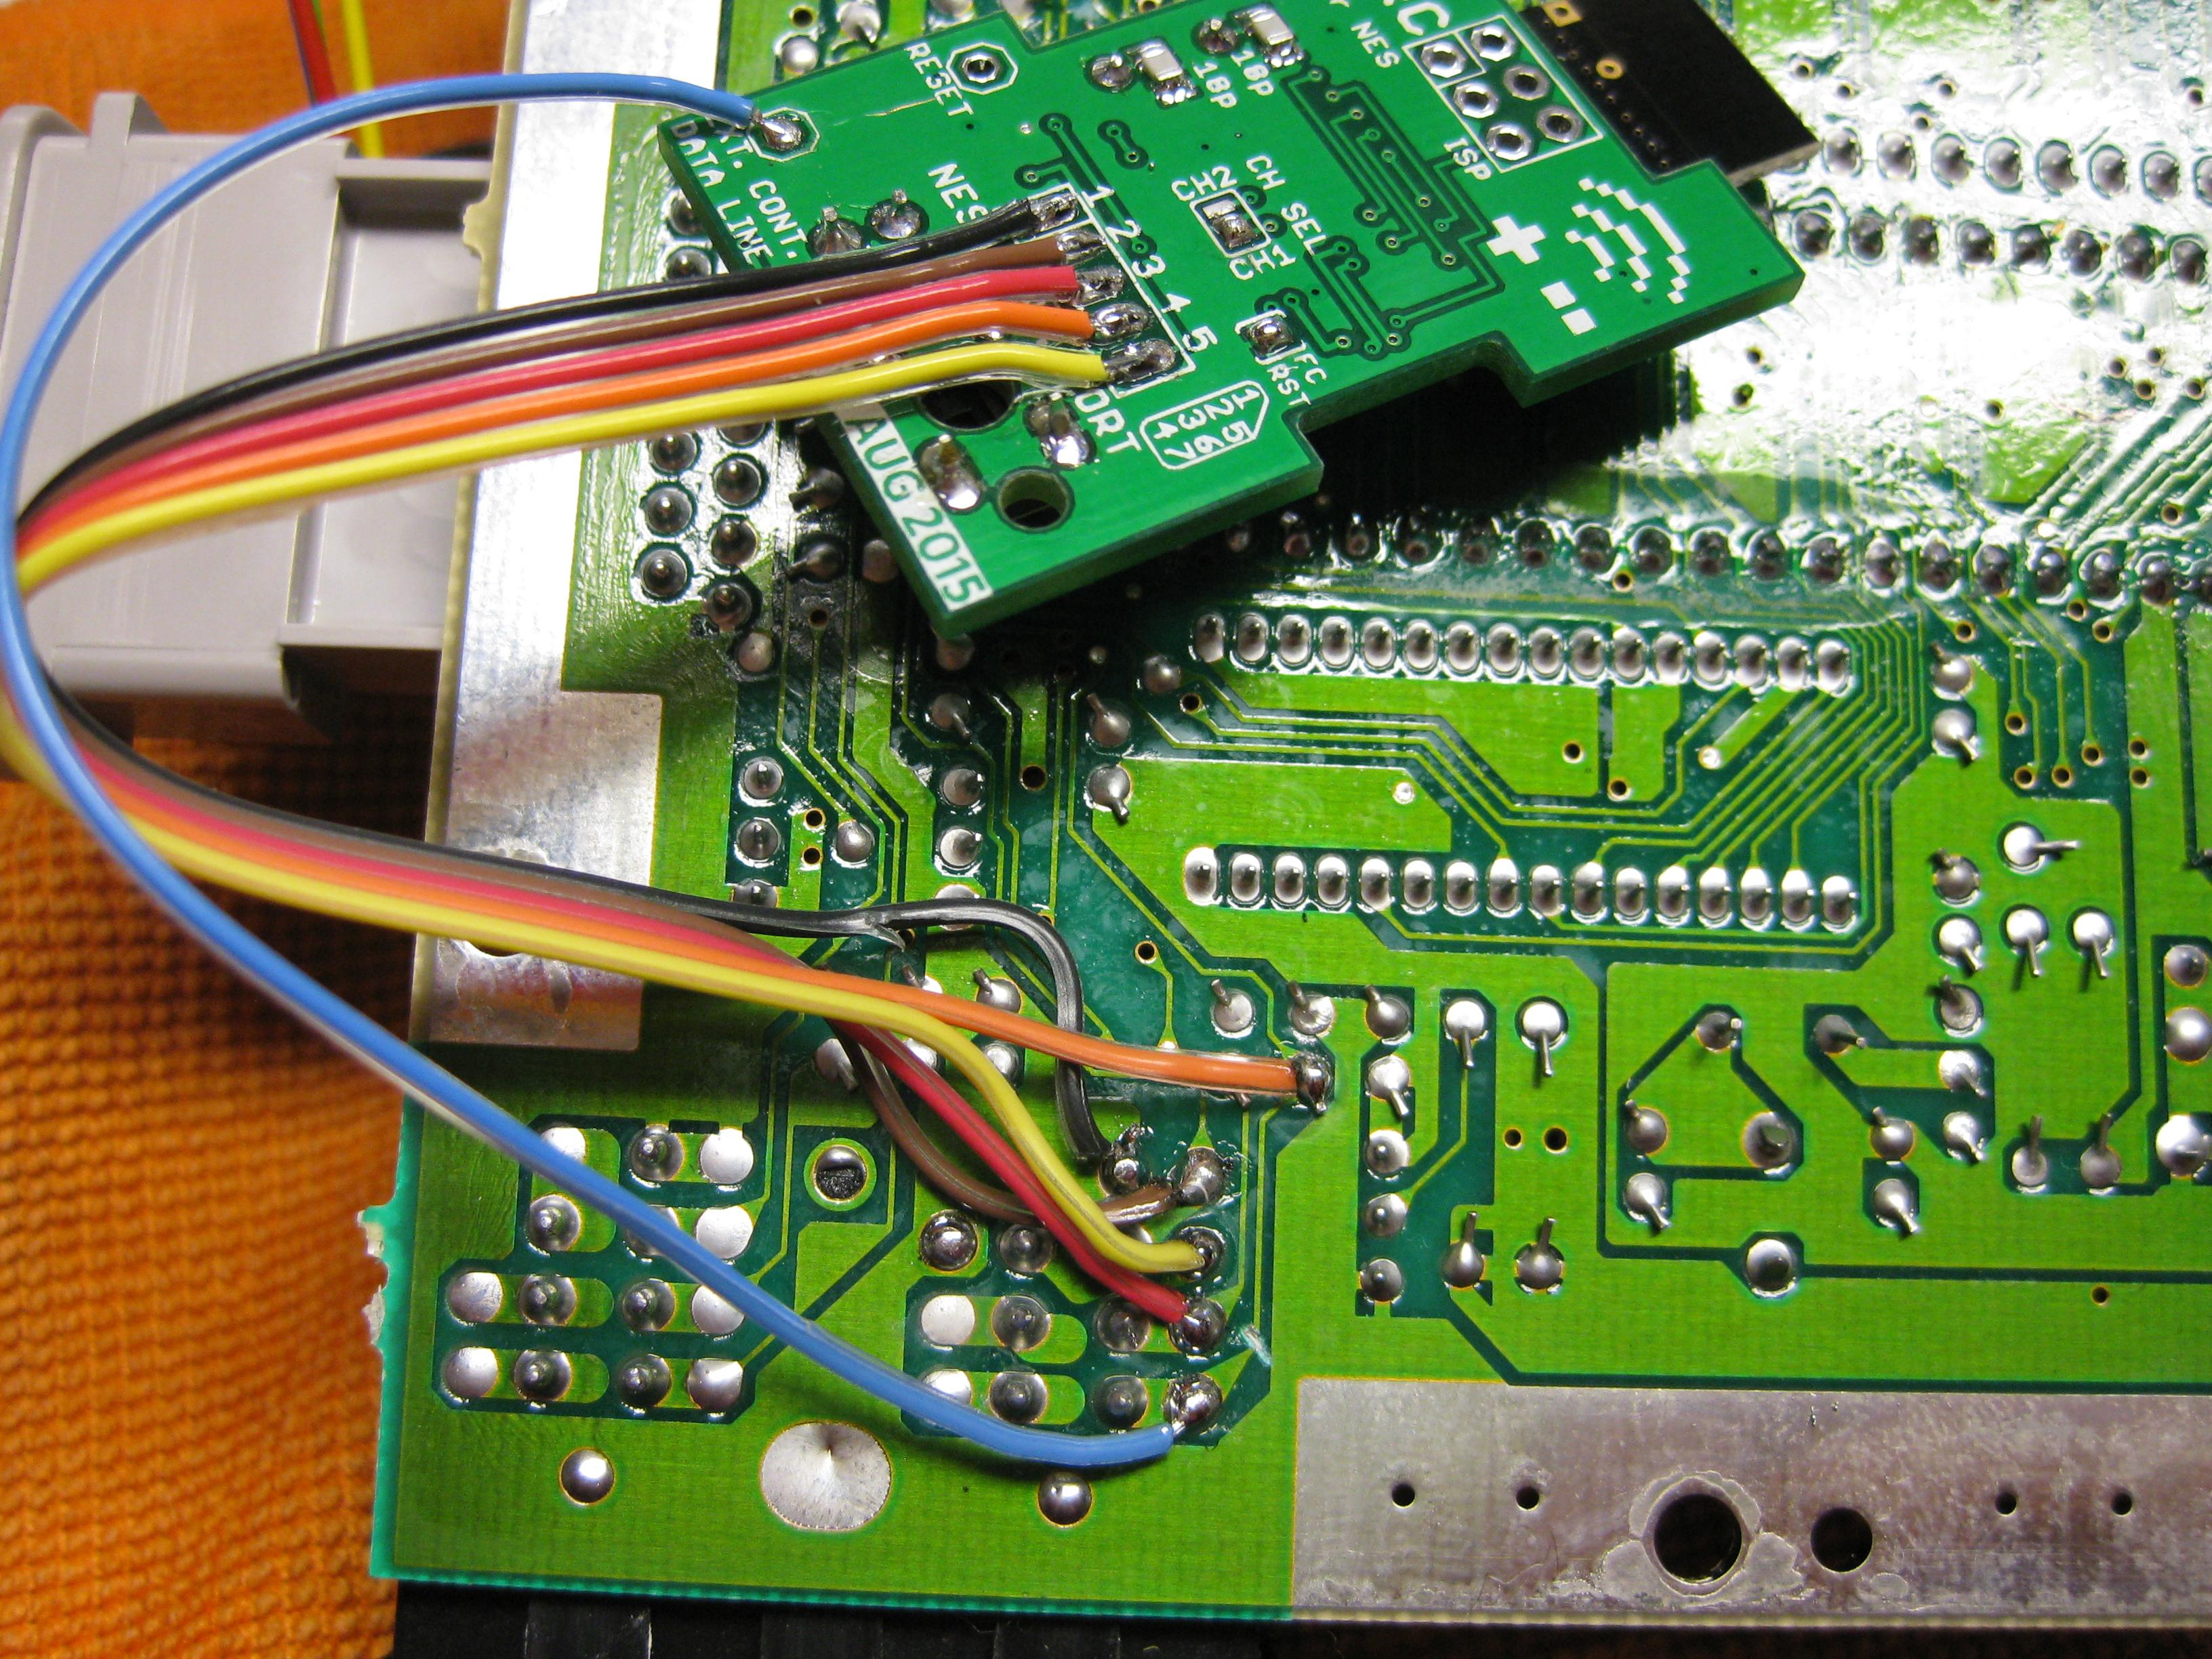
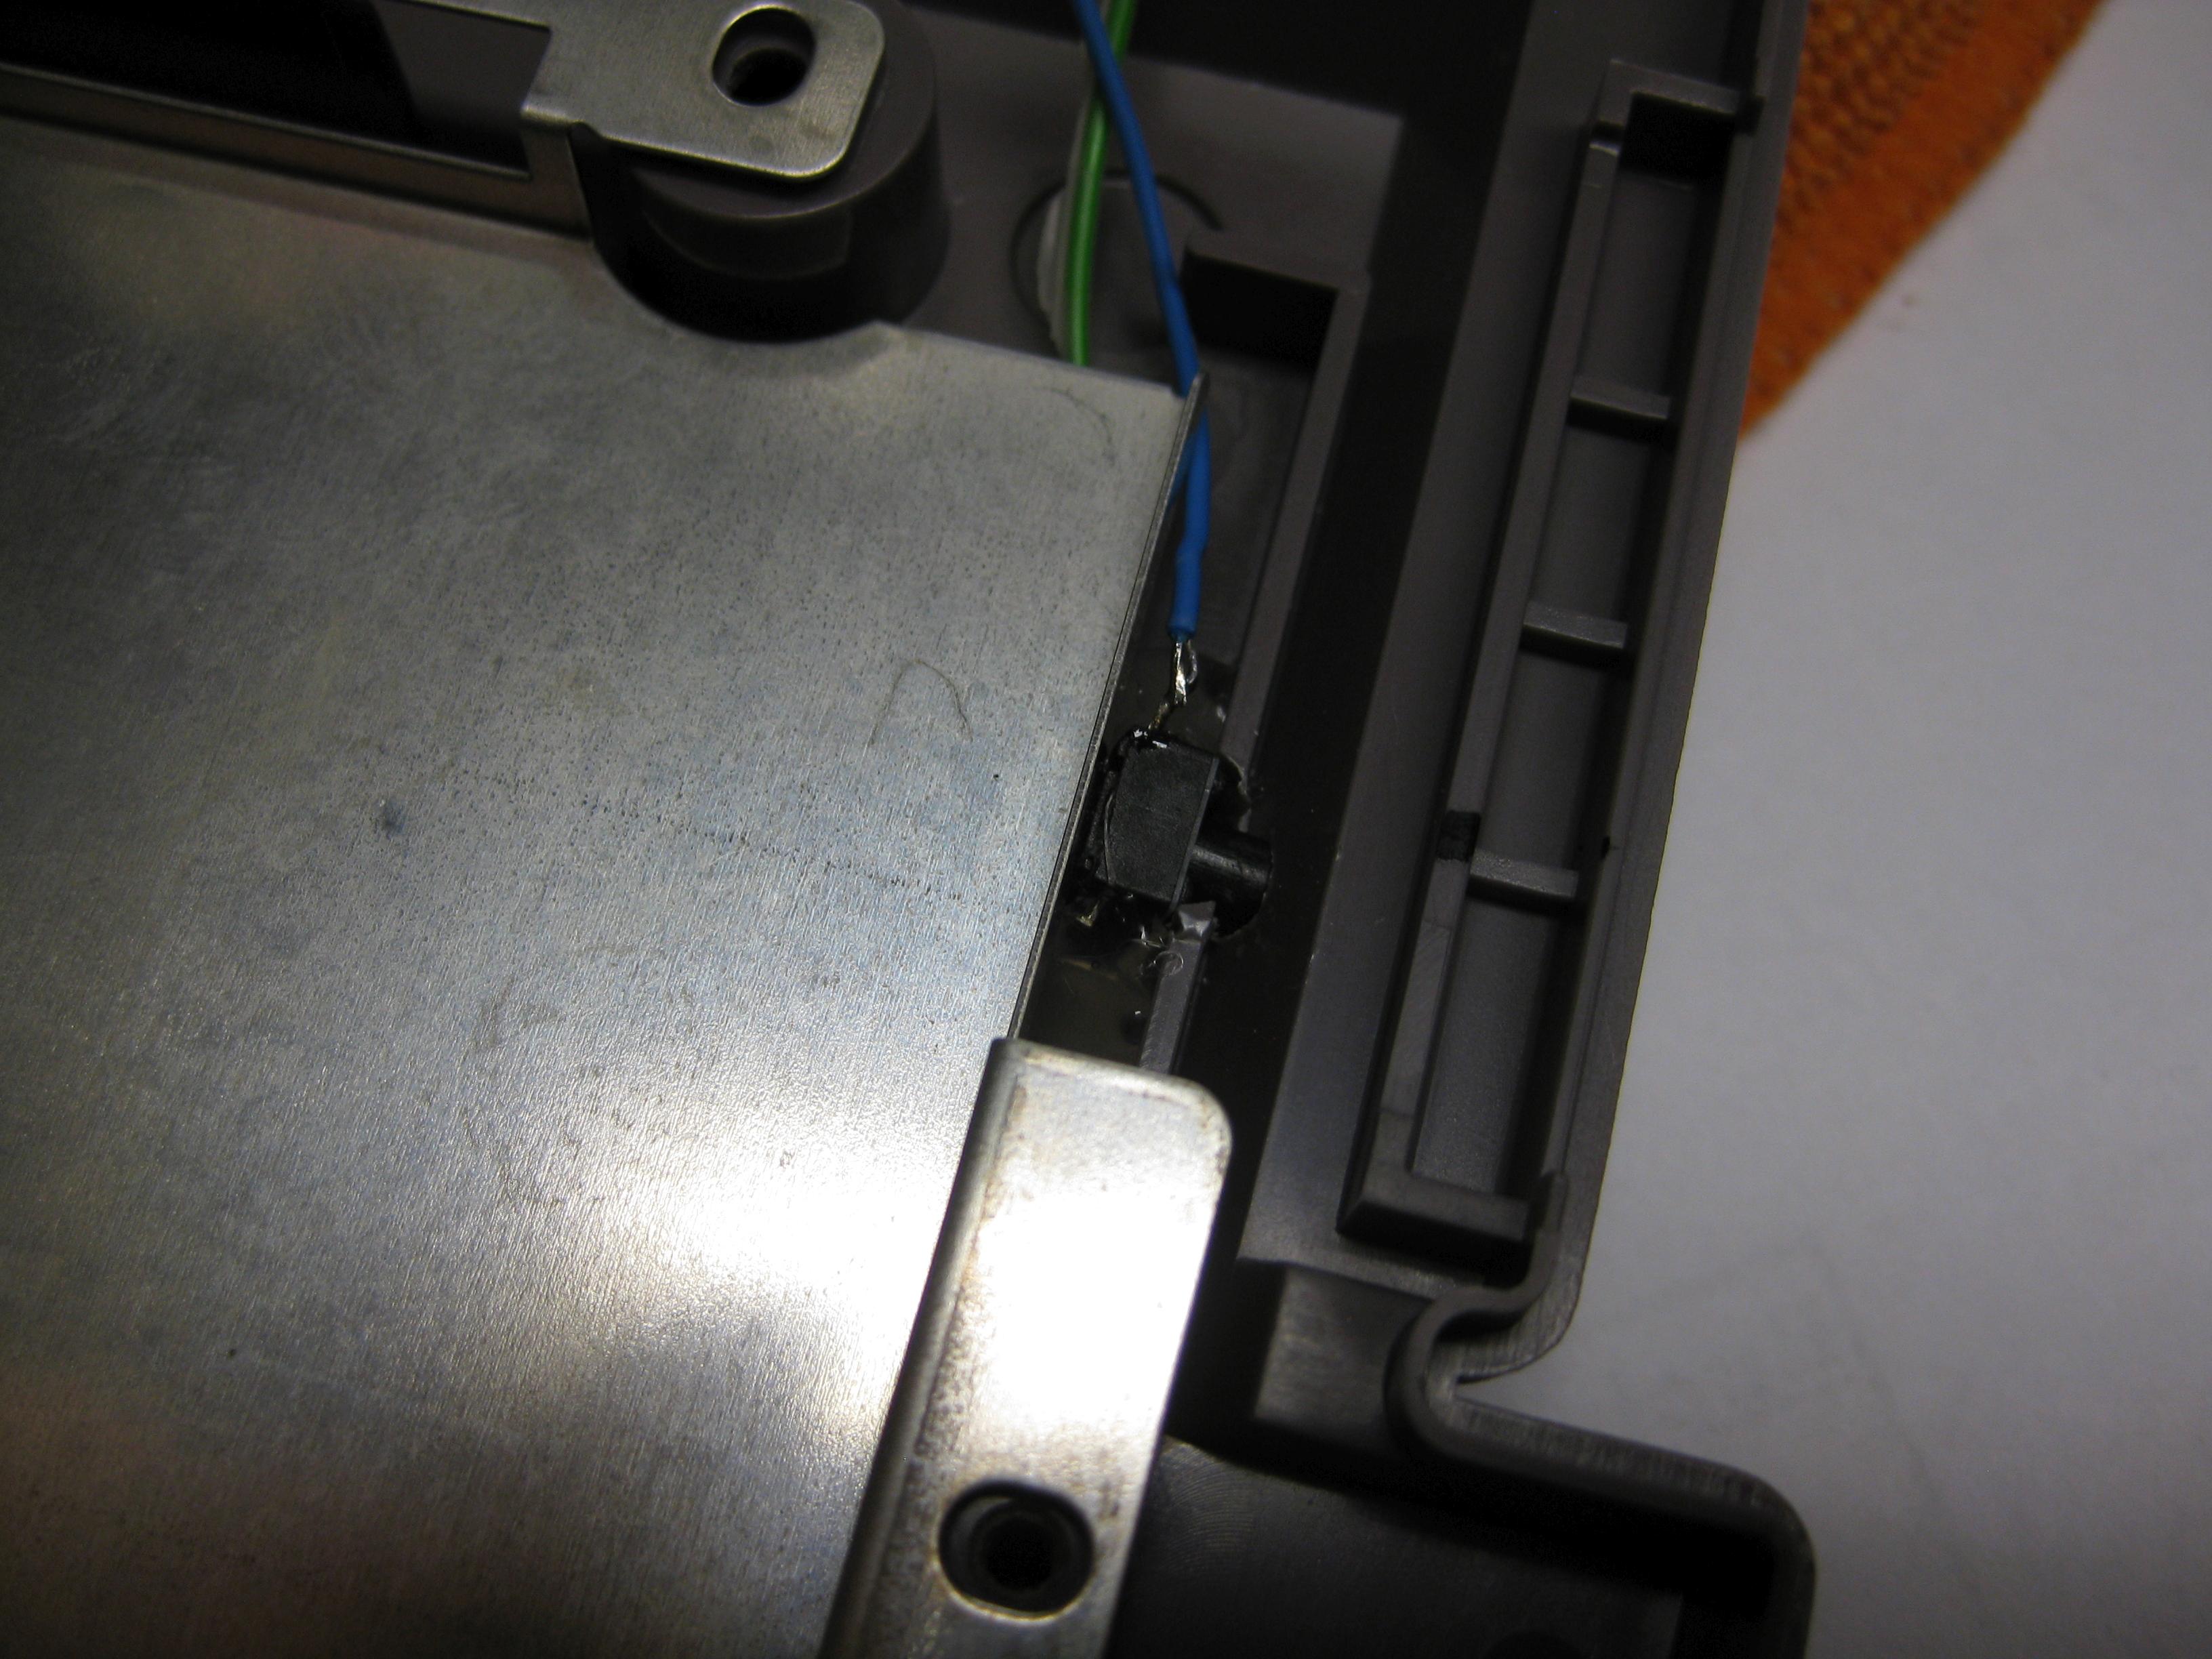
| 3 | blue | GND | ||||||
| 2 | green | 5V | ||||||
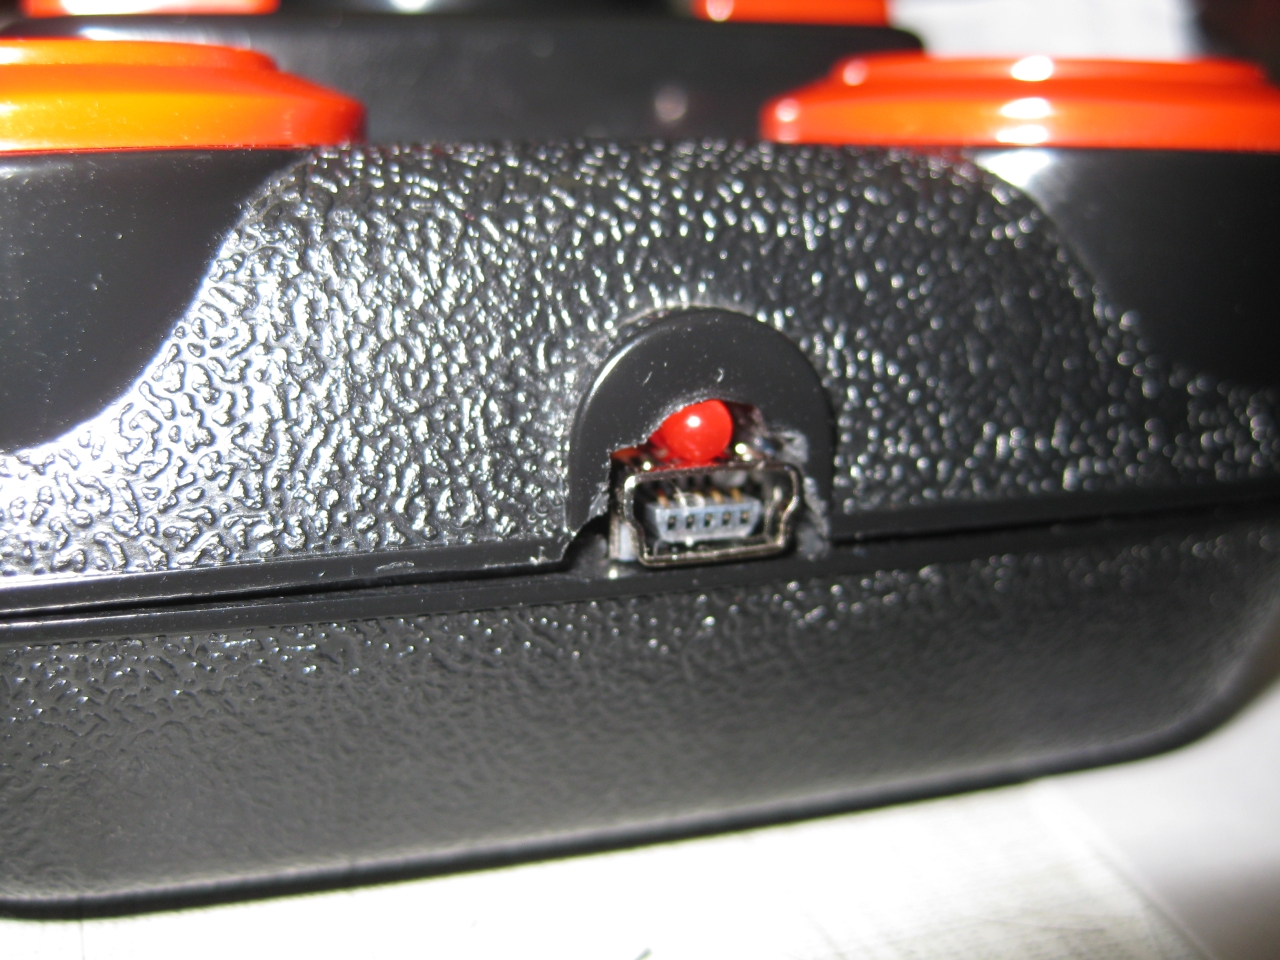
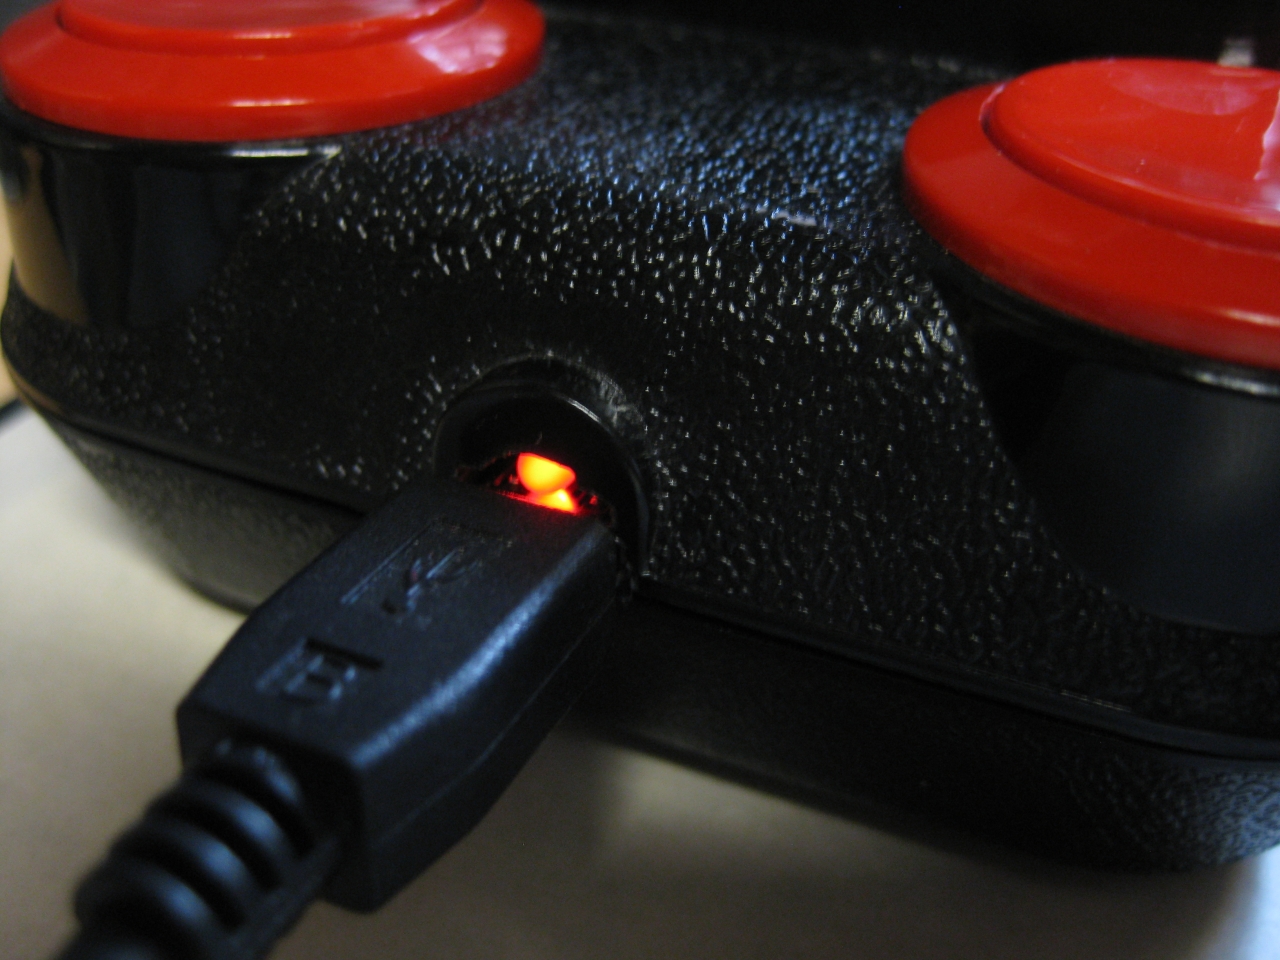
| 1 | yellow | Led |

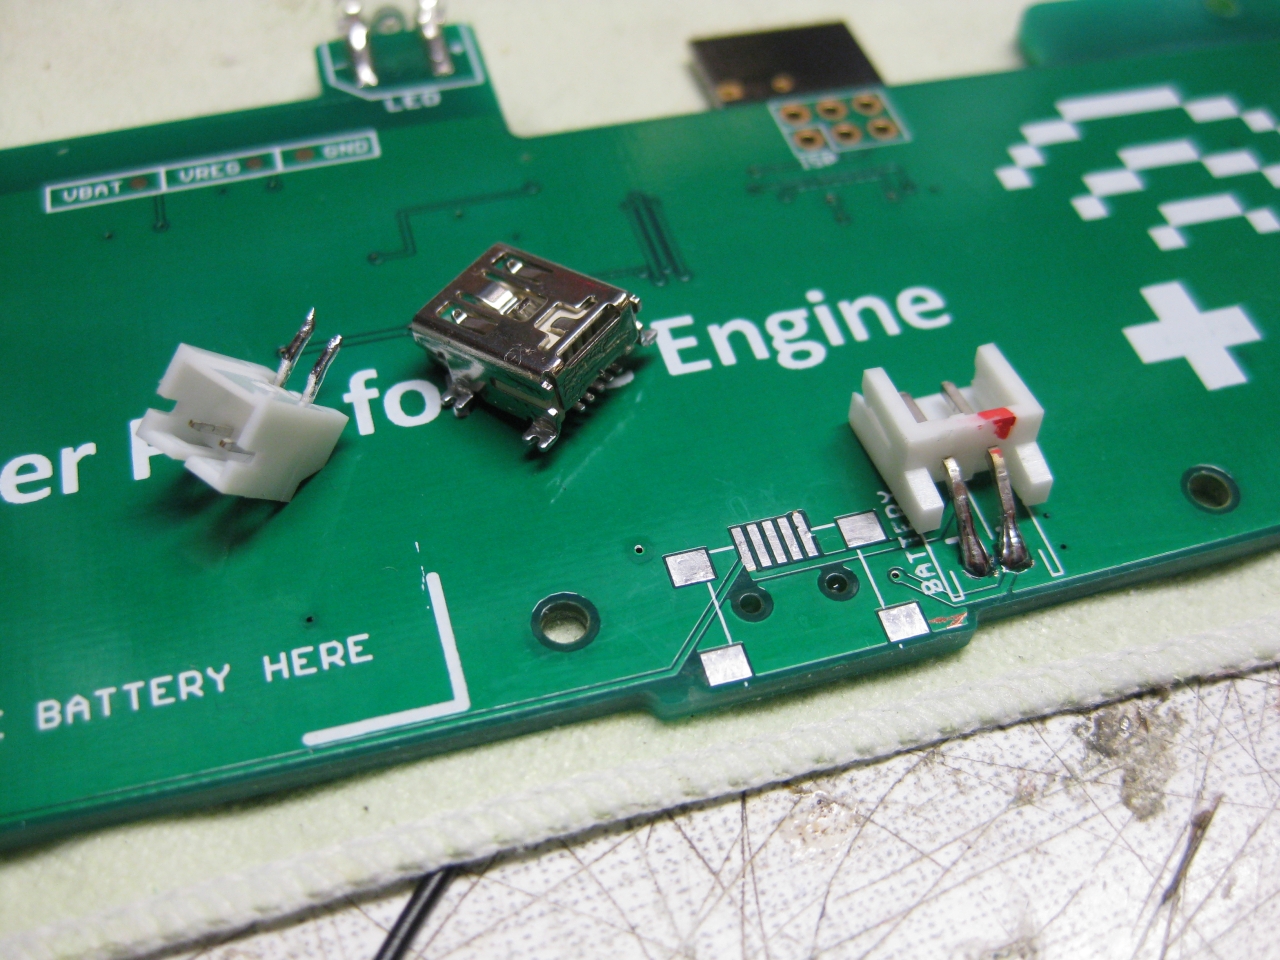
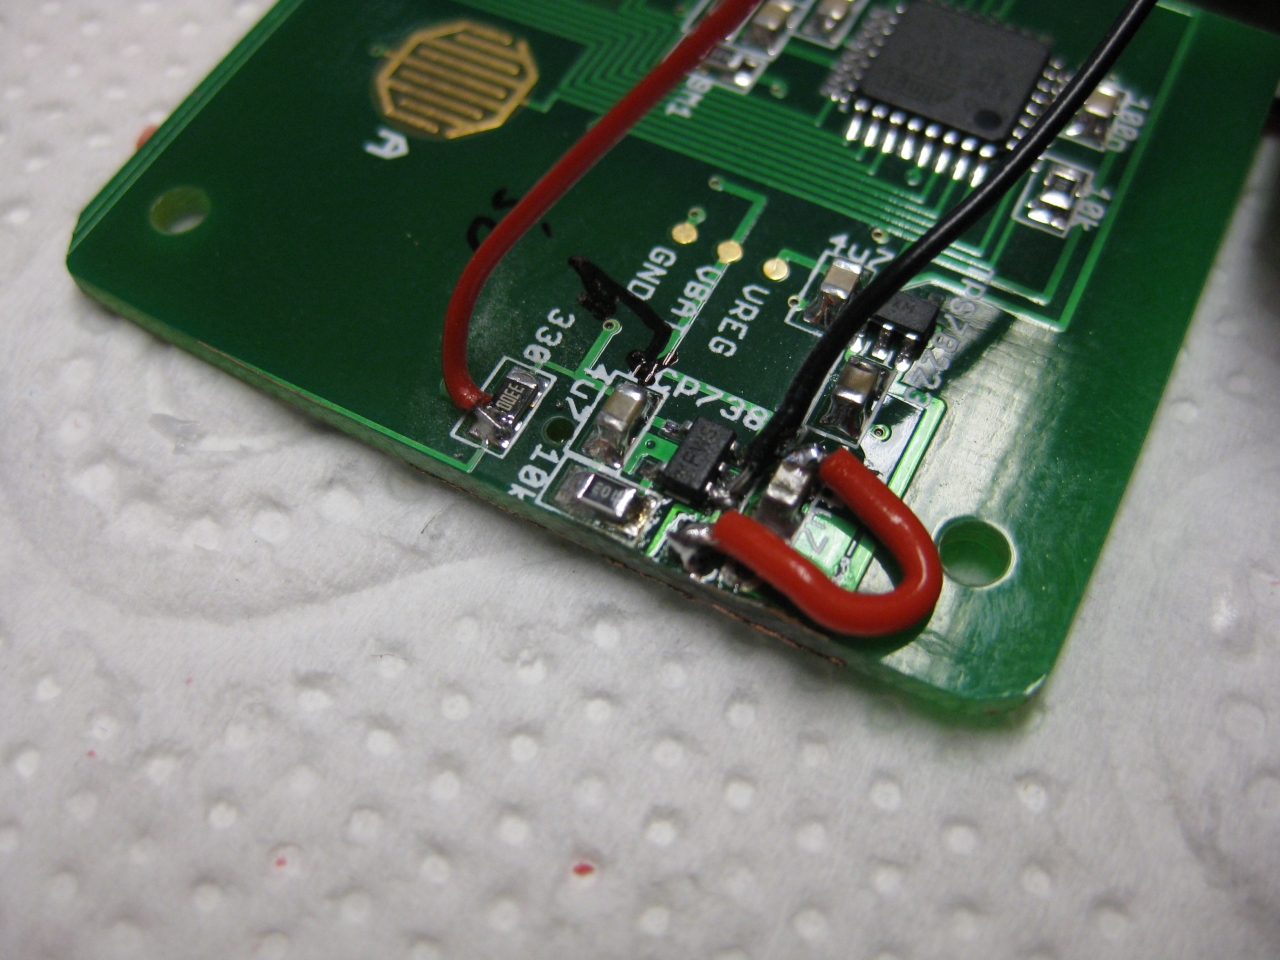
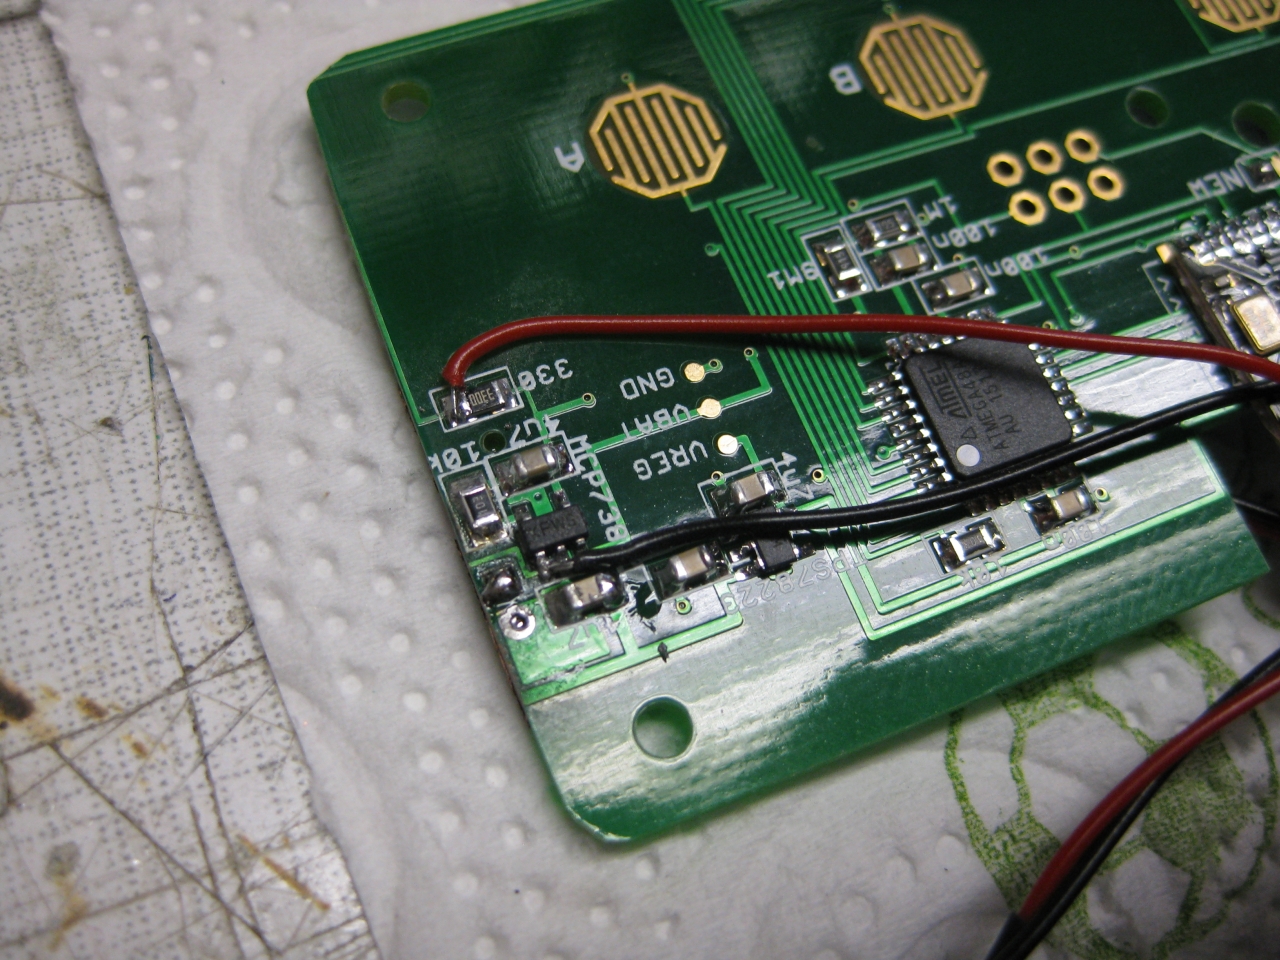
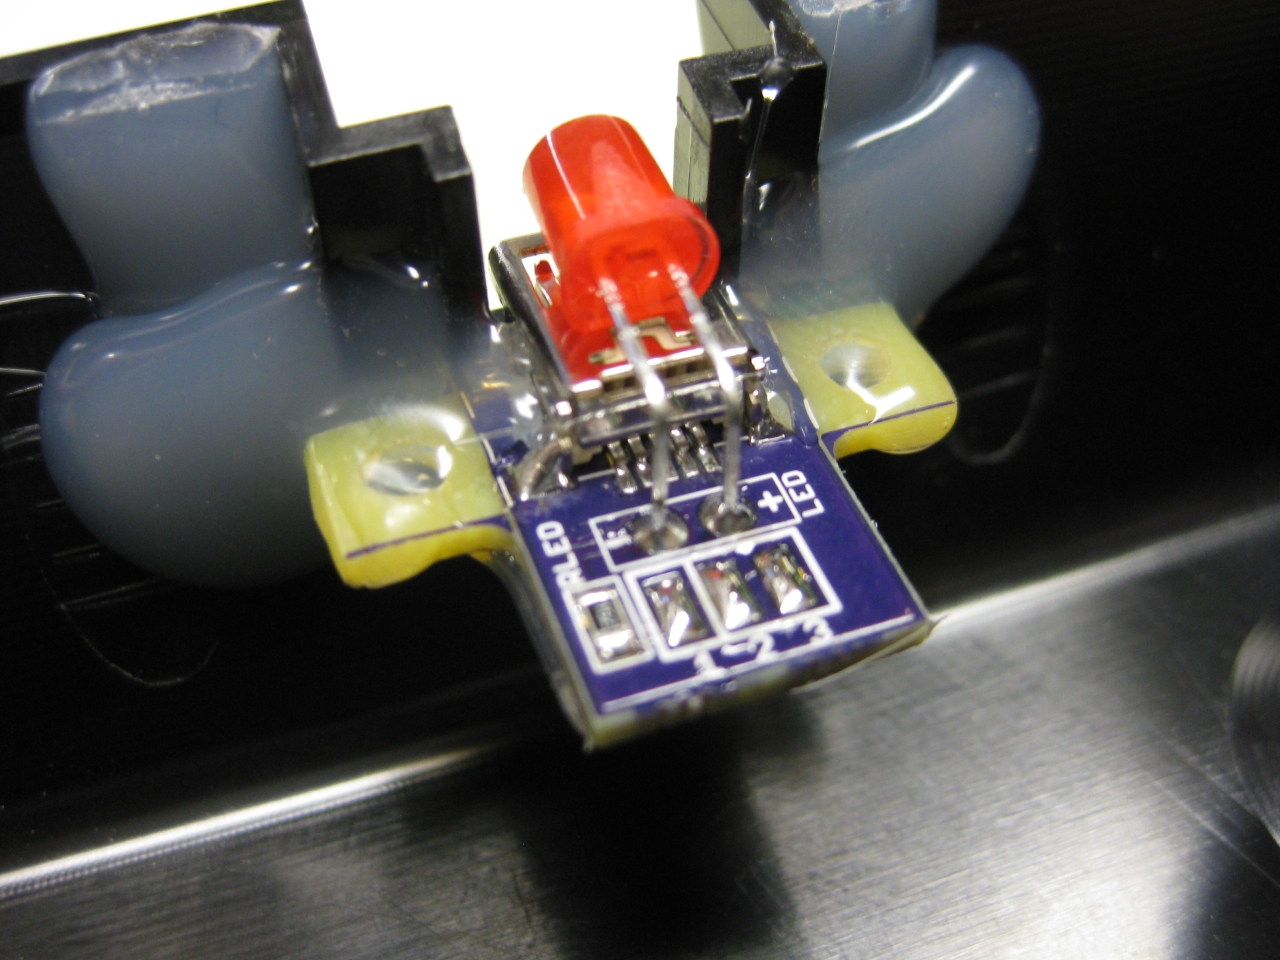
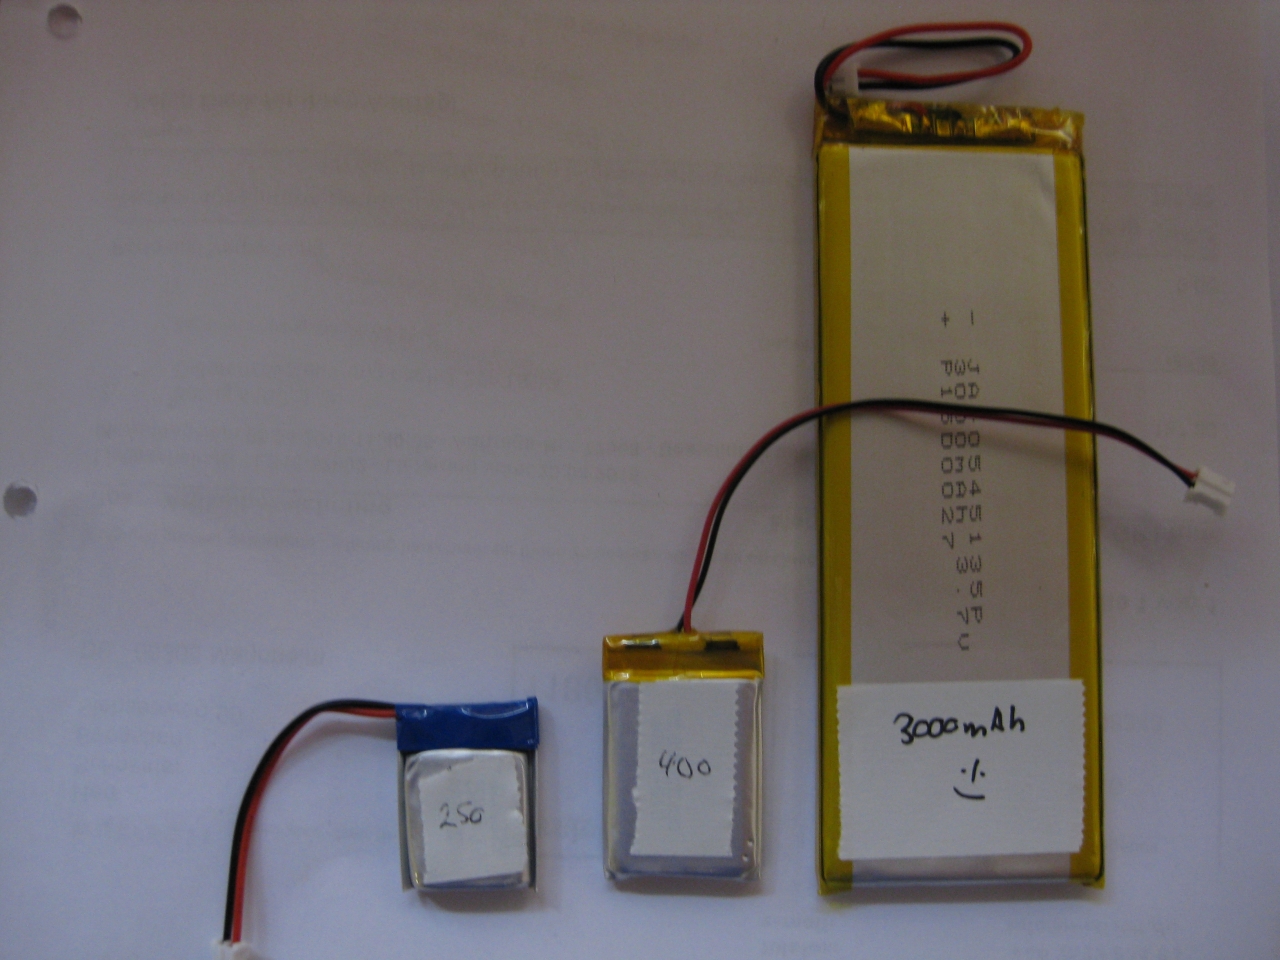
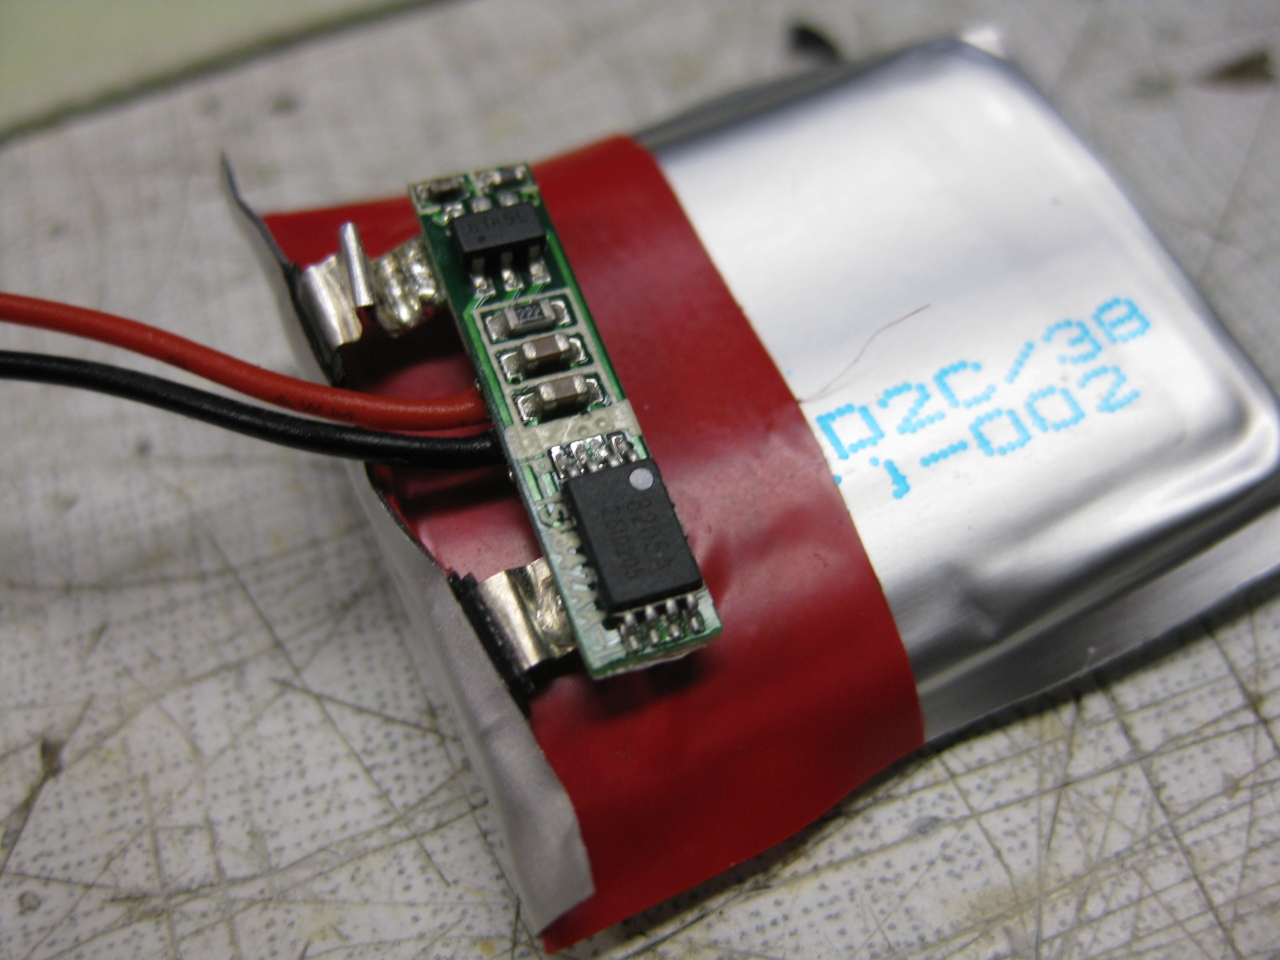
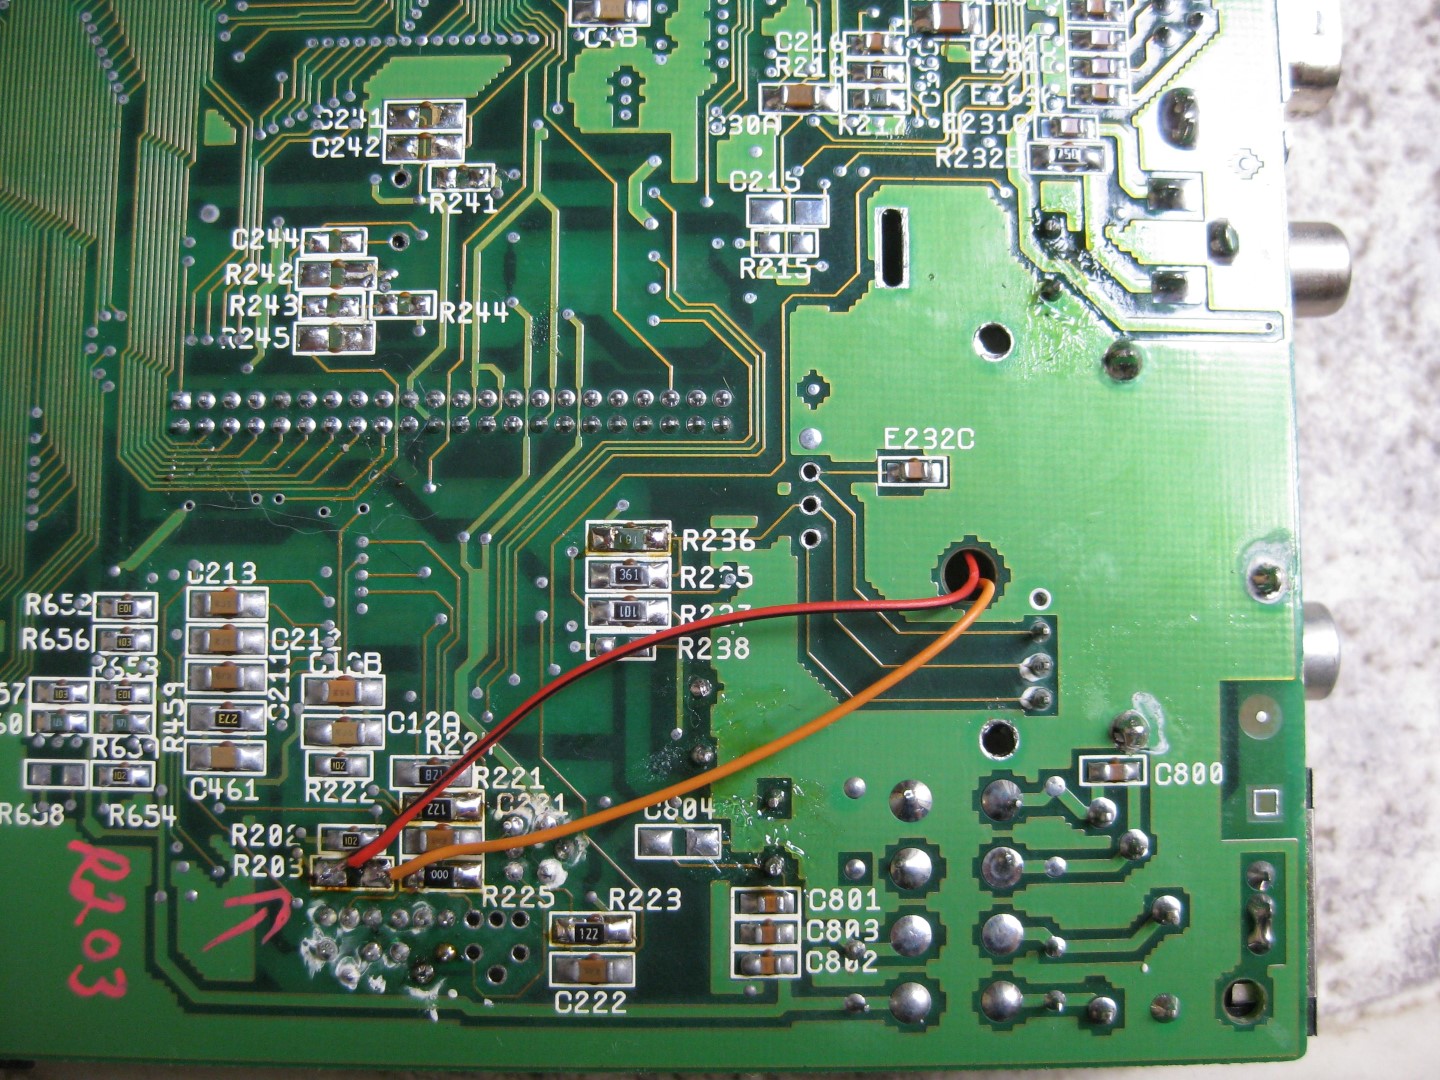
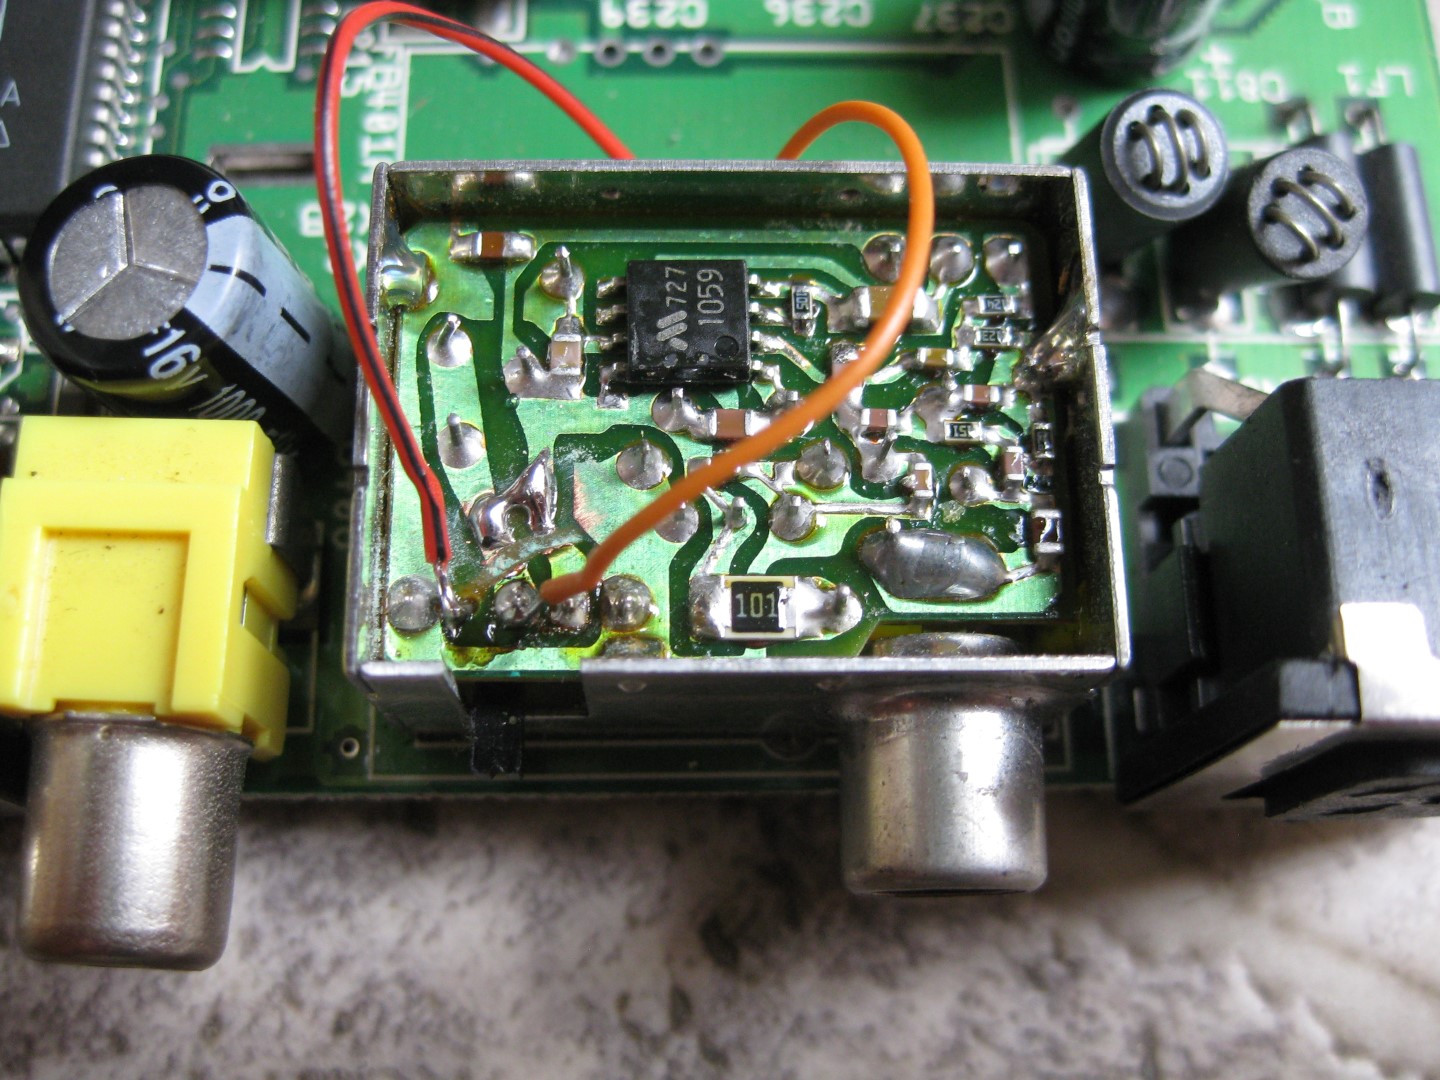
Marked R used for different current while loading LiPo
I=1000V/R
for
400mAh Lipo (Standard) ->100mA R=10k
250mAh Lipo ->050mA R=20k
3000mAh Lipo ->200mA R=5k
Voltage Regulator used: 2,3V Maximum Voltage: 5,5V